Rendering Improvements
Find tonemapping improvements like the addition of Automatic Camera Exposure to automatically adjust camera exposure, Exposure Compensation to adjust the brightness, Adjust 18% Gray Level, and the Luminance and Illuminance tonemapper cursor overlay. There are also updates to Chromatic Aberration and the addition of the Film Grain optical effect that mimics the appearance of processed photographic film.
Video captions: Our new Film Grain effect adds cinematic quality to your projects, mimicking the appearance of processed photographic film and adding realism to high-detail scenarios. This effect is especially beneficial in 3D applications, as it enhances the visual depth and authenticity of scenes, making animations and renders appear more lifelike.
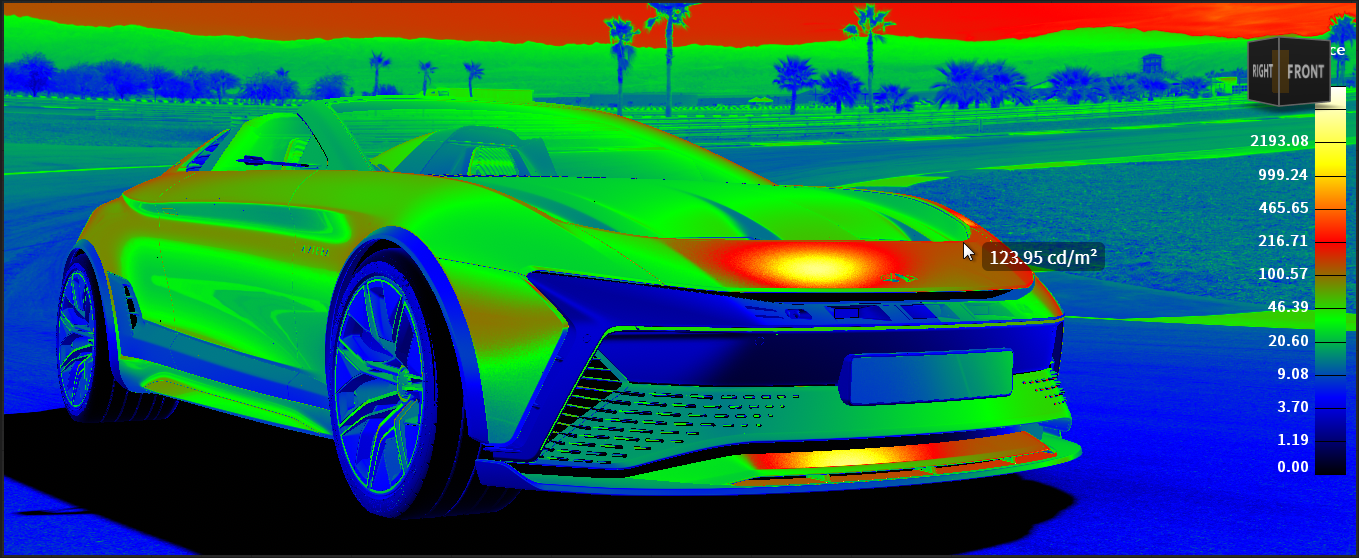
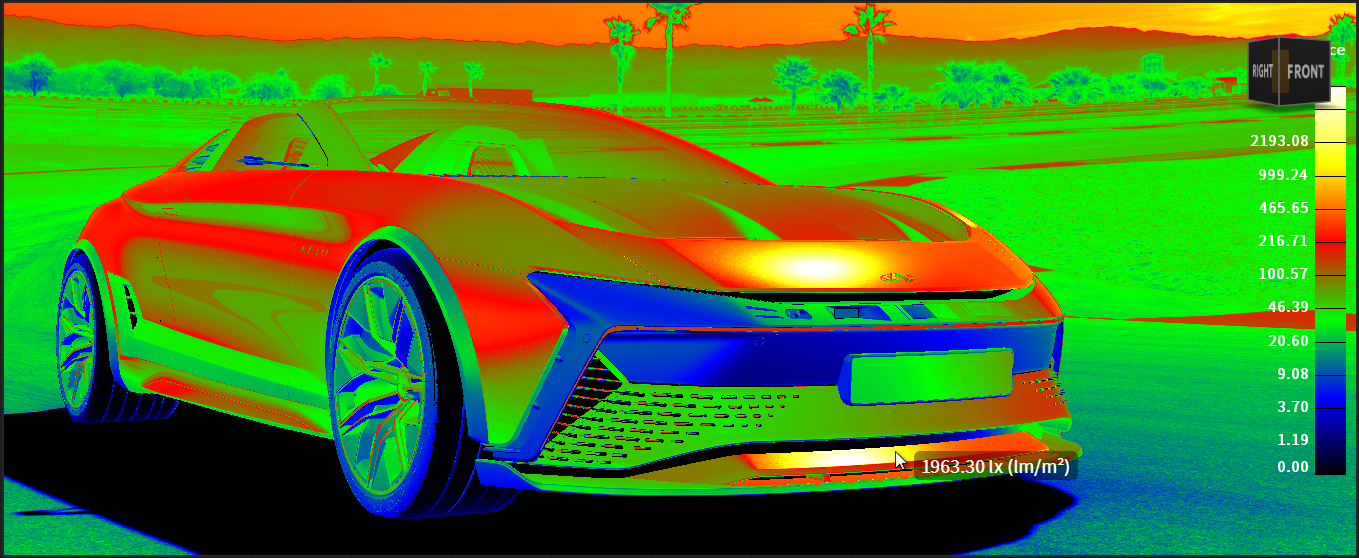
For extracting information from detailed lighting simulations, the Luminance / Illuminance Value Indicator displays brightness values in candela per m ² and lumen per m² around your cursor. This precision is invaluable for measuring and adjusting brightness accurately, providing optimal visual outcomes in lighting setups.
Navigating scenes with varying brightness levels is now simpler with our Automatic Camera Exposure option. Just turn on the checkbox in the tone mapping tab of the camera editor. This feature automatically adjusts exposure based on average image brightness, ensuring seamless and consistent visual quality between differently lit environments.
The Adjust 18% Gray Level ensures consistent brightness across different view transforms, maintaining color fidelity and uniform visual output. This streamlines your workflow when switching between ACES 1.0, ACES 2.0, and PBR Neutral settings.
Adjust 18% Gray Level
This is only available when Tonemapper is set to Physical Camera and Sensor Response to OpenColorIO in the Camera Editor. We added Adjust 18% Gray Level to adjust the view transform, so that 18% gray levels stay at 18% gray after applying the view transform. Now, when switching between ACES 1.0, ACES 2.0, and PBR Neutral, brightness remains consistent. Set Tonemapper to Physical Camera and Sensor Response to OpenColorIO to access it.
Automatic Camera Exposure
We added Automatic Exposure to automatically adjust camera exposure, based on the average brightness of an image. Use this for navigating scenes with varying brightness levels, such as transitioning from the exterior to interior of a car or outdoor to indoor environments. Before the addition of Automatic Exposure, the interior could be too dark, as not enough scene lighting would penetrate the interior. Now, when enabled, the automatic ISO is disabled and this is no longer a problem. Find this in the Tonemapping section of the Camera Editor > Image Processing tab. This works for animation and offline rendering and is stored per viewpoint. This does not work in display clustering, as every tile is tonemapped separately.
We also added Exposure Compensation to adjust the brightness applied when Automatic Exposure is enabled. Values above zero increase the exposure applied to the scene, brightening it, where values below zero decrease it, darkening it. This is not available for the Luminance or Illuminance tonemapper.
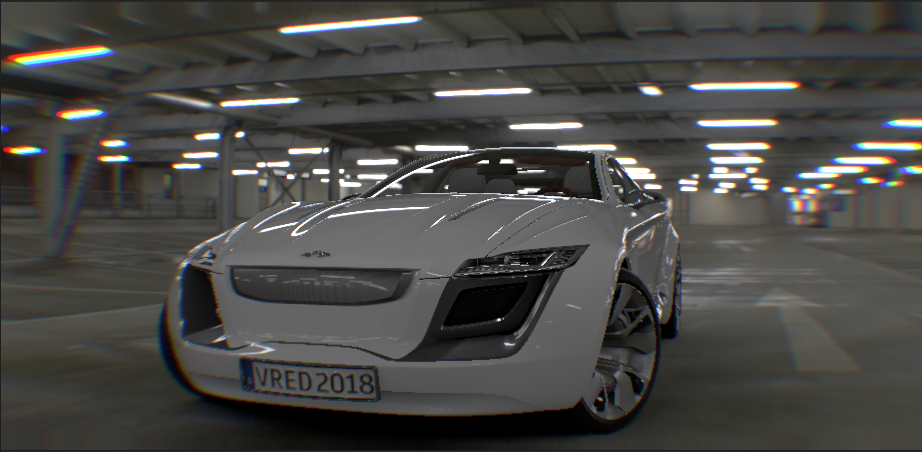
Chromatic Aberration Updates
We have added more image processing effects to the Chromatic Aberration section in the Camera Editor.
With certain displays, there might be some artifacts along the borders.
Distortion - Sets the lens distortion coefficients for the chromatic aberration effect in X, Y, and Z.
Distortion Type - Sets the type of distortion applied. Choose from Barrel, which is based on the aspect ratio of the image, and Radial, which ignores the aspect ratio of the image and tries to use a round shape for the distortion.
Barrel Distortion Radial Distortion 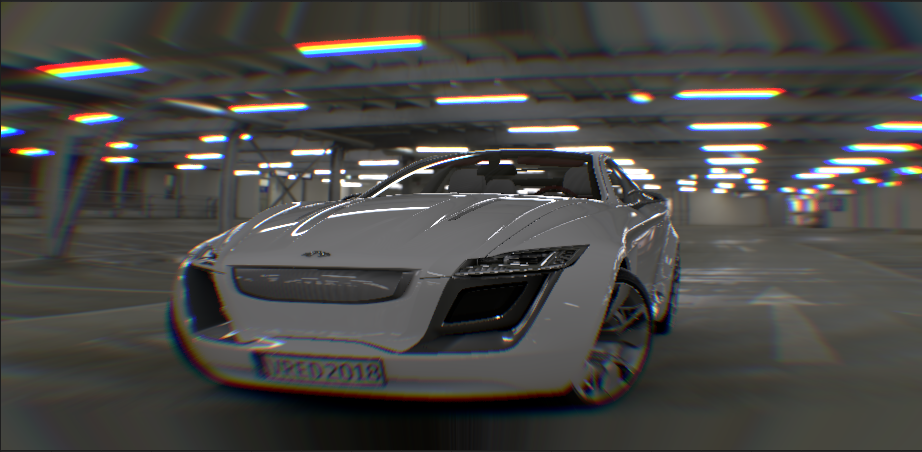
Edge Mode - Determines how edges are handled. If the edges don't contain any relevant information, try using the following:
Zoom - Zooms into the image to move undefined regions outside of the visible image.

Black - Sets the color outside the image to black.
Mirror Repeat - Mirrors and repeats the edge pixels of the image.

Clamp - Repeats the edge pixel of the image.
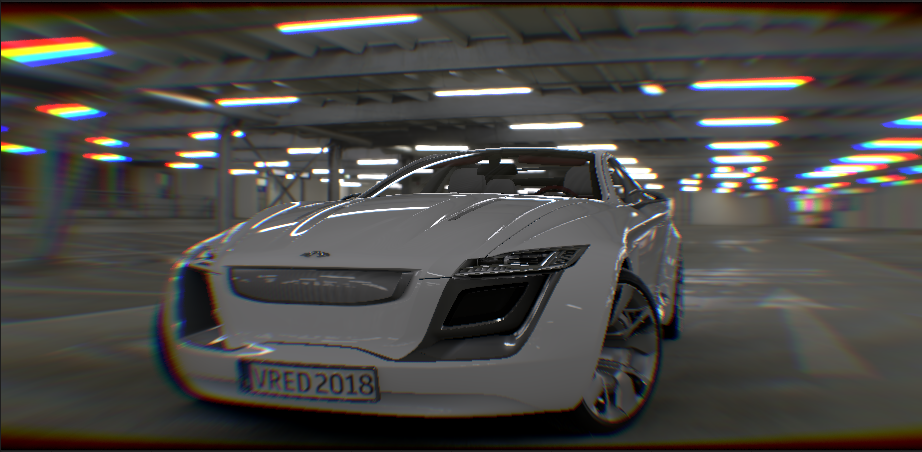
Strength - Determines the strength of the color aberration effect and distortion of the lenses. To increase the effect, increase the value. To reduce the effect, decrease the value.
Strength = 0.3 Strength = 1 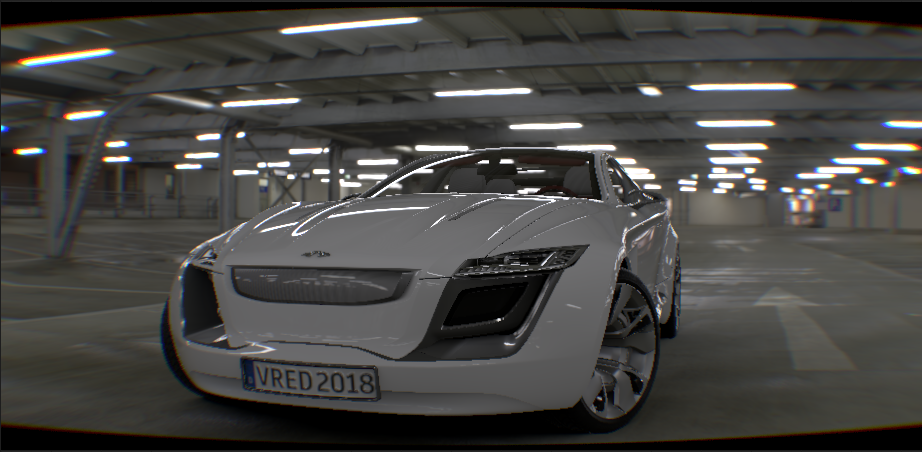
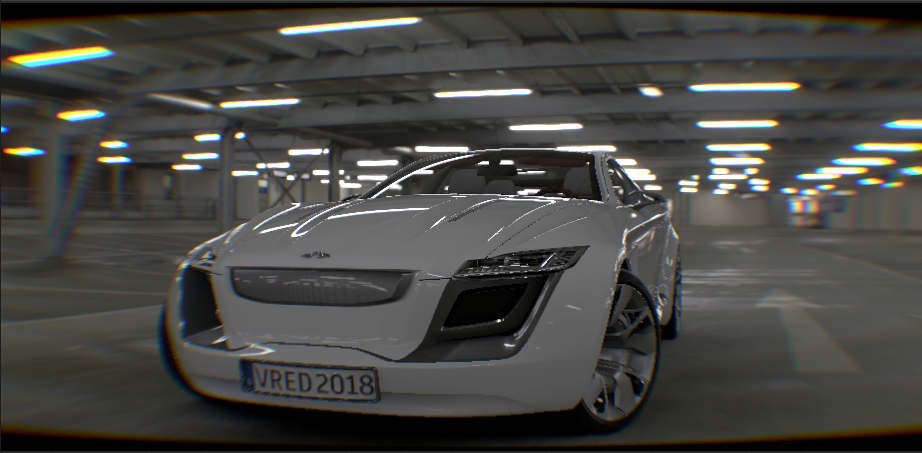
Blur - Sets the amount of blurring between the color channels. To increase the effect and make the colors blend more together, increase the value. To reduce the effect and make the colors blend less and band more, decrease the value.
Blur = 0 Blur = 1 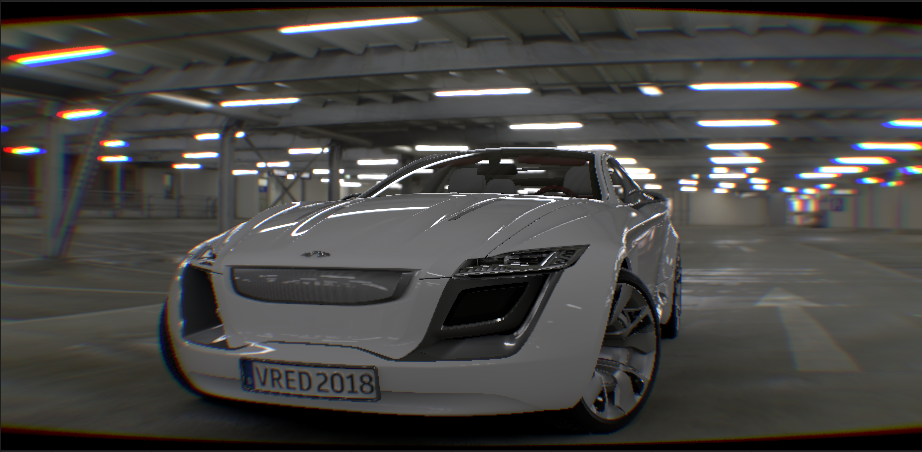
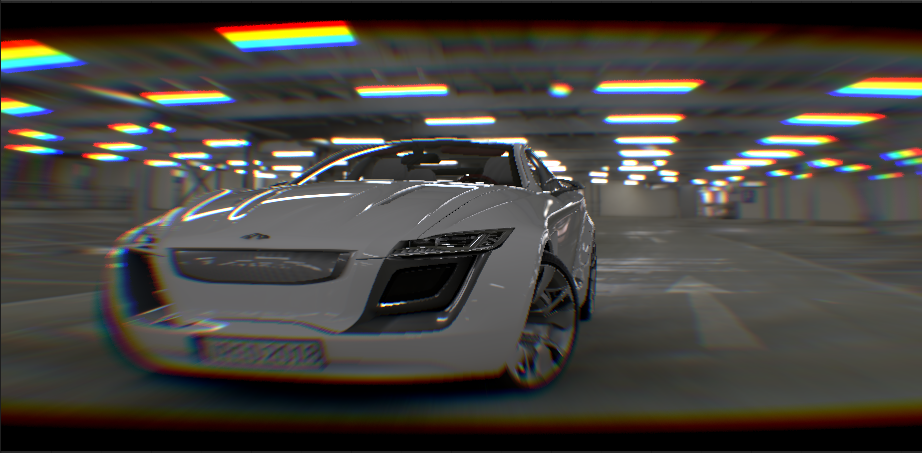
Film Grain
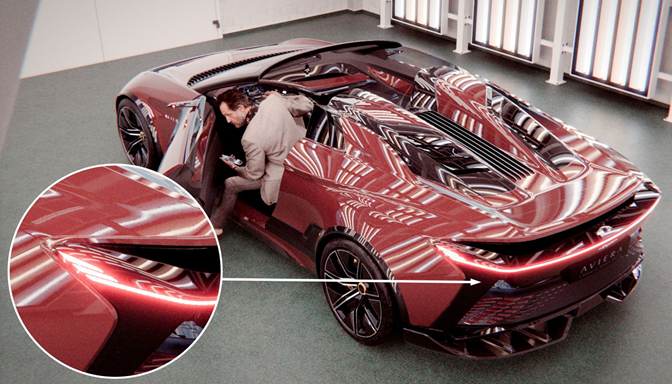
We added a Film Grain section to create a cinematic camera effect that distorts clean rendering and shifts it for a very emotional look. It simulates the noise of the camera and is more visible in darker areas, than light. It is pixel-based, so its size is always relative to the rendered resolution. The noise pattern changes with each frame. Find the Film Grain section in the Camera Editor > Image Processing tab.
- Luminance Amount - Sets the amount of luminance film grain.
- Size - Sets the size of the grains.
- Splotchiness - Sets the intensity of the splotches in the film grain.
- Color Amount - Sets the amount of colored film grain.
Glow
We've made performance about 5x faster when working with large glow revolutions.
Luminance and Illuminance Value Indicator
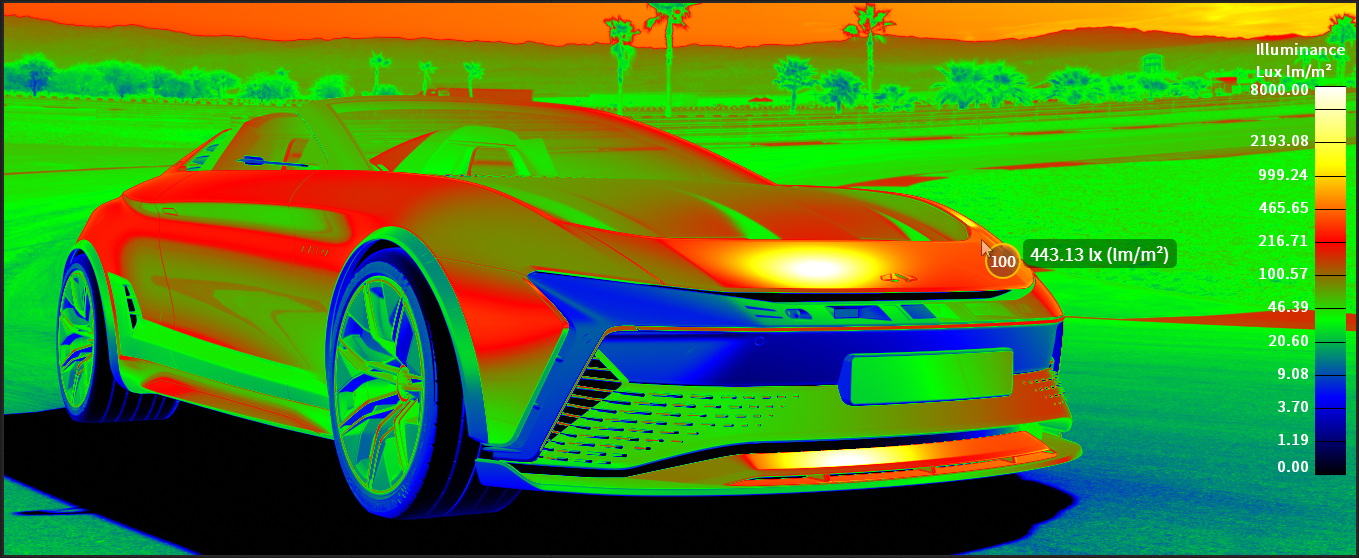
We added a luminance and illuminance tonemapper cursor overlay. This provides detailed information on specific brightness values in rendering. Brightness values are displayed in cd/m² and Lux (lm/m²) within a radius of 5 x 5 pixels around your cursor. Use this when precise brightness measurements, regardless of the value scale, are needed for lighting simulations. Find the Luminance and Illuminance tonemapper in the Camera Editor > Image Processing > Tonemapping section.
| Luminance | Illuminance |
|---|---|
 |
 |
Values are slightly offset when anti-aliasing, but are still visible.
New Sensor Response
To the Camera Editor, we added the new AgX Custom Sensor Response for tweaking the image by controlling the power and saturation.
Power - Only available when Sensor Response is set to AgX Custom. Applies a power value to the image after applying the response curve to control the contrast.
Saturation - Only available when Sensor Response is set to AgX Custom. Applies a saturation value to the image after applying the response curve.
New Denoisers Preferences
We changed the preferences for the used denoiser. Find these in Preferences > Rendering > Render Settings > General Settings > Antialiasing > Denoiser Type. Choose from:
OptiX/Auto - If the hardware and driver version support it, a GPU-based OptiX denoiser will be used; otherwise, Open Image denoiser will be used.
Note:If OptiX/Auto is chosen and no compatible hardware is found or image resolution is set higher than the OptiX/Auto denoiser can handle, VRED automatically uses to the Open Image denoiser.
Open Image Denoise - Always uses the Open Image denoiser. If available, GPU-based denoising will be used; otherwise, the CPU-based denoiser is used.
To set which denoiser is used with Python, try setDenoiserType(CPU) for the CPU denoiser and setDenoiserType(GPU) for the GPU.
Raytracing
Find the following raytracing improvement:
- When GPU raytracing and switching between interactive and stillframe antialiasing mode, wireframe selection is no longer updated, resulting in a noticeable performance improvement.
- We reduced memory consumption and fixed performance for the later NVIDIA drivers for GPU Raytracing.
- Texture filtering for direct visualization of the environment is now enabled.