Render Guide Improvements
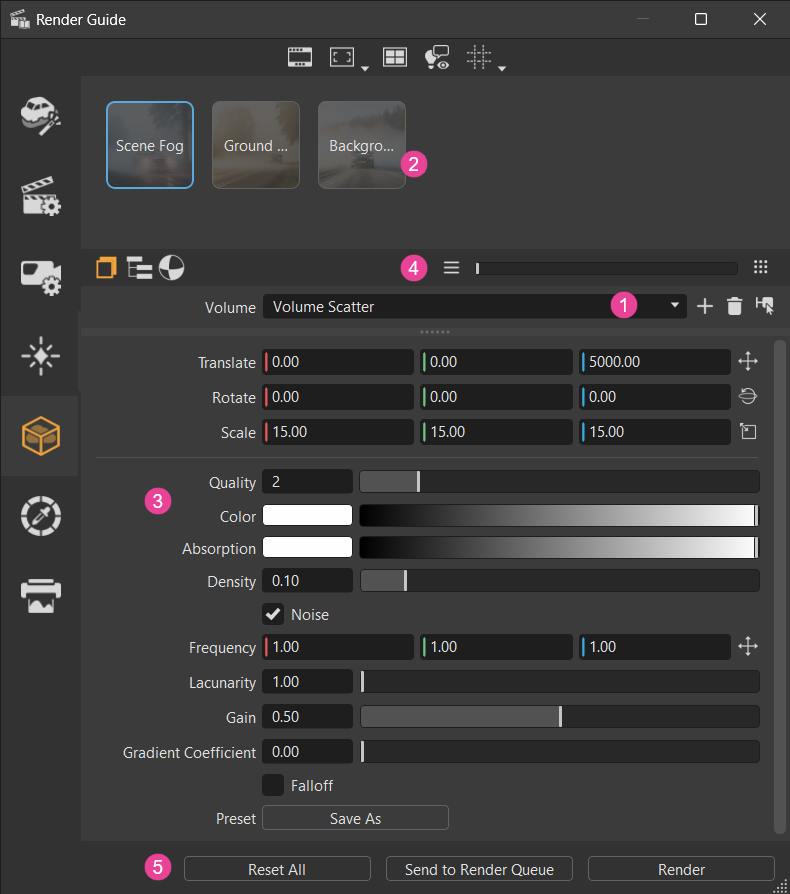
We added film grain camera effects to the Effects category and introduced a new ![]() Volume Fog category, for quickly adding fog to your scene. Choose from background, ground, and scene fog presets. Volume Fog works a bit differently from the other categories, as a volume scatter node needs to be created or selected before a preset is assigned. If the default settings need some tweaking, use the properties to customize the effect further, then save the changes.
Volume Fog category, for quickly adding fog to your scene. Choose from background, ground, and scene fog presets. Volume Fog works a bit differently from the other categories, as a volume scatter node needs to be created or selected before a preset is assigned. If the default settings need some tweaking, use the properties to customize the effect further, then save the changes.
Video captions: VRED's Render Guide Module now supports custom presets and integrates the Film Grain effect. Offering greater personalization and flexibility, this enhancement allows users to tailor their rendering processes to their needs and semi-automate important steps to achieve high-quality visual results efficiently.
 Volume Fog
When first accessing the Volume Fog category, you are prompted to create a volume to unlock the presets and edit their properties. This makes the volume fog workflow different from the other categories.

Start by creating a volume  . From there, select a preset
  . If modifications are needed, use the properties to make changes, and if additional options are needed, use the quick access editor/module buttons
  . To save the modification to the volume and create a customizable volume fog preset, click Save or Save As .
![]() Volume
Volume
Use these tools to create or select a volume.
- Volume - Provides a list of volumes. When the field is blank, click
 to create a volume scatter node. Once a volume is selected, its properties are loaded.
Use the buttons next to Volume for the following:
- Create - Creates a volume scatter node, adding it to the Scenegraph, Material Editor, and Volume dropdown. Now, it can be chosen as the target for a selected preset. Its settings are loaded into the Properties.
 Delete - Deletes the displayed volume from the dropdown menu and removes it from the Scenegraph and Material Editor. This is greyed out when there are no volumes.
 Select in Scenegraph - Selects the Volume in the Scenegraph, making it easy to find. This is greyed out when there are no volumes.
![]() Presets
Presets
We've added the following presets:
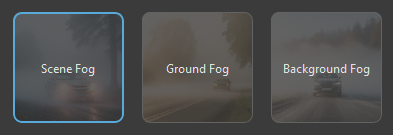
- Scene Fog - Adds fog to your overall scene.
- Ground Fog - Adds fog to the ground of your scene.
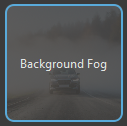
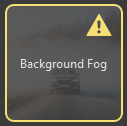
- Background Fog - Adds fog to the background of your scene.
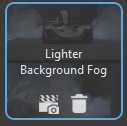
Like with other presets, click a preset to load its properties. Use the default settings or adjust them. When a preset is altered, it is framed in yellow and ![]() appears within it. Click Save As to save the changes, remove the icon, and create a blue framed preset with two icons below its editable name.
appears within it. Click Save As to save the changes, remove the icon, and create a blue framed preset with two icons below its editable name.
| Unaltered Preset | Altered Unsaved Preset | Altered Saved Preset |
|---|---|---|
 |
 |
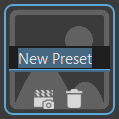 |
New Preset
 There are a few workflows for creating a new preset. See Creating a Custom Preset for instructions for each. In all cases, the preset can be renamed and a custom thumbnail image assigned.
Below the preset name are the following tools:
![]() Preset Image - Enables a custom image (PNG, JPG, JPEG, or BMP image file formats) to be added for the preset thumbnail to distinguish it from others. Locate and select an image, then click Open to load and use it as the preset image.
Preset Image - Enables a custom image (PNG, JPG, JPEG, or BMP image file formats) to be added for the preset thumbnail to distinguish it from others. Locate and select an image, then click Open to load and use it as the preset image.
![]() - Deletes the current preset.
- Deletes the current preset.
If changes are made to a templated preset, if the Volume option is changed, the preset changes are lost, unless Save or Save As was clicked. This ensures that these templated presets are not overwritten.
![]() Properties
Properties
When a preset is selected, its properties are loaded and can be tweaked to create a custom volume fog preset.
Translate, Rotate, and Scale - Transforms the volume fog node. Either enter values in the fields provided or click the icons,
 ,
,  , and
, and  , to the side to display a transform manipulator for manually modify these settings.
Quality - Controls the number of samples taken along each view ray. For maximum performance, enter 1, but for maximum quality, enter 8.
Color - Sets the color of the light scattered by the volume.
Absortion - Sets the color of the remaining light after absorption by the volume.
Density - Sets how far light travels through the volume before being scatter or absorbed.
Noise - Enables the addition of noise to the fog.
Frequency - Sets the noise frequency in each dimension.
Lacunarity - Sets how quickly the frequency increases with every octave.
Gain - Remaps the noise values to either increase or decrease the spread of values.
Gradient Coefficient - Scales the amount the next noise octave evaluation is modified by the gradient of the previous.
Falloff - Enables falloff of the volume material for a smoother transition along its edges.
Offset - Controls the origin of the falloff. A value of -1 starts at the bottom of the given axis. A value of +1 starts at the top of the given axis.
Scale - Sets the amount of falloff for each dimension.
Gain - Increases the falloff rate.
Save - Saves changes to the selected preset.
Save As - Creates a custom preset with a blue outline (when active). This custom preset will appear in the Volume dropdown.
![]() Splitter Bar Tools
Splitter Bar Tools
These tools were added to the splitter bar for accessing the following:
![]() Scenegraph - Opens the Scenegraph for further customization of settings not available in the Render Guide.
Scenegraph - Opens the Scenegraph for further customization of settings not available in the Render Guide.
![]() Material Editor - Opens the Material Editor for further customization of settings not available in the Render Guide.
Material Editor - Opens the Material Editor for further customization of settings not available in the Render Guide.
![]() Render Options
Render Options
Once all changes are made within the guide, use one of these buttons at the bottom of the module to start image calculations.
- Reset All - Resets all the categories. The reset values are updated when loading a project or when creating a new scene.
- Send to Render Queue - Opens a file browser to name and set the location of the saved renderings, then opens the Render Queue, where the image names cannot be changed. Use the buttons along the bottom to send all renders to the Cluster Queue, add them to the Render Queue, or render all. See To Start Image Calculations for more details.
- Render - Opens a file browser to name and setting the location of the saved renderings, then creates the image or movie at that location using the current settings. An image's name can be changed during this process.
Creating a Custom Preset
There are a few workflows for creating a custom preset. One is to create a completely new preset. Another is to modify an existing preset. Another is to select an existing volume scatter node, modify it, and save the changes to creates another preset. In all cases, the preset can be renamed and a custom thumbnail image assigned.
Creating a Custom Preset - Empty Volume Field
If the Volume field is empty, click
. A volume scatter node is created in the Scenegraph and Material Editor, and its default settings are loaded into the Properties. In the Material Editor, the volume scatter node being modified is highlighted. As properties are changed in the Render Guide, they are also changed in the Material Editor.Select a preset to load the default settings for that specific type of fog.
In the Properties, modify the settings to create a custom volume fog preset.
Note:If further modifications are required, but the options aren't available, use
 to open the Material Editor for additional settings not available in the Render Guide.
Click Save or Save As to save the custom preset. To rename the preset, see Renaming a Custom Preset. To customize the thumbnail image, see Adding a Custom Preset Thumbnail.
Creating a Custom Preset - Volume Scatter
If something appears in the Volume field, click
 to choose a volume scatter node to apply the fog to.
In the Properties, modify the settings to create a custom volume fog preset.
Note:If further modifications are required, but the options aren't available, use
to open the Material Editor for additional settings not available in the Render Guide.Click Save As to create a new preset. To rename the preset, see Renaming a Custom Preset. To customize the thumbnail image, see Adding a Custom Preset Thumbnail.
Creating a Custom Preset - Modified Preset
Click
to choose a volume scatter node from the Volume field to apply the fog to.Select a preset.
In the Properties, modify the settings.
Note:If further modifications are required, but the options aren't available, use
to open the Material Editor for additional settings not available in the Render Guide.Click Save As to create a new preset. To rename the preset, see Renaming a Custom Preset. To customize the thumbnail image, see Adding a Custom Preset Thumbnail.
Renaming a Custom Preset
Custom preset names support both ASCII and Unicode character sets and can be renamed. When a preset is created, the name is immediately editable and this is an ideal time to rename it. At any other point, click the name to make it editable, enter a new name, and press Enter.
Adding a Custom Preset Thumbnail
For a custom preset thumbnail, VRED supports PNG, JPG, JPEG, and BMP image file formats.
If you change the image file format to All Files, then any image format supported by Qt can be loaded. See https://doc.qt.io/qt-6/qtimageformats-index.html for more information.

Click
 .
.Navigate and select an image to represent the preset.
Click Open.
Default Preset Image Custom Preset Image 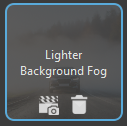
 Effects
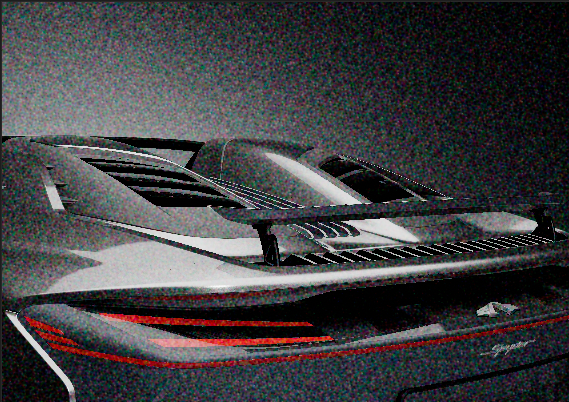
We have added the newly introduced Film Grain camera effect.
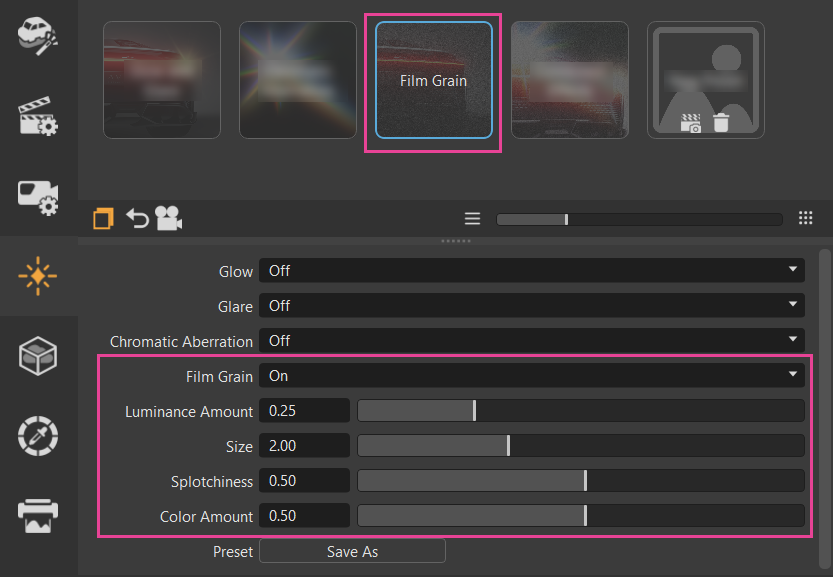
Film Grain - Enables or disables film grain, which creates a cinematic camera effect that distorts clean rendering and shifts it for a very emotional look. It simulates the noise of the camera and is more visible in darker areas, than light. It is pixel-based, so its size is always relative to the rendered resolution. The noise pattern changes with each frame.
Luminance Amount - Sets the amount of luminance film grain.
Luminance Amount = 0.25 Luminance Amount = 1 
Size - Sets the size of the grains.
Size = 2 Size = 4.87 
Splotchiness - Sets the intensity of the splotches in the film grain.
Splotchiness = 0.5 Splotchiness = 1 
Color Amount - Sets the amount of colored film grain.
Color Amount = 0.5 Color Amount = 1