The Mirror tab mirrors skin weights across a defined axis.
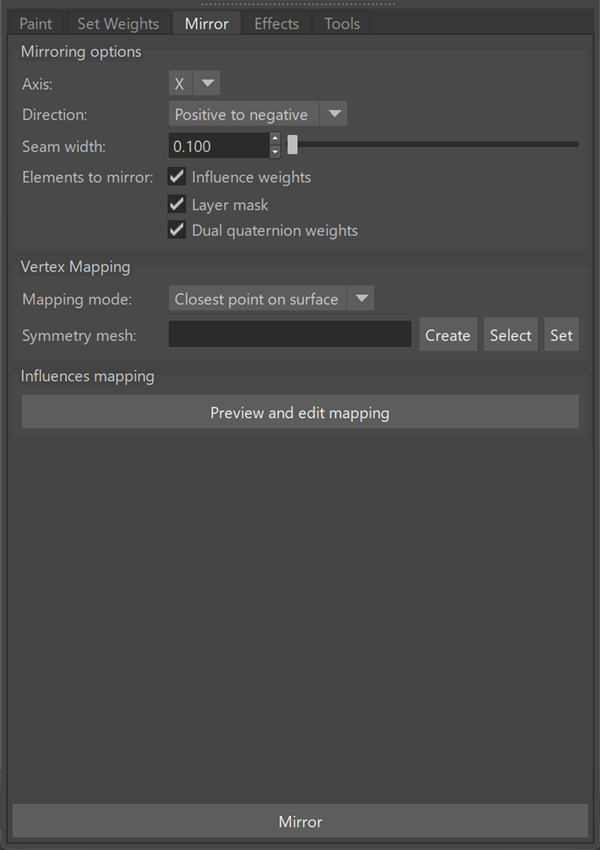
Mirroring options
Controls how weights are mirrored.
| Axis |
Specifies the axis used for symmetry during mirroring.
X: Mirrors across the X axis. Y: Mirrors across the Y axis. Z: Mirrors across the Z axis. |
| Direction |
Specifies how values are transferred across the selected symmetry axis during mirroring.
Guess from stroke: Determines the mirror direction automatically based on the stroke or selection. Positive to negative: Mirrors values from the positive side of the axis to the negative side. Negative to positive: Mirrors values from the negative side of the axis to the positive side. Flip: Swaps values between both sides of the axis. |
| Seam width | Controls blending across the symmetry seam. |
| Elements to mirror | Specifies which data is included in the mirror operation.
Influence weights: Mirrors skin weights. Layer mask: Mirrors layer mask values. Dual quaternion weights: Mirrors dual quaternion blend weights. |
Vertex Mapping
Controls how vertices are matched across the mesh.
| Mapping mode |
Specifies how vertices are matched between the source and target sides during mirroring.
Closest point on surface: Matches vertices based on the closest point on the mesh surface. UV space: Matches vertices based on their position in UV space. |
| Symmetry mesh | Defines or selects a mesh used for symmetry mapping. |
|
A symmetry mesh is a version of the original mesh that is modified to ensure a clear correspondence between vertices on opposite sides. To create a symmetry mesh:
Note: Overlapping or intersecting geometry can prevent accurate vertex matching during mirroring.
|
Influences mapping
| Preview and edit mapping |
Opens the mapping editor to preview and adjust influence pairs used for mirroring. Use this tool to verify that influences on one side of the mesh are correctly paired with corresponding influences on the opposite side. In the mapping editor, you can:
Note: Accurate influence mapping depends on consistent naming and symmetrical structure. Mismatched or missing pairs may require manual adjustment.
|