- At the Command prompt, enter
plantfittingadd.
Tip: While creating a pipe route with PLANTPIPEADD, enter f (Pipe Fitting) after specifying the start point to place a valve or other component at the end of the route.
- In the Part Placement dialog box, click a category icon.
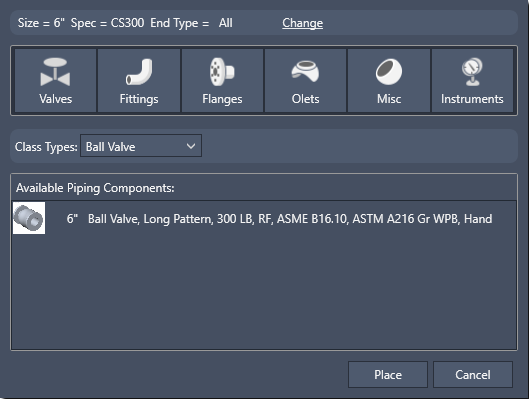
- In the Class Types list, click a component description (for example, Ball Valve).
- In Available Piping Components, click component (for example, Ball Valve, Long Pattern, 300LB, RF).

- Click Place.
- If you want to specify a different connection port, enter
n (Orientation).
You can continue to enter n to cycle through all ports.
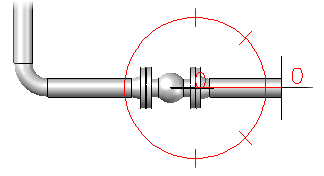
- If you want to specify the center of the valve, enter i (Insertion point).
- Specify a point to place the valve.
- Click to specify a component rotation or press Enter for zero.