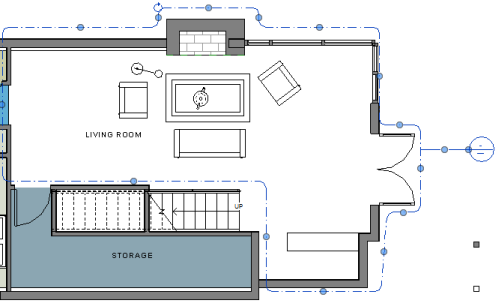
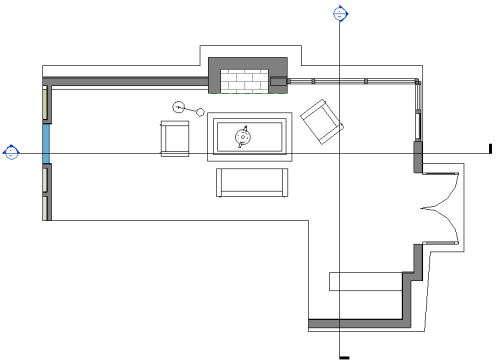
- In a project, click View tab
 Create panel
 Callout drop-down
 (Sketch).
 - In the GUID-A764EA7A-FE26-469B-857C-F3A70812FC34.htm#WS1A9193826455F5FF219F8B8B1249CF2CB82-5A0A, select the type of callout to create: a detail callout or a view callout (a callout view that has the same view type as the parent view).
- Use the tools on the Modify and Draw panels to sketch the callout view.

- When you are finished, click
 Finish Edit Mode. Note: If you want to reset an edited callout to a rectangular shape, select it, and click Edit Modify | <view type> tab
 Mode panel
 Reset Crop.
 - To see the callout view, double-click the callout head
 .
. The callout view displays in the drawing area.
