Before starting the render process, see Rendering Best Practices for information about how you can improve performance.
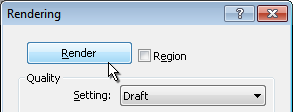
After preparing the 3D view and using the Rendering dialog to select desired settings, click Render to render the image.
Vasari begins the rendering process, rendering one block of the image at a time. Vasari displays a progress dialog, which shows information about the rendering process, including the numbers of daylight portals and artificial lights.
Note: To cancel the rendering process before it completes, click Cancel.
When the rendering process is complete, Vasari displays the rendered image in the drawing area.
You can then do the following:
- Change render settings, and render the image again.
- Adjust exposure settings.
- Save the rendered image as a project view.
- Export the rendered image to a file.
- Display the building model in the drawing area.
In the Rendering dialog, click Show the model. To display the rendered image again, click Show the rendering.