You can import raster images to a project to use as background images or as visual aids needed during the creation of a model. By default, images are imported behind the model and annotation symbols; however, you can change the display order. You can import images into 2D views and 3D orthographic views.
You can import images using the Image tool or by dragging and dropping them from Windows® Explorer.
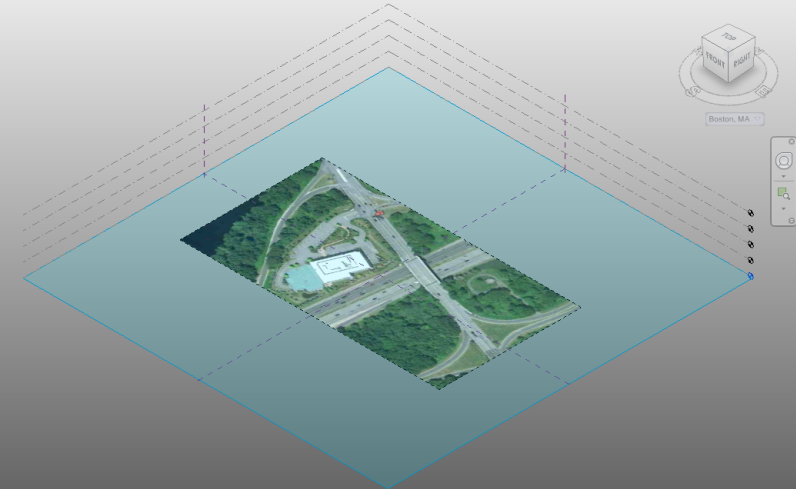
To import an image into a 3D view
- Click Insert tab
 Import panel
 (Image).
 - In the Import Image dialog, navigate to the folder containing the image file to import.
- Specify the level to place the image.
Level 1 is the default.
- Select the file, and click Open.
The imported image displays in the drawing area and moves with the cursor. The image displays symbolically, with 2 crossing lines indicating the extents of the image.
- Click to place the image.
To import an image into a 2D view
- Click Insert tabImport panel (Image).
- In the Import Image dialog, navigate to the folder containing the image file to import.
- Specify the level to place the image.
The current level is the default.
- Select the file, and click Open.
The imported image displays in the drawing area and moves with the cursor. The image displays symbolically, with 2 crossing lines indicating the extents of the image.
- Click to place the image.