You can use drag controls and break line controls to resize a crop region. Break line controls remove portions of the view. If you need to show the crop region, see Showing or Hiding Crop Regions.
To resize a crop region using drag controls:
- Select the crop region.
- Drag the blue arrow controls to the desired size.
To resize a crop region using break line controls:
- Select the crop region.

Selected elevation view crop region with break line controls
- Move the cursor near a break line control (
 ).
).As you place the cursor near a break line control, the portion of the view that will be removed is indicated by the X.
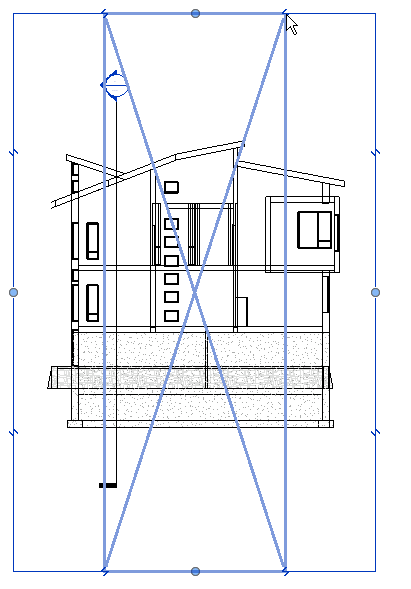
Highlighted view portion to be removed
- Click the control to break the view into separate regions.

Two new crop regions created
You can resize the split crop regions using the drag controls and the break line controls. You can consolidate the split crop regions by dragging the boundary of one crop region on top of the other. A message indicates that the regions will be consolidated.