Note: Changes made to the orientation or position of the 3D camera are considered temporary until they are saved. For information on saving a 3D view, see Saving a 3D View Orientation as a Project View.
- Open the perspective 3D view.
- In the Project Browser, right-click the perspective 3D view name, and select Show Camera.
The camera is selected in all views where the camera is visible, such as plan, elevation, and other 3D views.
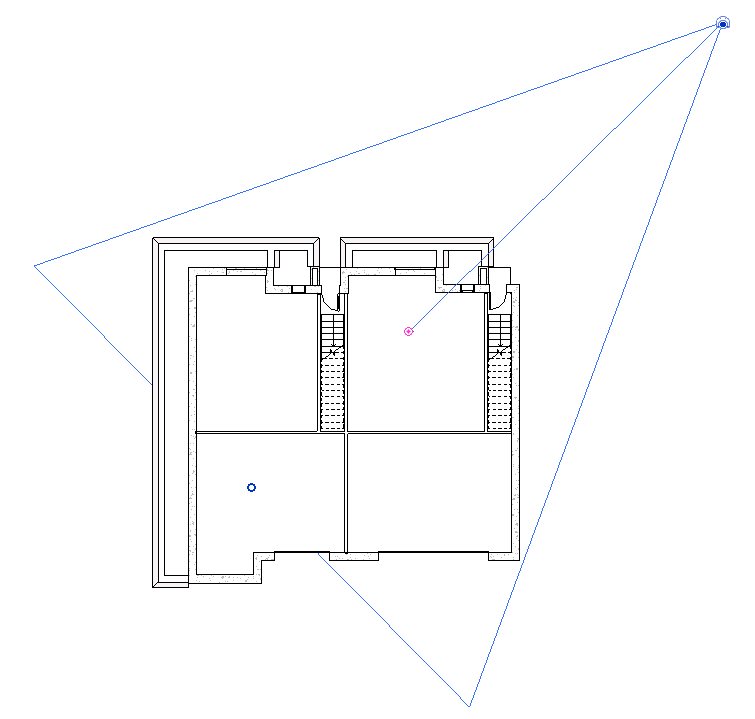
Selected camera in plan view
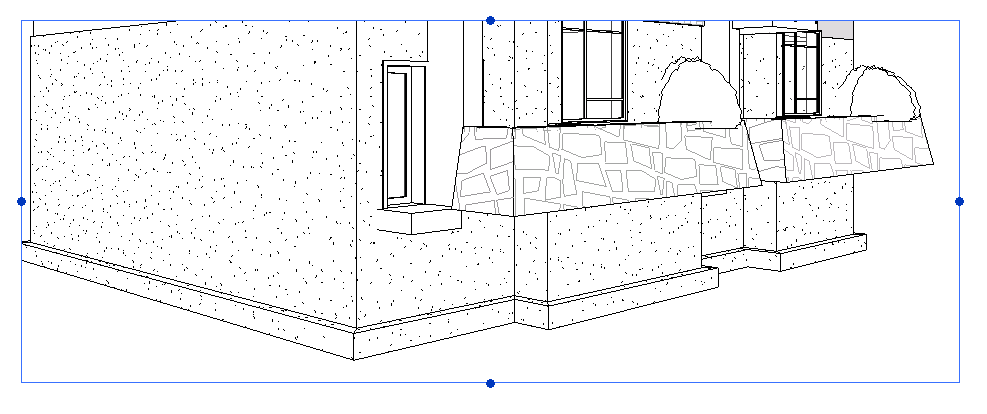
Selected camera in 3D view
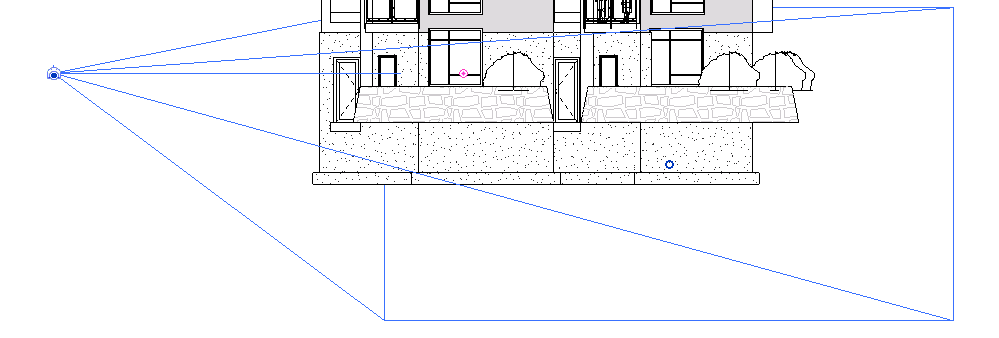
Selected camera in elevation view
- In the Project Browser, double-click the view in which you want to modify the camera position (for example plan or elevation).
- Drag the camera to move it. The view updates according to the new camera position.
- Drag the target to move it. The view updates according to the new target point.
- Select the perspective view. Drag the handles to vary the field of view (FOV).