Work with Issues in the Viewer
When creating an issue, you can place it on a 2D file/sheet or 3D model. You can change the issue placement at any time by editing an issue.
See Work with Issues in the Viewer on Android and Work with Issues in the Viewer on iOS to learn how to work with issues in the viewer on mobile.
In this topic, you can learn how to:
Open Issues in the Viewer from the Issues Tool
Click the Issues tool.
In the Issues Log, click the issue that you want to open in the viewer.
This action opens the issue panel on the right side of the screen.
In the Details tab of the issue panel, click the link in the Placement field.
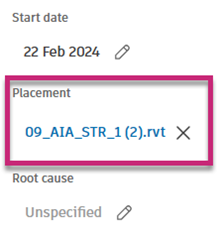 Tip: You can add the Placement column to the Issues Log by clicking the gear icon
 in the upper-right corner of the Issues Log. If you do so, you'll be able to access the Placement link directly from the Issues Log.
Open Issues in the Viewer from Files or Sheets
In addition to opening an issue in the viewer from the Issues tool, you can also open your issue in the viewer from the Files tool or the Sheets tool.
Click the Files or Sheets tool.
Navigate to the desired 2D file/sheet or 3D model.
Click the 2D file/sheet or 3D model that you want to open in the viewer.
Tip: Issue pins indicate places where issues are placed on a 2D file/sheet or 3D model.
See View All Issues Associated with the File for more information.
View All Issues Associated with the File
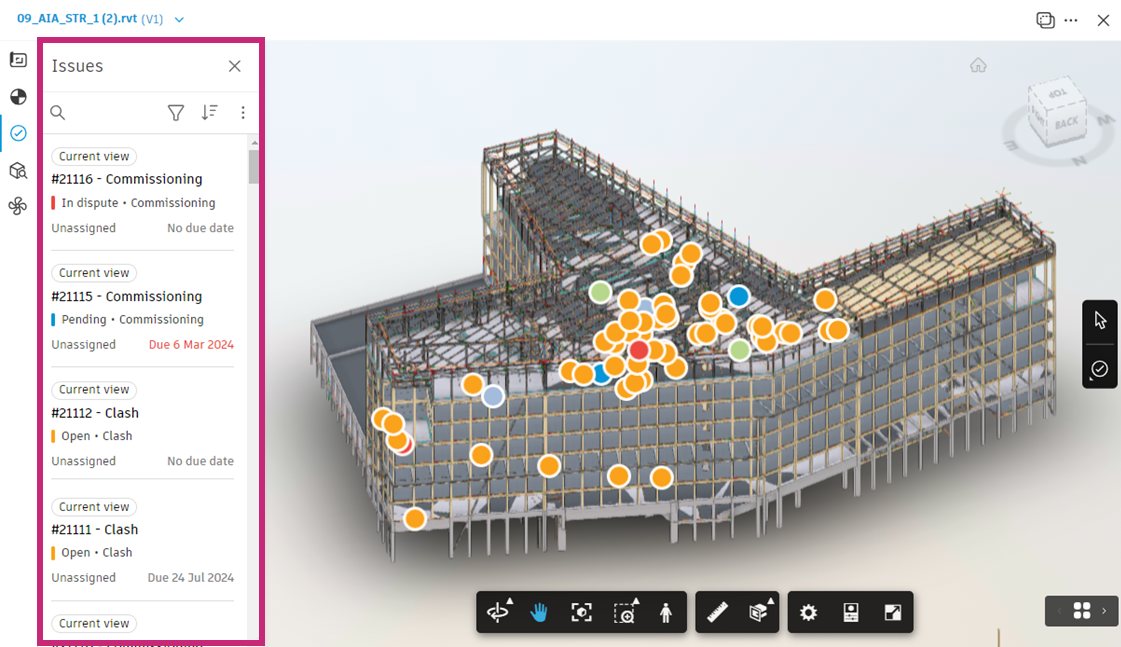
When you view a file in the viewer, you can see all issues associated with that file. Issue pins indicate places where issues are placed on a 2D file/sheet or 3D model. You can see details of each issue in the Issues list view.
To access the Issues list view:
In the Files tool, click a file to open it.
Click
 in the left navigation.
Click
 to search for issues by title or ID.
 Click
 to filter the issues by any of the following:
- Category
- Type
- Status
- Location
- Assigned to
- Watchers
- Start date
- Due date
- Root cause
- Published or unpublished
- Created by
- Created on
- Custom fields
Click
 to select how your issues are sorted in the list. The following options are available:
- Status (Draft–Closed)
- Status (Closed–Draft)
- ID ⬇ = Descending order by ID number
- ID ⬆ = Ascending order by ID number
- Due date ⬇ = Latest to earliest
- Due date ⬆ = Earliest to latest
Click
 to see options for exporting this list of issues.
- Export report – Create a report, similar to what is available in the Reports tool. Edit the report title, select a type and file format (as applicable) and toggle options. Click Run report.
- Export as BCF – The selected issue or issues will be exported as a BCF file and sent to your email when it is ready. You can edit the file name and click Export.
Click an issue to bring it into view, and its details will open in a panel on the right. You can continue with editing the details and viewing its activity log.
The "Current view" label visible next to some issues in the Issues list indicates whether a specific issue has been placed on the current view or other 2D or 3D views. See Move Between 2D and 3D Views in the Files Tool for details.
Example of issues placed on a 3D model
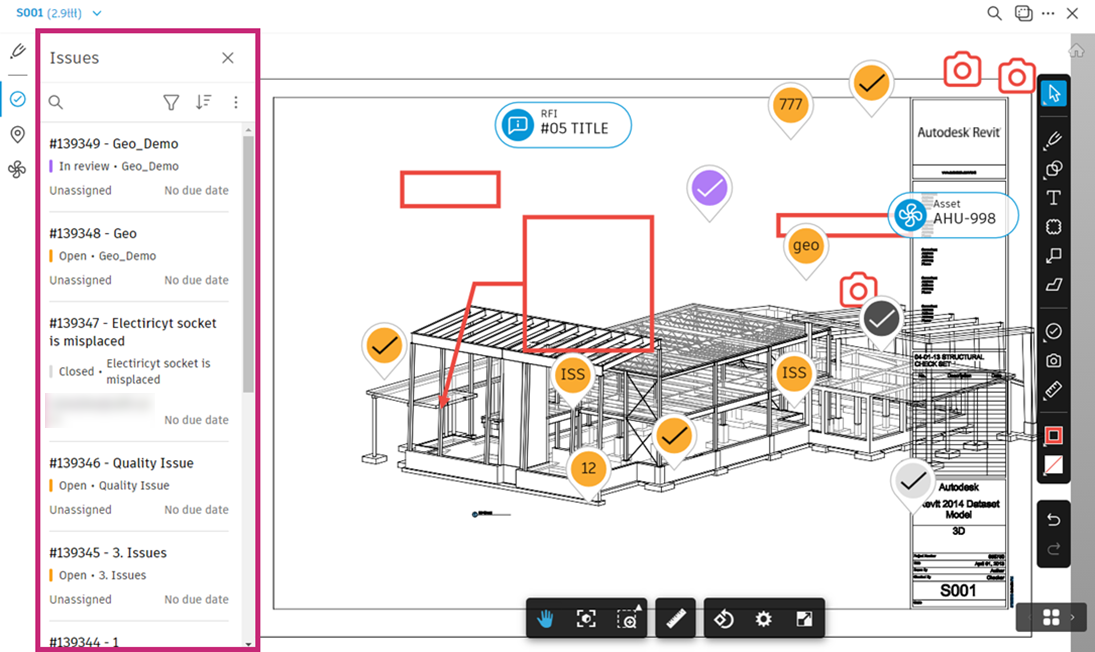
Example of issues placed on a 2D file

Example of issues placed on a sheet
Move Between 2D and 3D Views in the Files Tool
To move between 2D and 3D views:
Click on the Files tool.
Navigate to the file that you want to open in the viewer.
Click the file.
In the viewer, click the Sheets & Views icon
 at the top left of the screen to switch between 2D and 3D views.
 Click the desired view to open it in the viewer.
Tip: The "Current view" label visible next to some issues in the Issues list indicates whether an issue is placed on the current view or other 2D or 3D view.
Edit Issue Details in the Viewer
When viewing issues in the viewer, you can click a desired issue to edit its details. This will open the issue panel on the right of the screen.
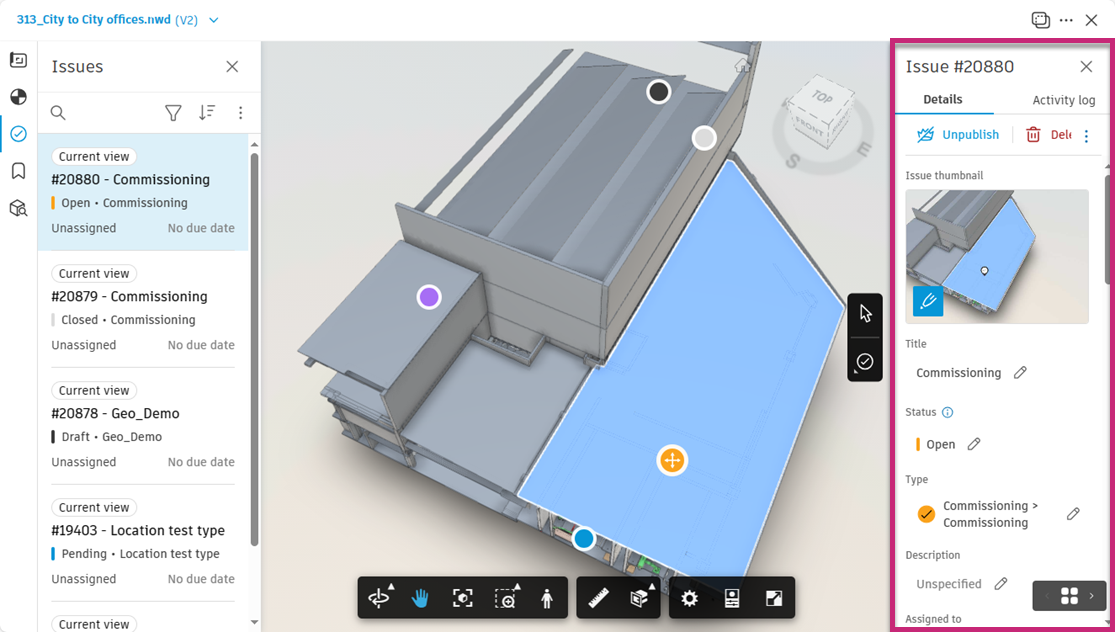
You can edit any of the issue's fields:
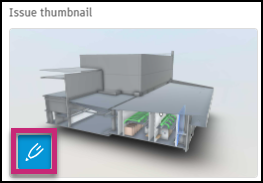
- Issue thumbnail (in issues placed on 3D models) – Click the Add markups icon in the bottom-left corner of the thumbnail to activate the markup mode and add markups as desired. Click Save thumbnail.
- Title
- Status
- Type
- Description
- Assigned to
- Watchers
- Location
- Location details
- GPS location
- Due date
- Start date
- Placement: To unlink an issue from a file, click
 next to the link in the Placement field. You can link an issue again from the Issues Log.
 - Root cause
- Any custom fields
- References: You can add references to photos, files, RFIs, assets, forms, submittals or PCOs. See Issue References and Attachments for more information.
- Comments
Note the following considerations:
- Changing issue status is reflected in the change of colour of the issue pin
- Changing issue type is reflected in the text displayed in the issue pin
- When you unpublish an issue, the colour of the issue pin associated with that issue will be dimmed
Create Issue Markups in the Viewer
You can create issues and place them on a 2D file or 3D model in the viewer.
On 2D files
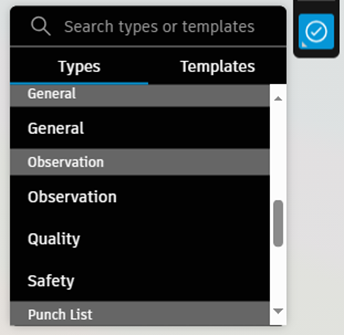
Select the issues markup tool
 from the toolbar.
 Select from the issue Types or Templates.
Types are preconfigured or created in the Type settings.
Templates have an associated type and can contain prepopulated information to make creating issues faster. Templates are created in the Templates settings.
Click to place the issue pin and create the issue. Issues are automatically published by default.
Edit the fields on the right-hand panel.
Tip: When an issue is selected, you can move the issue pin by dragging and dropping it to a new location.
On 3D models
Select the issues markup tool
from the toolbar. Select from the issue Types or Templates.
Types are preconfigured or created in the Type settings.
Templates have an associated type and can contain prepopulated information to make creating issues faster. Templates are created in the Templates settings.
Click to place the issue
 in a desired location on a 3D model. Issues are automatically published by default.
A screenshot of the current view with the issue pin will be uploaded as a thumbnail to the issue. On the issue panel that appears on the right of the screen, you can click the thumbnail to open the full-size image.
To add a markup to the thumbnail:
a. Click the Add markups icon in the bottom-left corner of the issue thumbnail.
b. Use the tools in the toolbar to create markups.

See Markups Toolbar for more information.
c. Click Save thumbnail to save your markups to the issue thumbnail. The thumbnail in the panel on the right will update accordingly.
To retake a thumbnail to clear or update the markups:
a. Click the Retake thumbnail icon in the bottom-left corner of the issue thumbnail.
b. Click Take a new thumbnail.
c. The issue thumbnail will update accordingly. Click to add new markups.
Edit any issue fields as needed.
Tip: When an issue is selected, you can also move the issue pin by dragging and dropping it to a new location. The issue thumbnail will update accordingly with the new view of the issue pin.
Click the Close icon
 in the panel to return to the model.