Progress Tracking Dashboard
After you create progress mark-ups and update them, the Progress Tracking dashboard will populate with associated data.
The dashboard provides a high-level overview of installation progress on your project. You'll see a breakdown of installation activity for an object type tracked by percentage, measurement or count.
The dashboard does not immediately update when changes are made to the progress tracking mark-ups in the Sheets Tool. If you do not see changes after making an update, try again after at least 10 minutes.
How to use the Progress Tracking Dashboard
Navigate to the ‘Overview’ tab of the Progress Tracking tool in Autodesk Build.
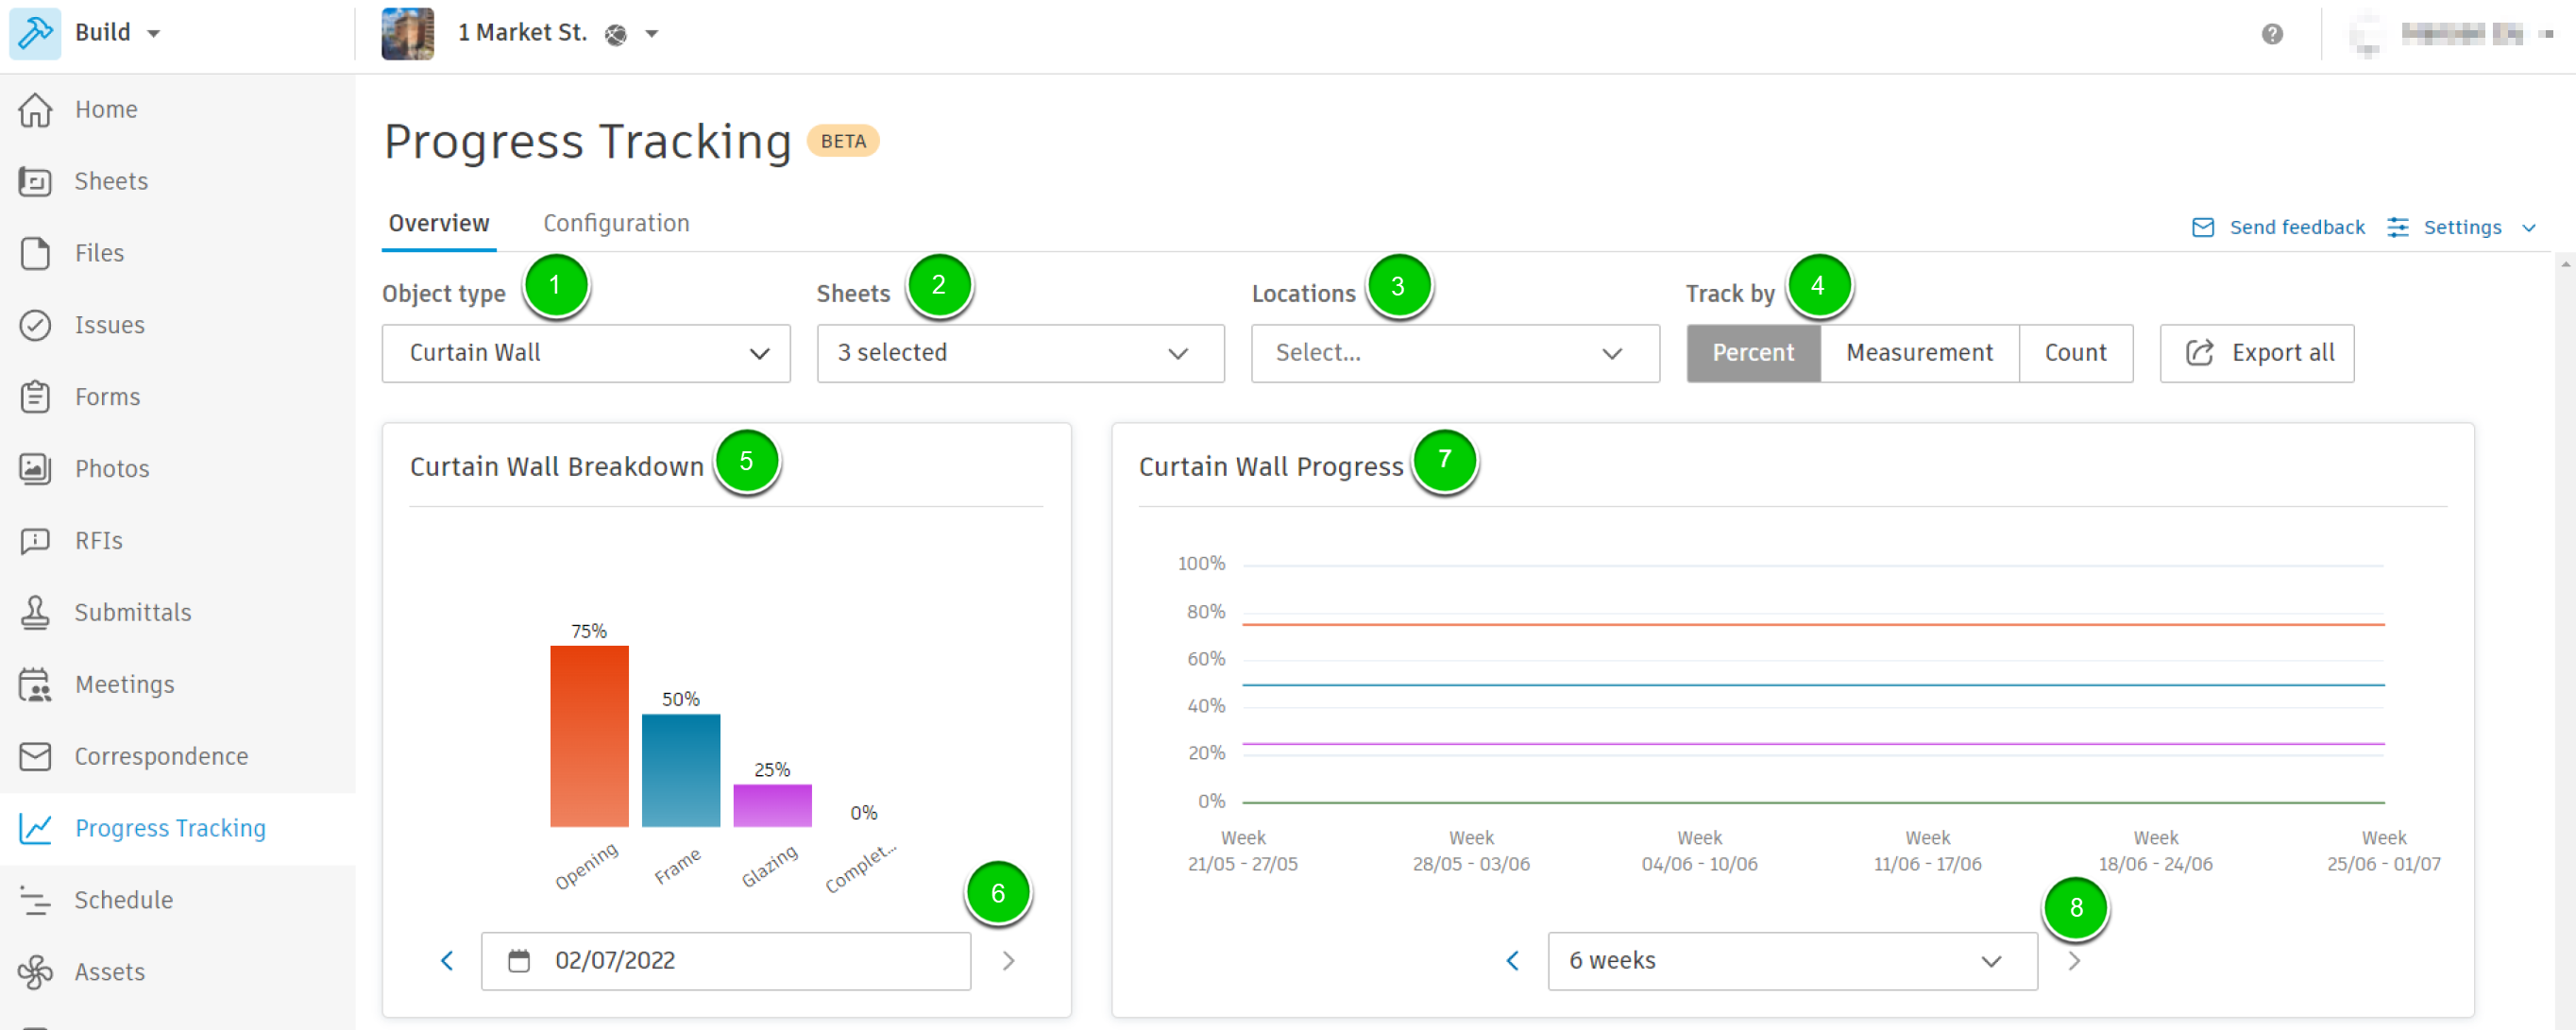
- Select an object type to track
- Select sheets to include in tracking
- Use the Apply button in the drop-down to apply your sheet selection. Use the Clear button to view mark-ups from all sheets
- Select locations to include in tracking
- Locations are preconfigured in your project and need to be set on each progress tracking mark-up to populate data. Learn more here.
- Toggle viewing progress by percentage, measurement or count
- Breakdown of activity levels for your selected object type
- Date selection for object type activity breakdown
- Installation progress over time tracked by percentage or count
- Date range for installation progress
- Choose between a 7-day and a 6-week range
To learn about exporting progress tracking data, click here.
Troubleshooting Measurement Data for Progress Tracking
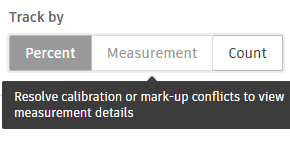
If you are unable to select ‘Track by Measurement’ in your Progress Tracking dashboard or are receiving a message that measurement data cannot be loaded, review the following requirements:
- All sheets with progress tracking mark-ups of that type need to be calibrated.
- All progress tracking mark-ups of that type need to be either linear or spatial. They can't be a combination of both.
For example, you have an object type ‘Walls’ and you want to use progress tracking to track by linear feet.
- Check that every sheet your ‘Walls’ mark-ups are placed on is calibrated.
- Check that all the ‘Walls’ mark-ups are of the same type. There are only certain types of mark-ups that you can use for linear feet measurements: line, polyline and highlighter.
Further instructions on calibration and placing mark-ups can be found in Creating Progress Tracking Mark-ups