Create and Style Markups
Project members can create, edit and delete the markups they've created on sheets on web or mobile. Only project members with Create permissions or above can publish markups to enable all project members to view.
Create Markups
To create markups:
Open a sheet in the Sheets tool.
Select a tool from the markup toolbar on the right and start creating your markup.
Click on the sheet to place the markup. Adjust the handles of the markup shape to control the size and layout of the markup.
Tip: Click and drag when placing the markup to control the size and orientation of the markup from the start.Click out of the markup to complete.
At this point, the markup is unpublished and only visible to you as the creator.
Unpublished Markups
An unpublished markup is only visible to the member who created it. All markups are initially unpublished, and members with the relevant permissions must publish these to make them visible to the entire project.
Published Markups
Published markups are visible to all members. Only members with Create permissions or above can publish markups. See Markups Permissions for more information.
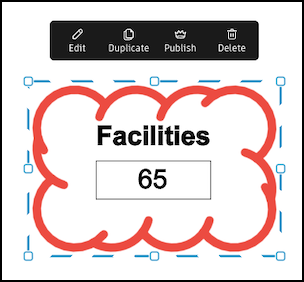
Select the markup.
Click Publish (subject to your permissions)
Style and Edit Markups
You can select border colours to apply to all standard markups and fill colours to apply to shapes, textboxes and callouts, directly from the markup toolbar. The selections you make will persist so that any markups you create from now on will follow these colours.
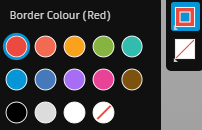
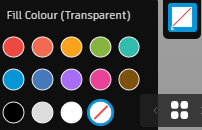
For border, click on the border icon, and for fill, click on the filled square icon. Select a colour from the options.
To apply more advanced styling options for all markup types:
Select an existing markup.
Note: To bulk edit markups, press shift and click on each markup to add or remove them from the selection. You can only edit attributes applicable to all selected markups and any changes will apply to all selected markups.Click Edit to open the edit panel.
Choose from the available settings in the Details tab:
- Text colour – Text box and call-out mark-ups only
- Font size - Text box and callout mark-ups only
- Border colour
- Border opacity
- Border thickness
- Fill colour
- Fill opacity
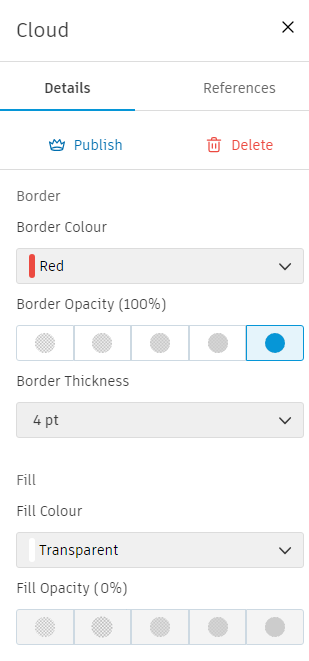 Note: You also have options to Publish or Unpublish (where relevant), Delete and add or remove References in the Details tab. For more information about adding or removing references from a markup, see Add References to Markups.
Click
 in the top-right corner to close the panel.
Any markups you create from now on will use the settings you select.