AOV Object ID tutorial
 |
 |
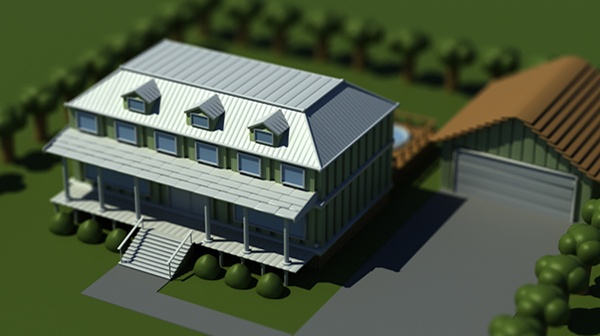
| Beauty | object_id pass (utility shader set to obj) |
The aov_write shader in combination with the utility shader is a useful combination for writing out an Object ID pass. This simple setup will allow you to use an ID pass in compositing software to identify certain objects by their color. We will also isolate certain objects and give them specific id's with which to group by color.
Standard Surface
- Open the Slate Material Editor.
- Start off by creating a standard_surface shader that you want to use as the beauty shader.
Aov_write_rgb shader
- Now we need to create an aov_write_rgb shader (you must connect an aov_write node into each material that requires an AOV). We will use this shader to write out our object_id pass. From the search bar on the left, type 'aov_write_rgb'. Drag this shader onto the main work area in the center. Assign it to the geometry that you want to create an Object ID render.
- Select the aov_write_rgb shader and type object_id, into the aov_name. This is the name of the object_id render pass that we want to create.
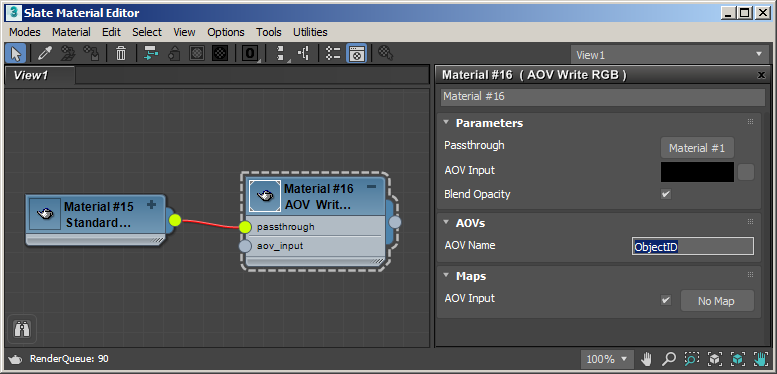
object_id added to aov_name of aov_write_rgb shader
Utility shader
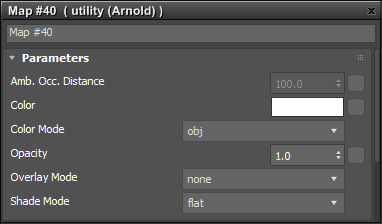
- Next, create a utility shader. Change the shade_mode to flat because we only want flat-shaded color for our Object ID pass. Change the color_mode to obj. Object mode will use the name of the objects in the scene to compute the color.
- Connect the utility shader to the aov_input attribute of the aov_write_rgb shader. The output of the utility shader will be directed to our custom AOV by connecting it to the aov_input parameter.
- Connect the output of the standard_surface shader to the passthrough attribute of the aov_write_rgb shader. The reason it is connected to the passthrough is that we want to see the output of the standard_surface shader in the beauty render.
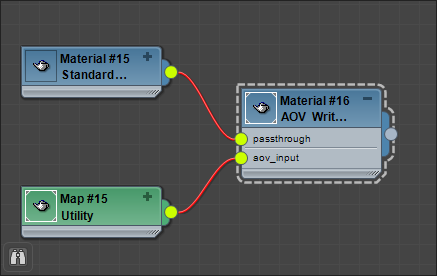
Final shader network
Custom AOV
- In the previous setup, we defined data to be written to a custom AOV. However, we have not added our AOV to the scene yet. Now we need to create a custom AOV to write out our Object ID. Open the Render Setup window and under the AOVs tab, select Arbitrary Output Variables (AOVs) Manager.
- Create a Custom AOV. Add the same name that we used for the AOV name that we used earlier 'ObjectID'. If the names don't match, it will not work. In the AOV window, a new group called
is created. This group lists all custom AOVs defined in the scene. Our newly created custom AOV is activated by default, and you can see the name 'ObjectID' in the Active AOVs list on the right.
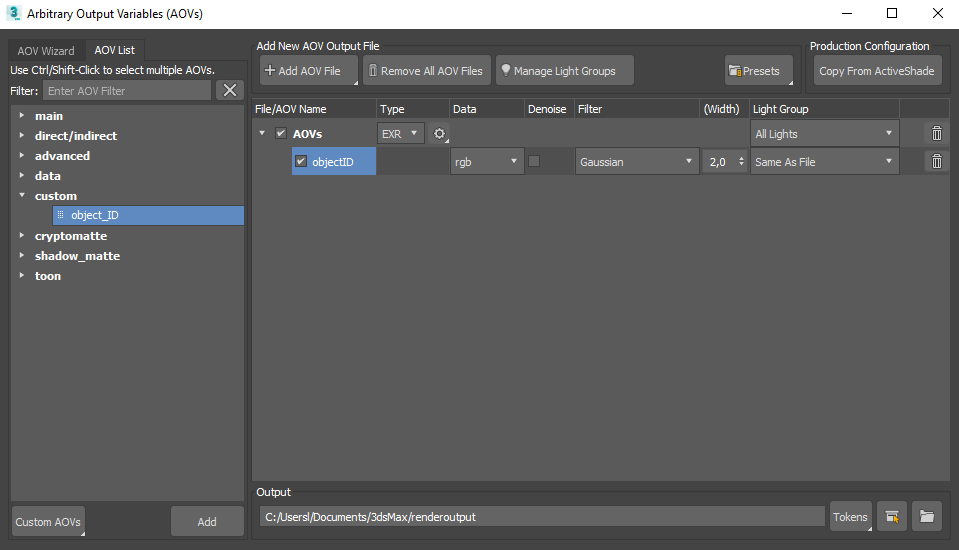
Add a Custom AOV and rename it 'ObjectID' (the same name used for the aov_write_rgb shader)
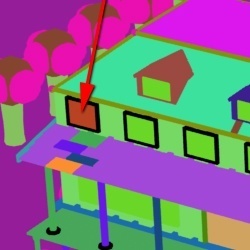
- Now when we render the scene, we can see our newly created ObjectID AOV! The aov_write_rgb collects the ObjectID attribute from the geometry and passes it to the ObjectID AOV.

utility shader's *object_mode uses the name of the shapes to compute the color*
Window
We can also use the Object ID Color Mode to define individual id's to object's inside a group. For example, currently, all of the windows are grouped together and so render with the same id color. If we want to change the color of one of the window objects, we can repeat the above process but apply it to the first window using a different id number (id 2).
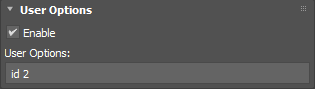
Arnold Properties Modifier added to first window with 'id 2' added to User options*
 |
 |
| All windows use current 'id1' assigned to the house | 'id2' Arnold Tag assigned to first window within window group |