Revit Interior to MAXtoA
In this tutorial, we will cover how to convert a house scene from Revit to 3ds Max for rendering in MAXtoA. You will need to use the Scene Converter in 3ds Max to convert the materials into 3ds Max native Physical shaders, the Daylight/Exposure into a Sun Positioner and physical_sky, and the Camera into a Physical Camera. 3ds Max Photometric lights are supported in MAXtoA and therefore will not need to be converted. This process will save us time and energy from having to convert them individually for use with MAXtoA.
Once converted, the scene will be set to use the ART renderer by default. Therefore, you will need to choose Arnold from the Render Setup. The house model ships with Revit and is free to use and share as a sample model owned by Autodesk.
Revit House Project
- Typically, the first thing you should do when starting a new project in 3ds Max is to create a folder for that project. Rename the folder to 'Revit House'.
- Set 3ds Max's project to that folder. File -> Manage -> Set Project Folder.
- Copy the Revit scene to the 'import' folder of the project.
The use of Projects eliminates the need for modifying the User Paths in 3ds Max to handle every file or path you might need. It will automatically look in the.\sceneassets\images folder for any project-specific maps. The “.\” at the start of a path string means that it is relative to the project.
Revit Scene
- Start by importing the Revit file: rac_basic_sample_project.rvt.If you do not have Autodesk Revit Interoperability installed for 3ds Max, try importing the .fxb file from Revit.
Information about linking a Revit file to 3ds Max can be found here.
Scene Converter
- Open the Scene Converter window - Rendering -> Scene Converter. The Scene Converter should default to Convert to ART Compatible Features using the ART.ms preset script. We will use this script as MAXtoA supports the Physical cameras and shaders provided by this script.
- Select Convert Scene. The script will convert the Autodesk Materials into Physical shaders, the Daylight/Exposure into a Sun Positioner and physical_sky, and the cameras into Physical Cameras. The Max Photometric lights are now supported in Arnold and so will not need to be changed.

A video about using the Scene Converter can be found here.
Physical Sky
The current scene uses the Physical Sun and Sky Environment. This will need to be replaced with the Arnold Physical Sky shader.
- In the Slate Material Editor, create an Arnold physical_sky shader.
- Open the Environment and Effects window (8) and drag the physical_sky shader onto the Environment Map: parameter slot.

- If you notice any noise in the shadows, try increasing the number of Samples (Quality) for the IBL under Environment & Background in the Arnold Renderer tab of the Render Setup window.
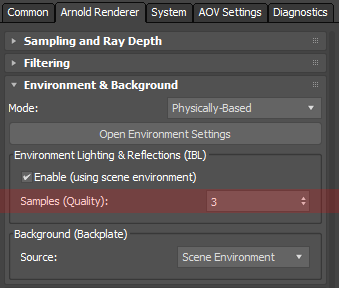
Light sample noise is more visible in the shadows when using the default Samples (Quality) of 1. Increasing this value to 3 or 4 will reduce this type of noise. Bear in mind that render times will increase when increasing this value.
 |
 |
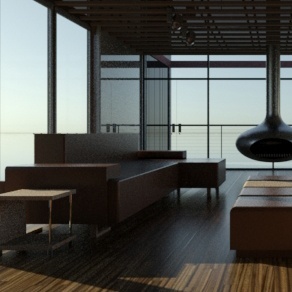
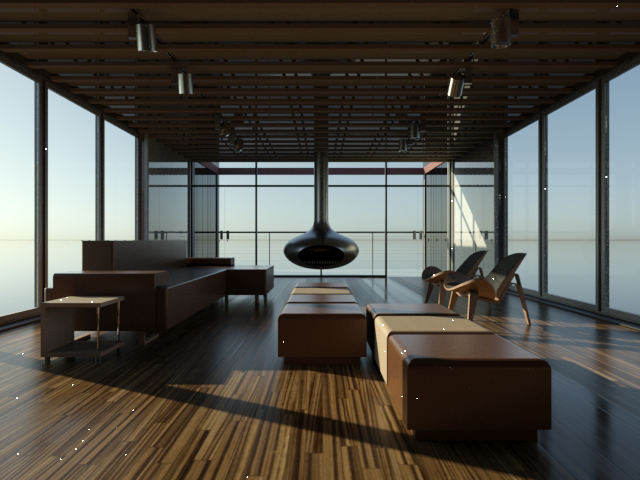
| Samples (Quality): 1 | Samples (Quality): 4 |
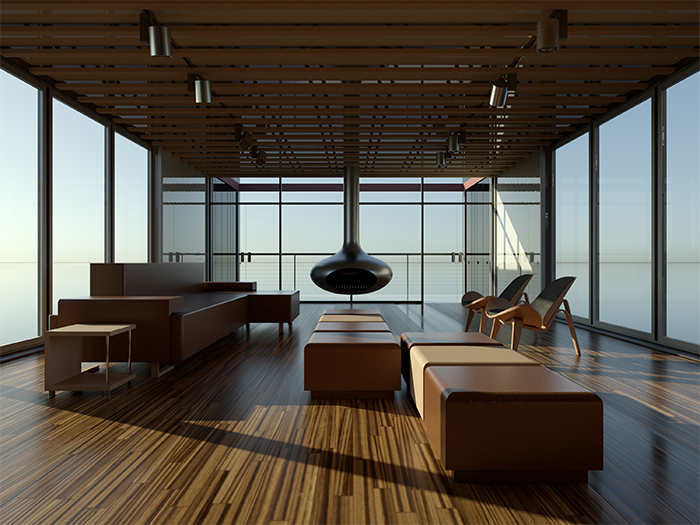
Rendering
Clamping Fireflies
Rendering the scene reveals some fireflies. In this situation, they are caused by the bright sun disc from the physical_sky shader. This kind of noise is difficult to remove by simply increasing the number of samples in the Render Setup. A simple way to remove them is to use clamping.
Fireflies caused by the physical_sky shader
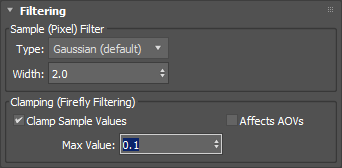
Clamping max_value set to 0.1 to reduce fireflies
A tutorial that shows ways to remove fireflies can be found here.
An alternative method for avoiding fireflies caused by the sun in the Physical Sky is to add a different physical_sky shader to Render Setup window -> Arnold Renderer -> Environment & Background -> Background (Backplate) -> Custom Map and disable enable_sun. That way the sun will not be visible in any glossy reflective surfaces, and therefore no fireflies will be visible.

Sampling
Once we are happy with the shaders and lighting, we can progress onto adjusting the sampling for final frame rendering.
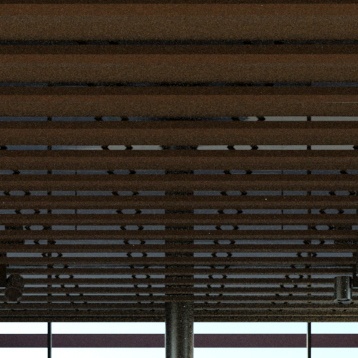
Diffuse (Gi) Sampling
We can remove noise from the indirectly lit surfaces in the scene by increasing this value. In the example images below, we can see that there is some noise in the indirectly lit roof beams in the ceiling. Increasing the number of diffuse_samples reduces this type of noise. Note that increasing this value will increase render times.
 |
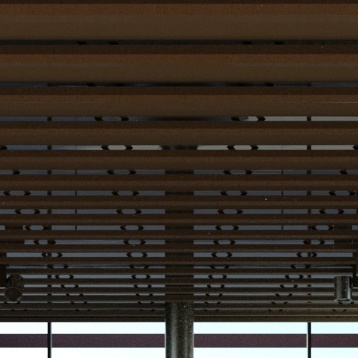 |
| diffuse_samples: 2 (default) | diffuse_samples: 10 |
Camera (AA) Samples
Once we are done finished refining the light and diffuse samples we can now increase the Camera (AA) value for final frame rendering. A Camera (AA) value of 3 is suitable for test rendering. However, when we are ready for final frame rendering, we will want to increase this value. In this example scene, a value of 5 or 6 was sufficient.
 |
 |
| Camera (AA): 3 | Camera (AA): 6 |
You can modify the Preset in the Render Setup window to save your Arnold render settings.
More information about removing noise can be found here.