What is Sampling?
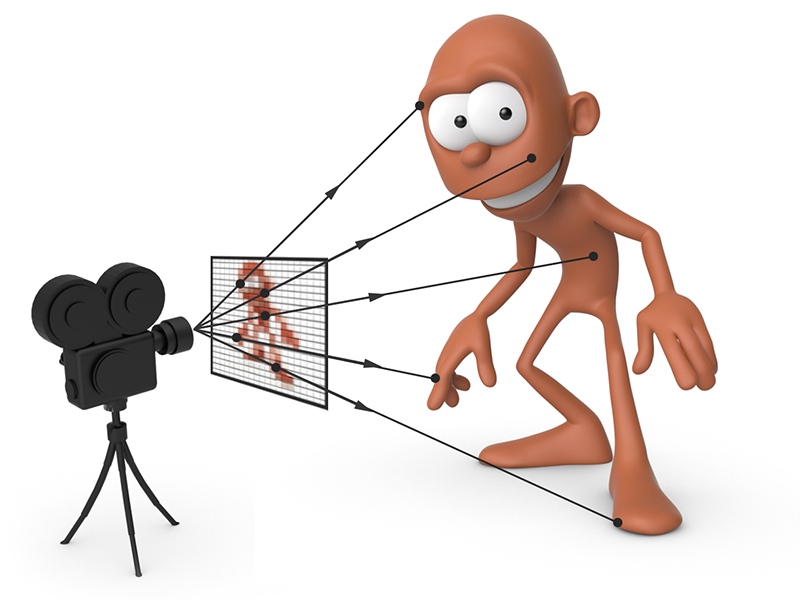
When working with a renderer like Arnold, it is useful to have a basic understanding of the core principles behind ray-trace rendering. Producing a realistic-looking image of a virtual scene requires simulating the propagation of light in the scene all the way from the light sources to the camera. To determine the color of each image pixel, Arnold collects information from the scene geometry, shaders, lights, etc., and traces a number of random light transport paths that connect the objects seen through the pixel to the light sources - a process called 'sampling'. The quality of the resulting image largely depends on the number of paths, or samples, generated for each pixel.
When rendering an image, Arnold must determine a color value for each pixel by examining the scene. Arnold achieves this by sending out a number of rays from the camera’s position until they hit an object in the scene. Every time a ray hits an object, it will perform some calculations that will eventually return a piece of information about the object (its color, for instance). This process can basically be described as 'sampling' the pixels in the virtual camera's image plane.
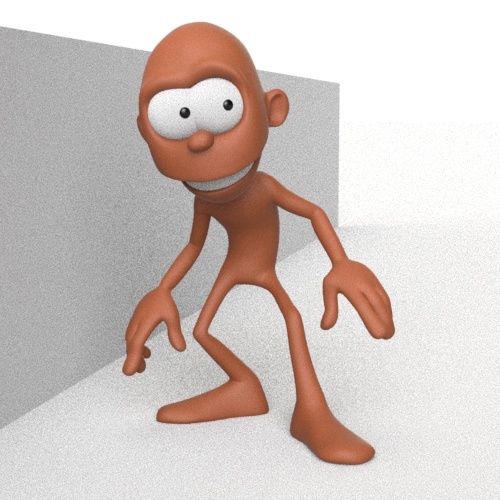
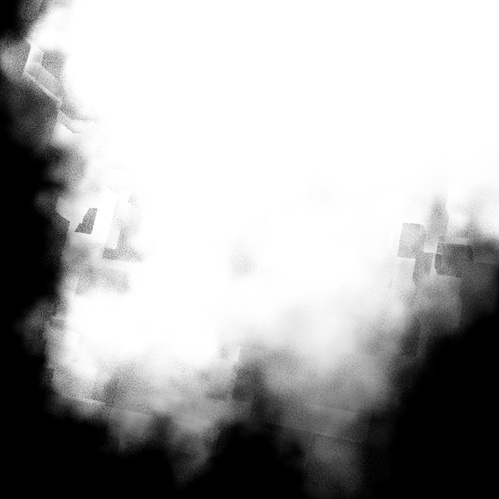
Renders computed with too few samples in each pixel can be noisy. Increasing the number of samples per pixel gives a less noisy image which better represents the actual scene. The images below show a comparison when increasing the number of Camera (AA) samples in a scene. Not only does increasing Camera (AA) samples reduce aliasing noise, but it also adds more secondary ray samples which also reduces noise in the lighting.
 |
 |
| 1 Camera (AA): 1x1=1 sample per pixel (image appears noisy) | 6 Camera (AA): 6x6=36 (noise is reduced) |
Camera (AA) Sampling
So, what is camera sampling? Basically, a number of rays are shot from the camera through each required pixel of the rendered screen window into the scene. These are called 'primary rays', but sometimes they are referred to as 'eye' or 'camera rays' (Camera (AA) (anti-aliasing)) as they are cast from the rendering view. Sometimes they are called 'pixel samples'.
The Camera (AA) value controls the pixel supersampling rate or the number of rays per pixel that will be traced from the camera. The higher the number of samples, the better the anti-aliasing quality, but the longer the render times.
Note that this process is not linear, as, for each of these sampling rates, the actual number of samples taken is the square of the input value. For example, if Camera (AA) samples is 3, it means that 3x3 = 9 samples will be used for anti-aliasing. If diffuse samples is 2, then 2x2 = 4 samples will be used for the Diffuse GI. The same applies to the other values.
These Camera (AA) samples could be described as primary rays (or pixel samples) and determine the overall quality of the image being rendered. Increasing the Camera (AA) samples improves the overall quality of the image, but it can often be wasteful because it increases the sampling rate for everything. W hen the source of noise is identified in the scene, it is more efficient to set the sampling values to increase the number of only those specific rays. If for example, there is a scene with lots of motion blur, a larger Camera (AA) sample is required, and therefore the other sample values can be reduced. Likewise, increasing Camera (AA) can also benefit indirect lighting, and therefore not as many diffuse samples would be required. However, if you were to reduce noise on the skin of a character, it would be more efficient to have higher SSS samples and not such a high value for Camera (AA) samples.
Light Sampling
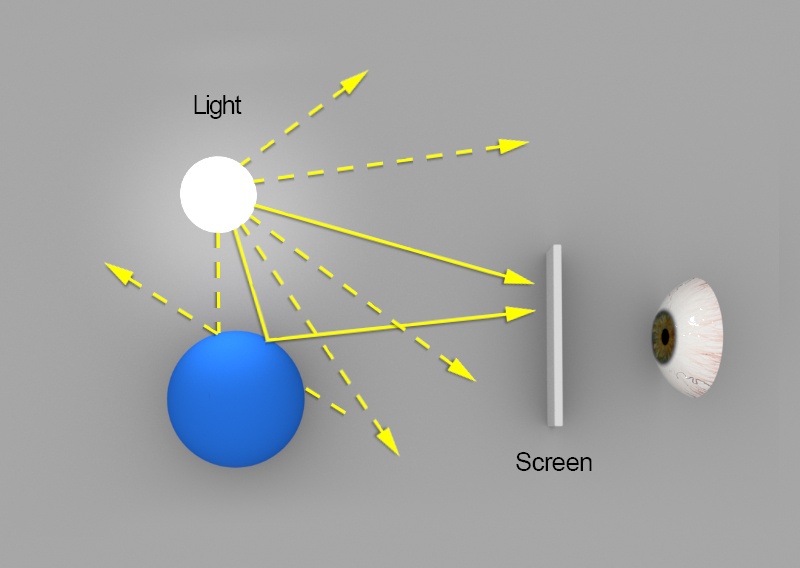
Direct lighting rays can be described as rays which deal with lights. These rays travel from a position in the scene toward the various light sources. These rays determine if a surface is in shadow, and if not, lighting information can be calculated.
Noise from lights can sometimes be difficult to diagnose, particularly if it is a light with a large area or size. In these cases, it can sometimes be mistaken for indirect diffuse noise. This highlights the necessity for testing different noise ray types. If the issue is shadow noise, then we can simply toggle ignore shadows in the Arnold render settings, and the noise will completely resolve. The images below show how a light is traced in Arnold.
 |
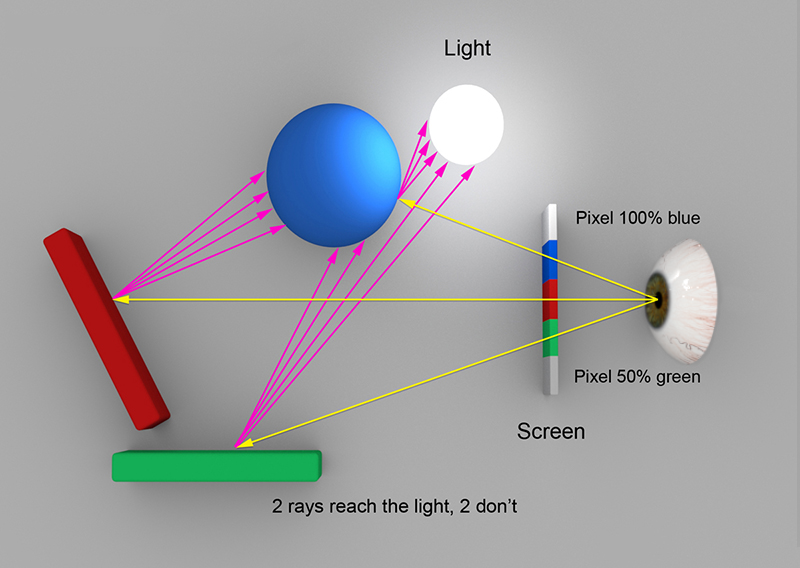 |
| Some light rays hit an object while others do not | Light sampling in Arnold |
The same noise problems described earlier can occur with direct and indirect rays. Noise from direct light sources usually appears in specular highlights or in large, soft shadows from area lights. If this is the case, the number of light samples needs to be increased. The images below show the difference in the shadow noise when increasing the number of light samples from 1 to 3.
 |
 |
| 1 light sample. Very noisy. | 3 light samples. Noise is improved. |
It can be useful to separate one source of noise from another when trying to evaluate noise in a scene. Disabling diffuse rays (0) can help identify which type of noise is present. When attempting to optimize the number of indirect diffuse rays in a scene, rather than increasing the number of diffuse rays (render time will double for each diffuse sample), the source of the noise will need to be isolated first.
 |
 |
| Both light noise and diffuse noise (difficult to tell which is which). | diffuse set to 0 (disabled). Light noise is easier to identify. |
Diffuse Ray Sampling
 |
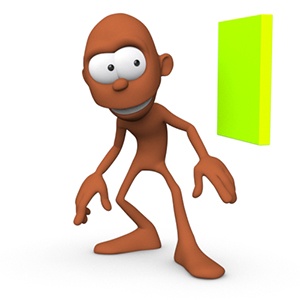 |
| indirect (diffuse) lighting from emissive green cube | direct lighting only (diffuse_samples: 0) |
Indirect diffuse rays are rays that interact with objects and their surface shaders. Therefore, rays travel in the scene in directions determined by the shader assigned to the object. The transmission rays travel through objects. When a ray hits a reflective object, such as a mirror, only one reflection ray is traced from that point in a direction determined by the incoming ray. In contrast, diffuse rays are sampled randomly over the hemisphere around the hit point.
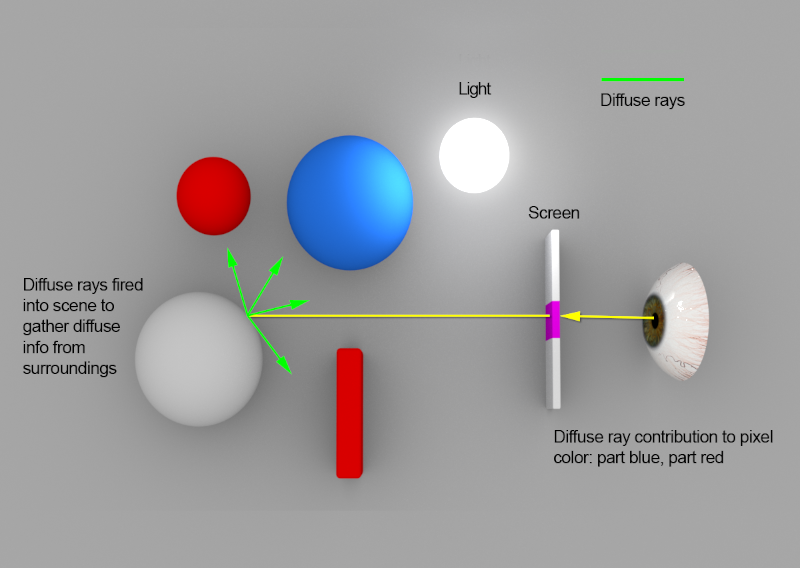
Diagram showing how diffuse rays are propagated in an Arnold render
Specular Ray Sampling
When rendering glossy specular surfaces, noise can also be a problem, as with diffuse rays. Bright hotspots can cause noise in indirect specular samples. For example, wide specular reflections of small, bright lights. If the issue is noise in a specular highlight, it needs to be confirmed that the source is the direct light and not a secondary ray type (such as specular). This is easy to achieve by setting the GI_diffuse_depth, GI_specular_depth to zero (this essentially turns off all global illumination). If the noise is still there, we know it is the direct specular component of the illumination model. In most cases, it can be resolved by increasing the number of specular samples.
 |
 |
| 1 (insufficient samples) | 4 (sufficient samples, noise is reduced) |
Volumes
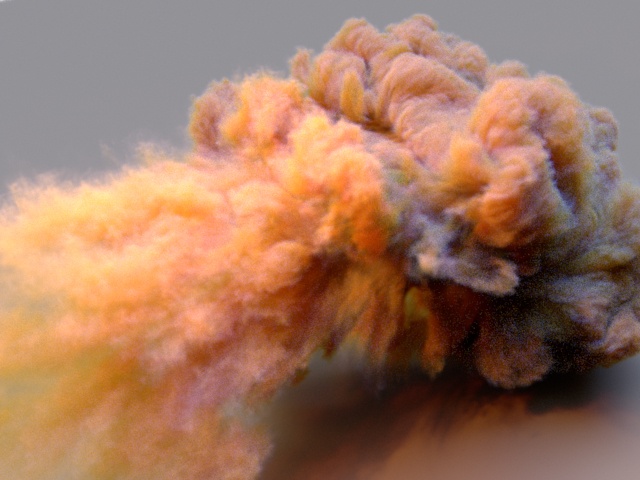
When sampling volumes, direct Camera (AA) rays sample the volume multiple times as they travel through it. Indirect rays ( volume_indirect) behave similarly, sent multiple times as the ray 'steps' (volume step_size) through the volumetric object. Therefore, sampling a volume usually takes longer to calculate than sampling a surface.

Volume sampling. Direct lighting (green). Indirect lighting (blue).
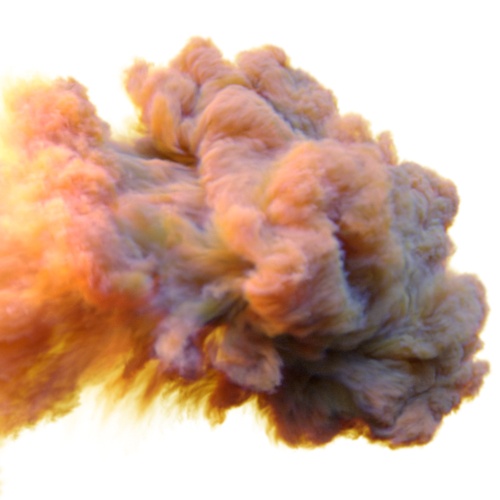
At each step the ray travels, it evaluates the shader and accumulates the density of the volume. When these density values become more erratic throughout the volume, nearby rays can calculate substantially different values, introducing noise into the render. In this case, it may be necessary to render using more light volume samples or to reduce the step size in the volume. Even with low sampling values, it can be expensive to render clean images with volumes.
 |
 |
| Light volume samples: 1 | Light volume samples: 6 |
There are three things to consider when rendering volumes; raymarching, direct light, and indirect light sampling, all of which have different sampling settings.
Step Size
The step_size of the ray marching process. Too low a sampling rate here will cause the volume rendering to miss small details in the volume, making them noisy, making them thinner than they should be, or making a bad estimate of the exact position of the 'surface' of a 'solid' volume like a pyroclastic cloud. A bad step size has a snowball effect that can make the rest of the sampling process noisier. This is pretty easy to test by looking at the alpha channel, or by adding some emission to the volume and turning off all lighting. If the emission/alpha channel is noisy at the desired Camera (AA) setting, then the step_size is probably too large.
 |
 |
| step_size correct | Artifacts appear in the alpha when the step_size is too large |
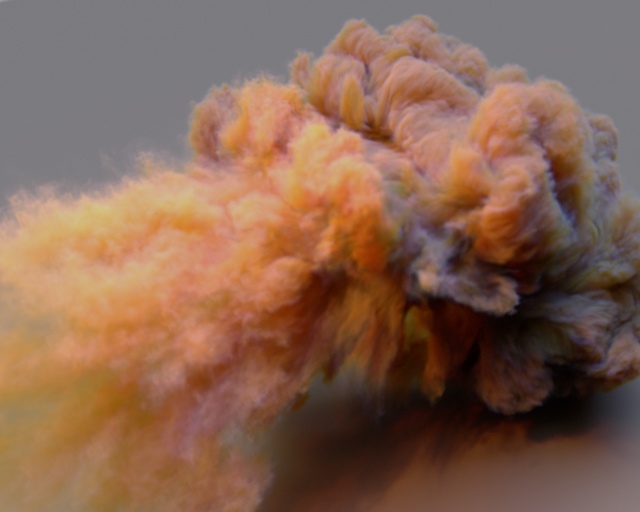
Step_size is actually in object-space and not in world-space. This is so that the sampling quality remains the same upon scaling of the volume's transformation. However, u nreasonably large step sizes should be avoided. Otherwise, the volume will appear thinned and washed out. In the example images below the volume has been scaled up to 100 units to exaggerate this effect ( 1/25/50 are relative to the size of this volume).
 |
 |
 |
| 1 | 25 | 50 |
Generally, the step_size needs to be as large as possible before visibly noticeable artifacts occur. Low step sizes will increase render times. For example, when the step size is 0.1, and the volume is 10 units big in world space, there are approximately 100 primary samples, and therefore the volume shader is called 100 times.
Direct Lighting
When the step size is correct, noise can come from either direct or indirect lighting. Direct lighting is pretty easy to detect. The indirect light needs to be toggled off, and if the render is noisy, each light needs to be rendered one at a time until the light that is responsible for the noise is found, and turn up their volume_samples. If the direct lighting noise doesn't significantly decrease as volume_samples increases, then it's probably due to a too-low, step_size, or simply difficult to sample light interactions (highly anisotropic volumes, heavily textured mesh_lights, quadratic falloff, etc.)s. In this case, there's not much to do except to eliminate the samples via clamping or filtering.
Indirect Lighting
Indirect noise is also easy to identify. GI_volume_depth of a noisy volume needs to be disabled, and if the render is no longer noisy, then the problem is indirect sampling. If the quality needs to be improved, the number of volume_indirect_samples needs to be increased. If increasing this doesn't reduce noise, then the noise could again be from difficult to sample light interactions (multiple scattering, anisotropic volumes, lights embedded in the volume, etc.), and as mentioned before there's not much to do except to eliminate the samples via clamping or filtering.
Volume ray depth
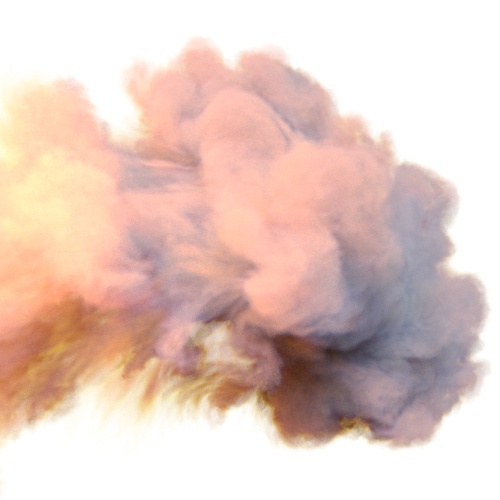
Increasing the volume_ray_depth can make a dramatic difference to the appearance of a volume. However, be aware that increasing the volume ray depth will increase the number of multiple scattering bounces within the volume (defaults to 0), and therefore render times will increase significantly.
 |
 |
| 0 | 6 |
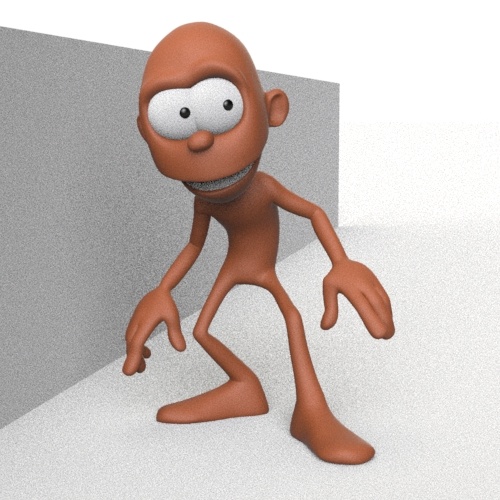
Pepe model by Daniel M. Lara (Pepeland)