Rendering an Ocean with Displacement tutorial
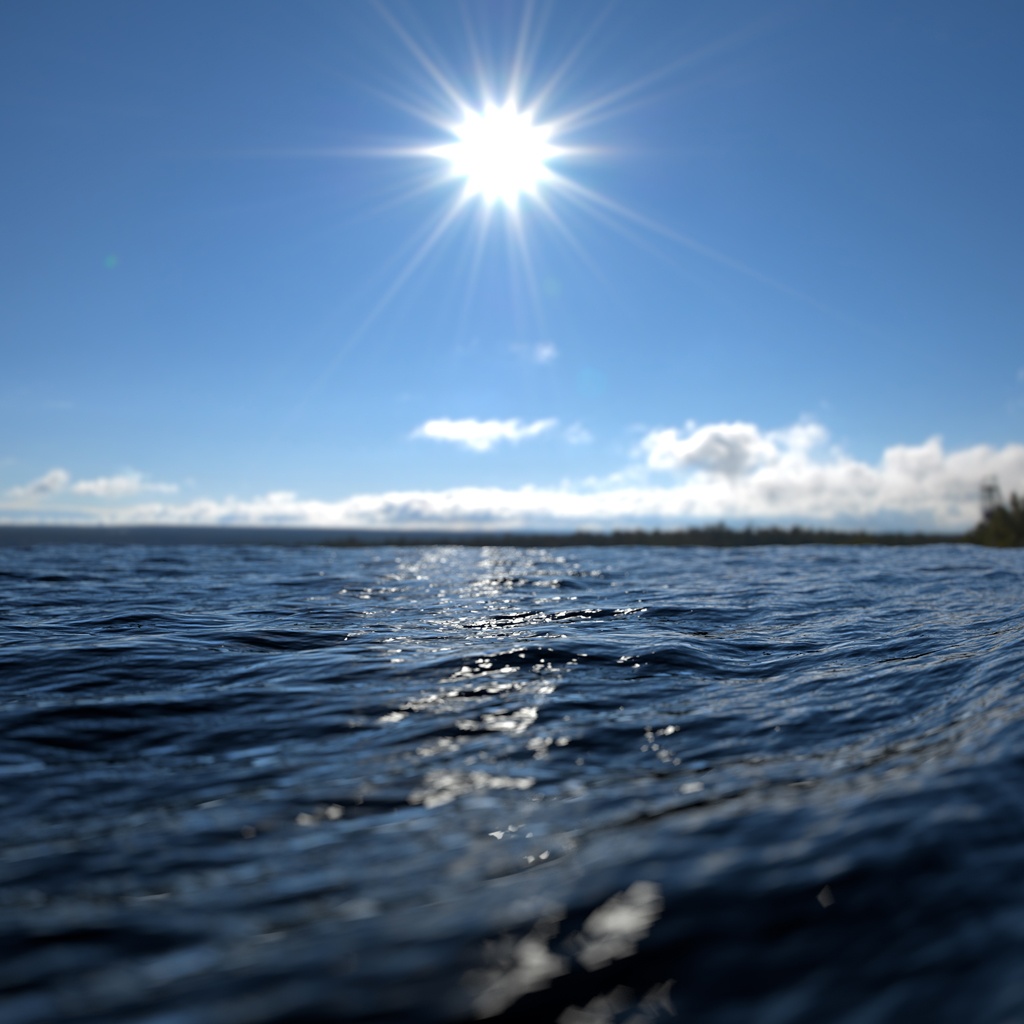
This tutorial covers how to render an ocean scene using nothing but a polygon plane and an HDR image connected to a skydome_light. The detail for the ocean shader will come from a vector displacement map. There are a variety of attributes to set when using displacement mapping. However, it is very simple to set up and get convincing results using the right settings.
The scene file and vector displacement map are available here.
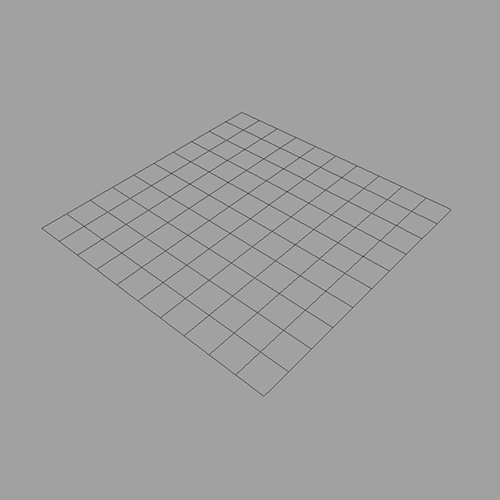
- Start off by creating a polygon plane that can be used as the ocean surface:
Ocean Material
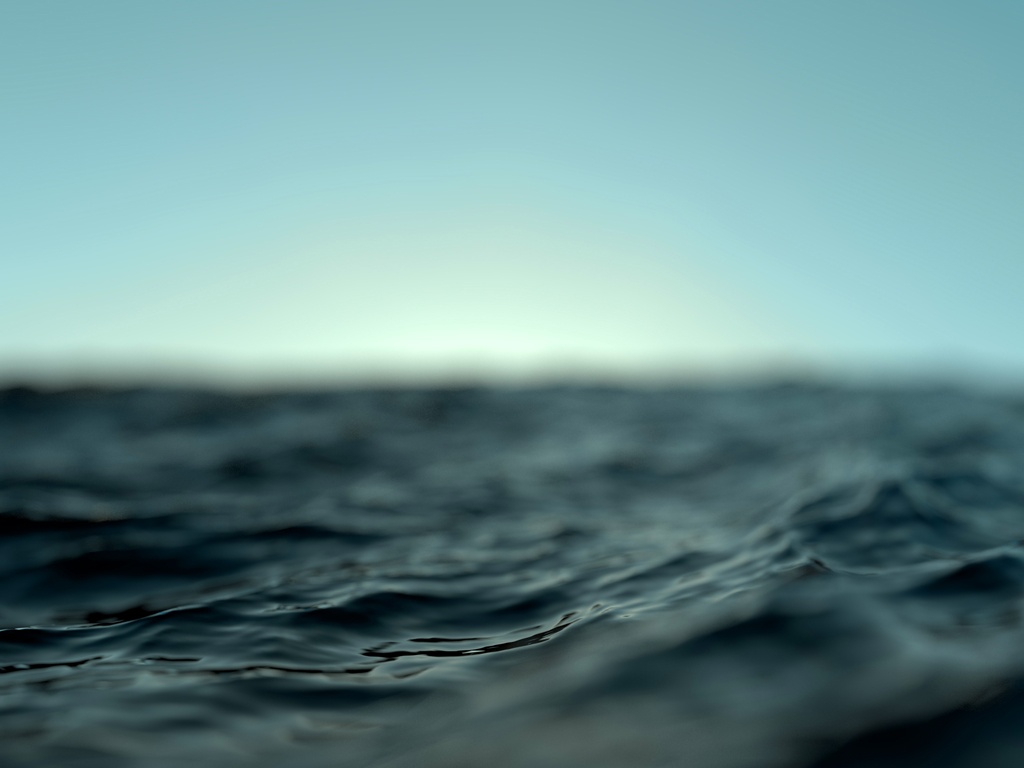
- Create a standard_surface shader and assign it to the polygon plane. Set the base_weight to 0. Increase the specular_weight to around 1. Increase the transmission_weight to 1 (this will make the water transparent). Finally set the specular_ior to that of water (1.33).
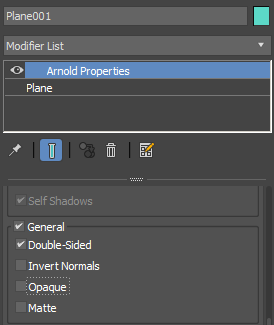
opaque disabled for polygon plane in Arnold Modifier
Vector Displacement Map
The vector displacement map used is a 32-bit EXR image. This means it is able to retain the highest quality for the vector displacement effect. To get a more realistic wave effect, we will use a vector displacement map to displace the sea waves. This will displace the sea geometry around a direction different from the normal, unlike a traditional displacement map which displaces the geometry in one direction only.
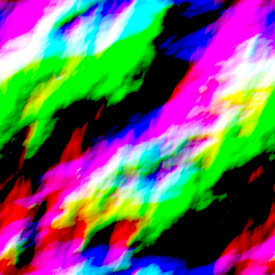
vector_map.object_space used to create ocean displacement
If the effect of the waves looks too sharp you could try blurring the vector displacement map in order to get smoother waves.
- Create a vector_map shader and connect the ocean vector displacement map (vector-displacement_sea.exr ) to its input parameter. Drag and drop the vector_map onto the Displacement Map parameter of the Arnold Properties Modifier.
Open the Environment and Effects window (8) and drag and drop a sky HDR map onto Background -> Environment Map.
Subdivision settings
- Render the scene. There is no displacement! That is because we don't have enough subdivisions in the geometry of the sea plane.
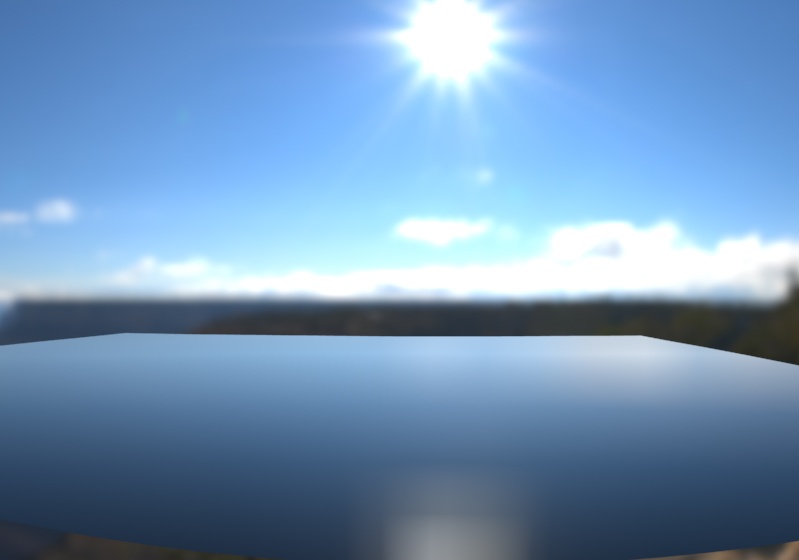
- Select the plane and under the Arnold attributes, change the subdivision_type to catclark and increase the number of iterations. Start off with a low number like 3:
subdivision_type: catclark, subdivision_iterations: 3
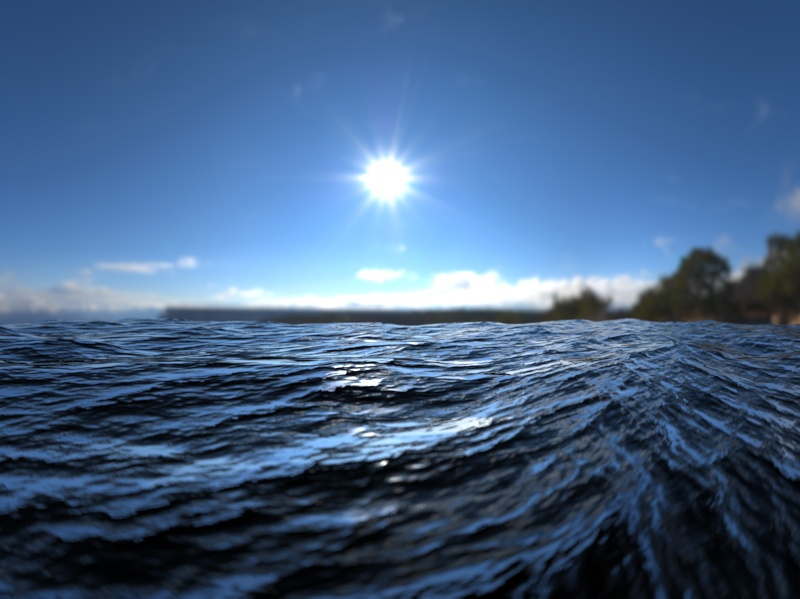
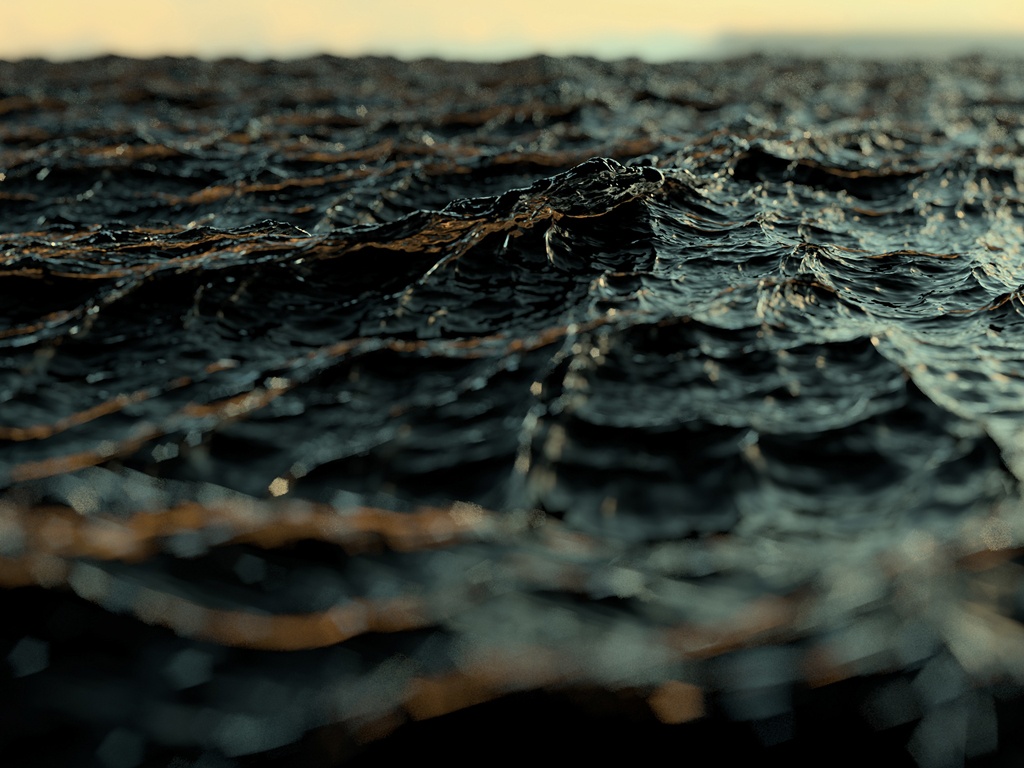
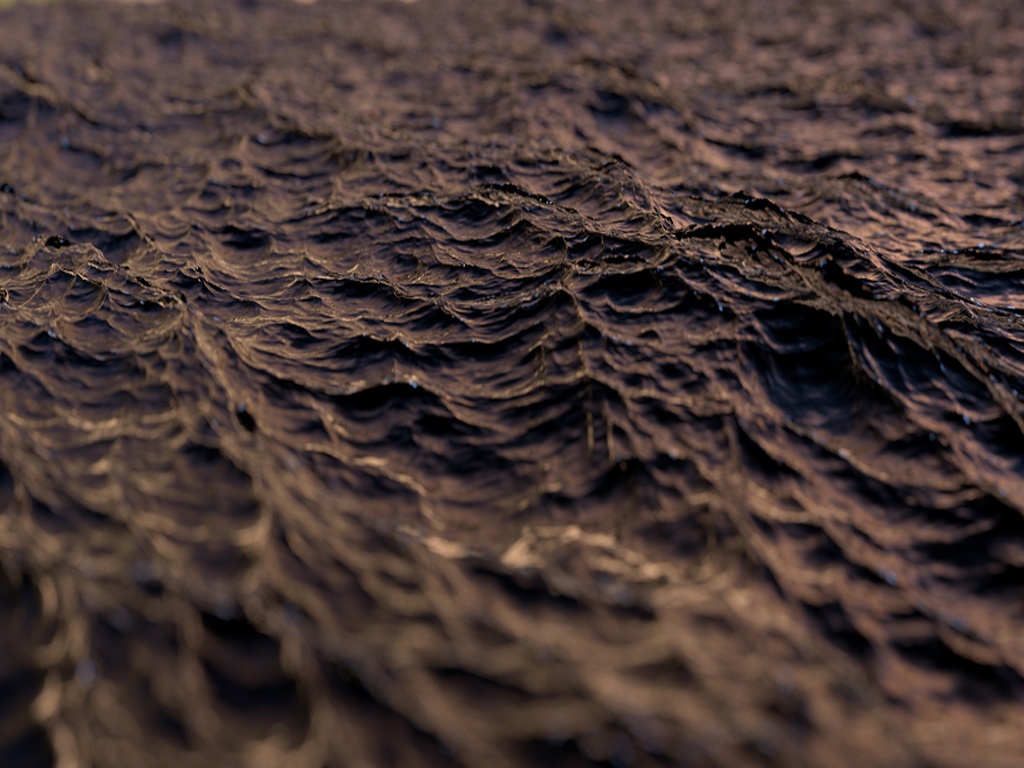
- The sea looks ok, but it really needs more detail. Increase the subdivision_iterations to 8. Be careful not to increase this value too much as memory use and render times can increase dramatically with each increment (each iteration quadruples the geometry).
subdivision_iterations: 8. More detail can be seen in the sea waves.
Lighting
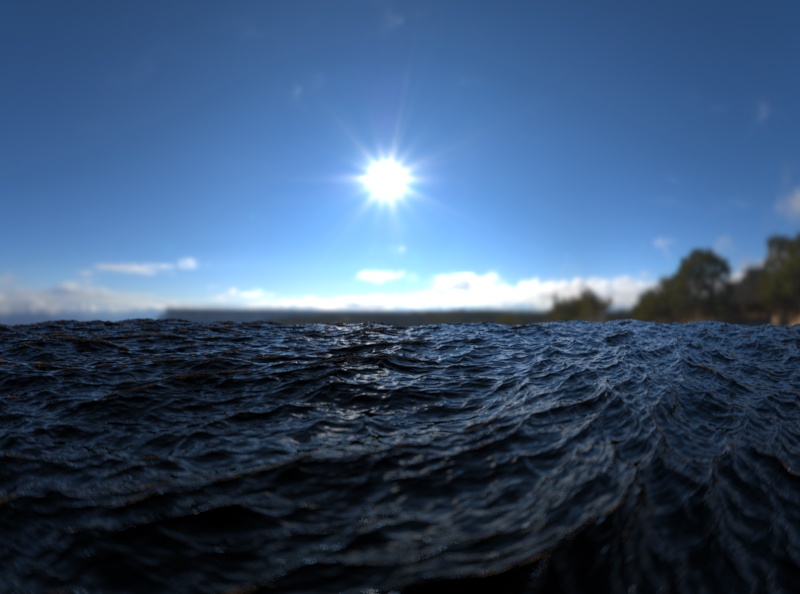
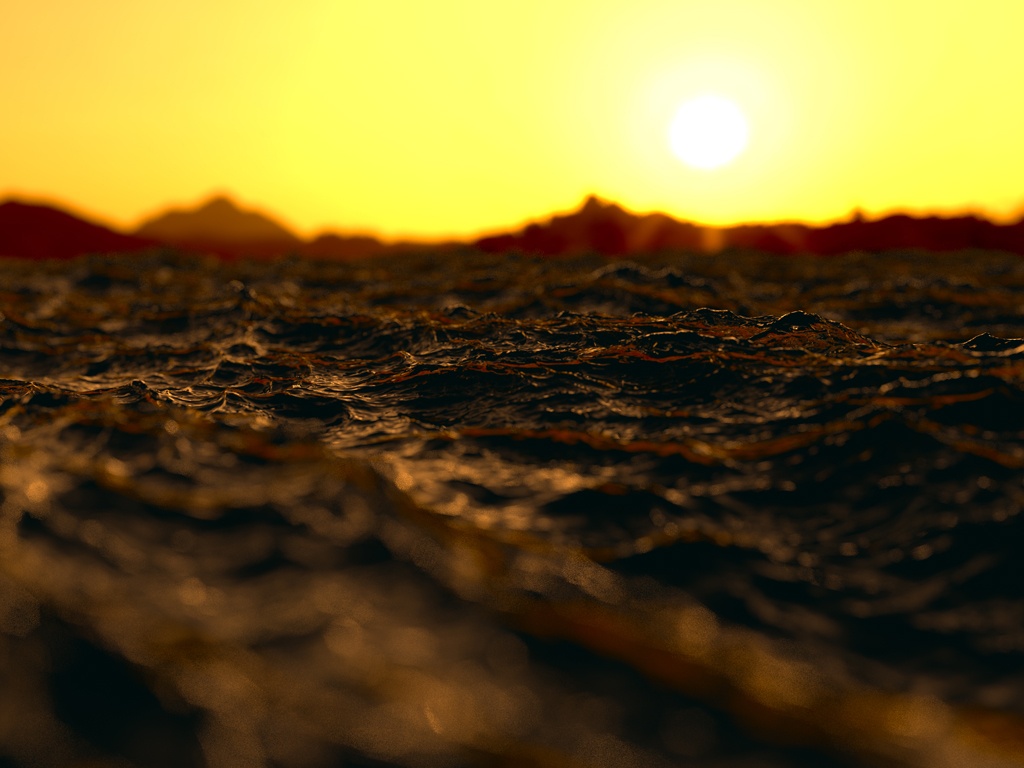
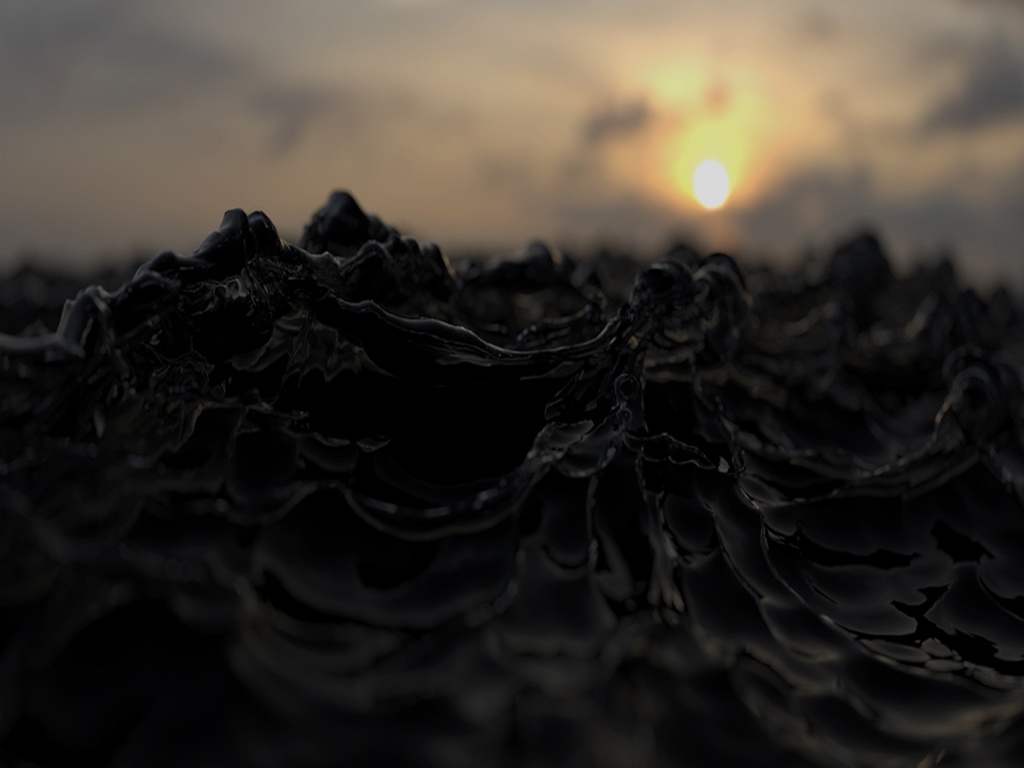
- Add a distant_light light to the scene. We can use this to exaggerate the effect of the sun on the sea surface, thereby bringing out the highlights on the sea surface.
Rendered with a distant_light
- Increasing the angle attribute of the distant light will increase the angular size of the light, thereby producing a larger specular reflection on the sea surface.
angle: 5
Transmission
Light that penetrates the ocean surface is 'refracted' due to the fact that light travels faster in the air than in water. When the light reaches the water it will be scattered or absorbed by particles in the ocean. As the ocean becomes deeper (denser), the water will decrease the depth of light penetration. We can replicate this effect quite easily using the transmission attribute in the standard_surface shader. The effect can be seen when placing an object inside the ocean surface. We can see that the longer light travels inside the mesh, the more it is affected by the blue transmission_color.
| transmission_color: white | transmission_color: blue |
When applied to the ocean shader we can see the effect that transmission_color and depth has on the white cylinder inside the closed surface ocean below:
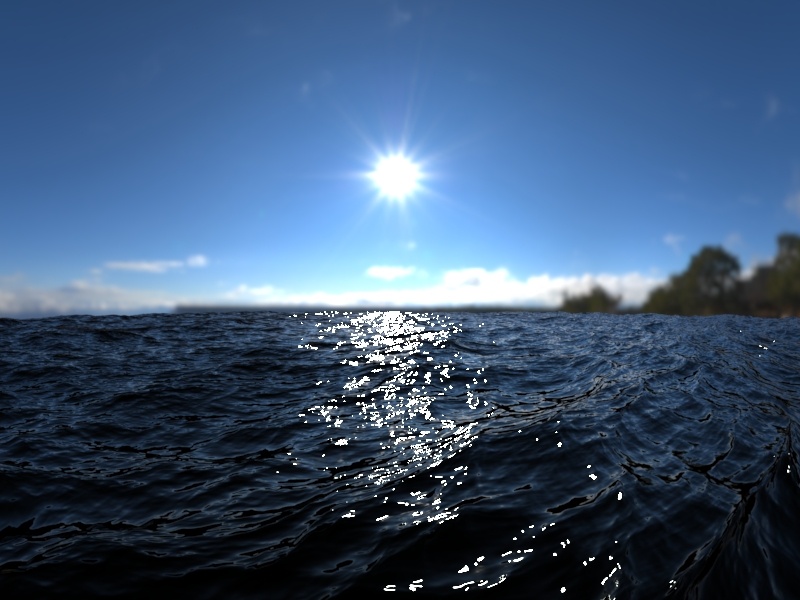
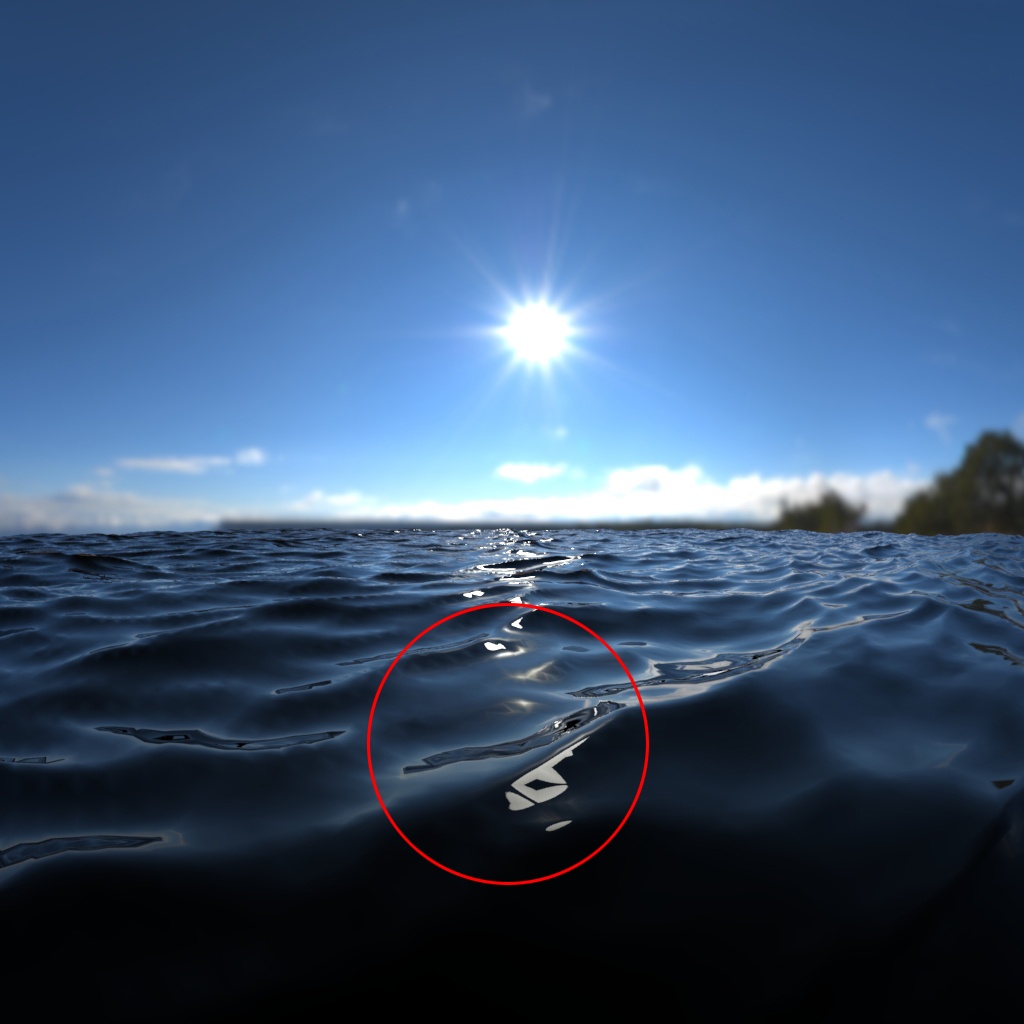
Dark Patches
The ocean shader is not fully transparent. This means that non-glancing rays will not reflect and will instead refract and go through the water (like in real life), but since it's not transparent, we instead terminate the rays and get black.
Shading normals can cause problems when the shading normal points away from the ray even though the geometric normal points towards the ray. In this case, the shading (Auto Bump) normal says that we are hitting the backside of the water and should reflect down, while of course in actuality the ray is hitting the top of the water mesh.
At grazing angles, real water is nearly 100% reflective, but even so, it may take several bounces for the light to get out of the valley behind a wave crest, and even after several bounces it may reflect something that is higher up from the horizon than what the surrounding water reflects.
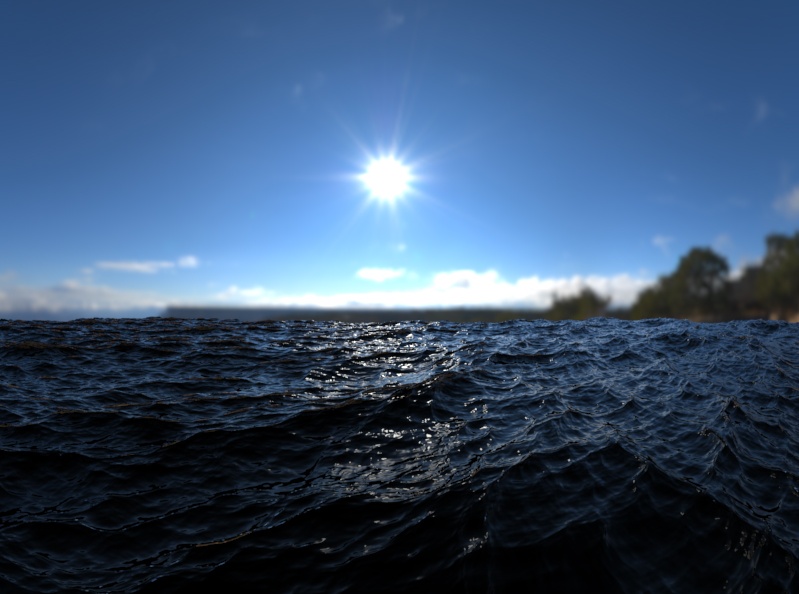
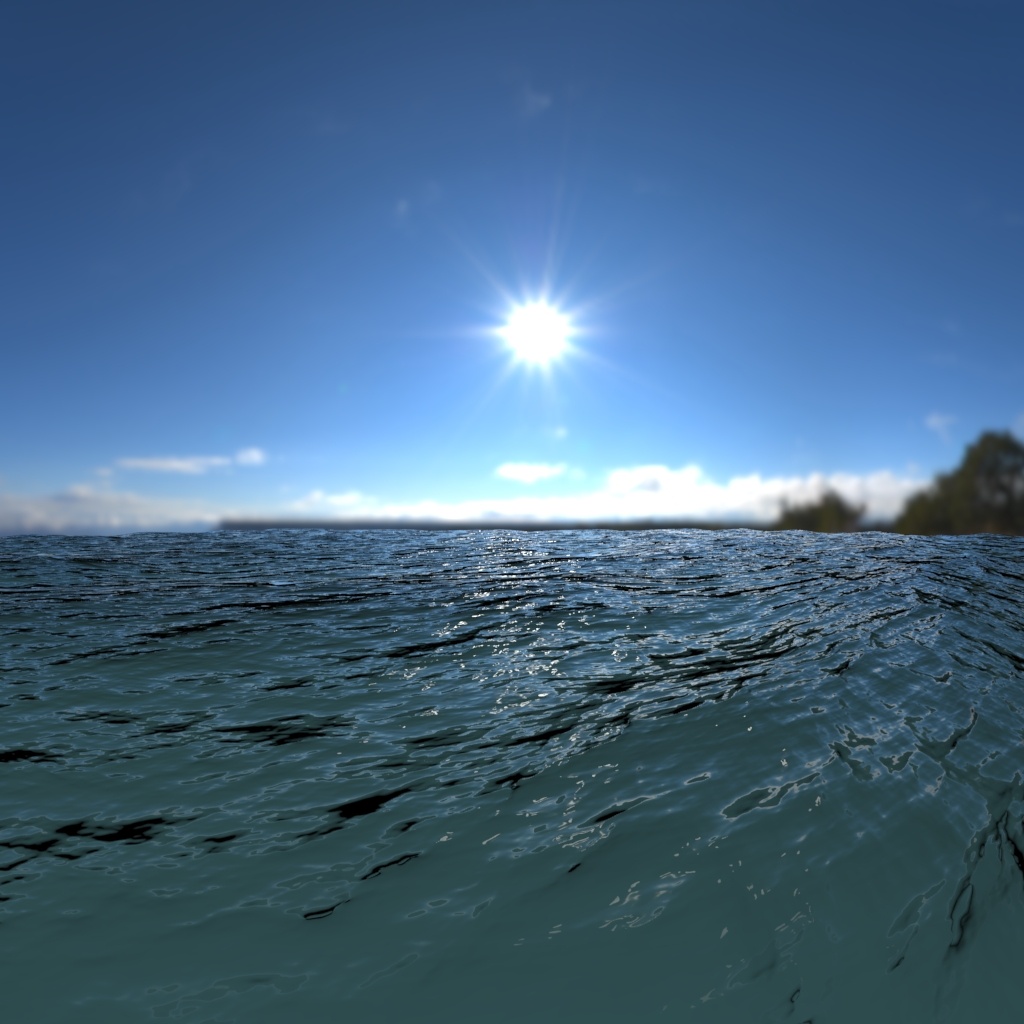
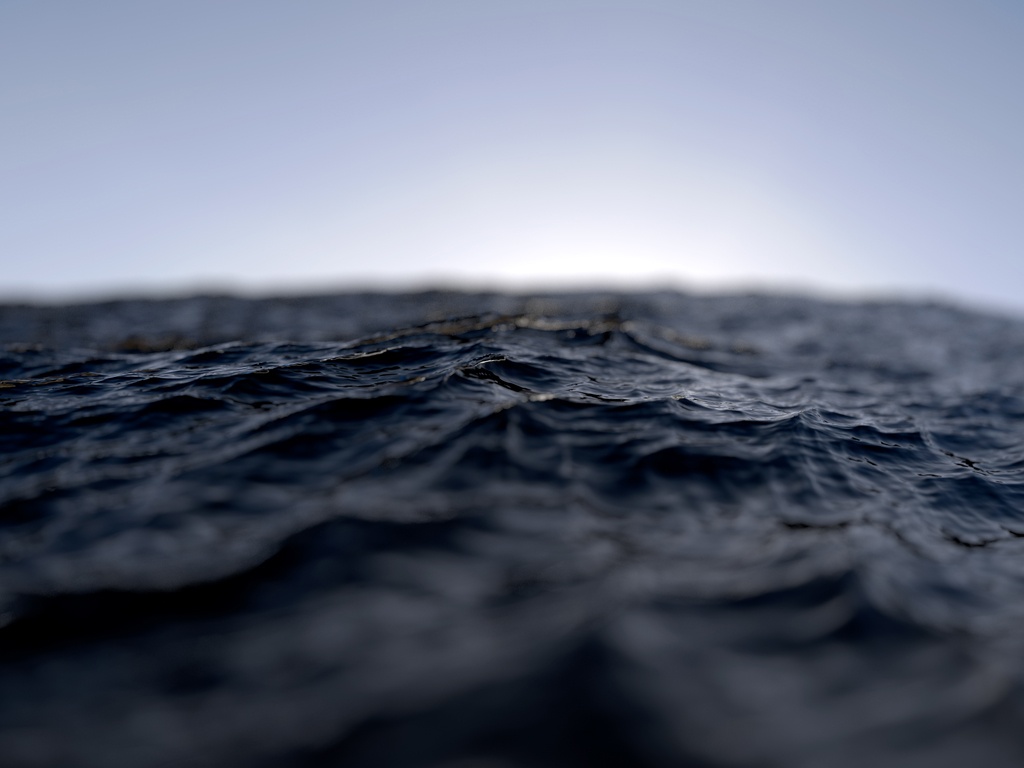
A more realistic look is to make the water transparent and then place a plane below the water that has the color of ocean water. In the example images below the ocean floor's standard_surface shader has an emission_scale of 1 and a blue/green emission_color. Increasing the subdivision_iterations has also helped to reduce the number of black patches on the displaced sea waves.
 |
 |
| subdivision_iterations: 3. Black patches are visible | Increasing the subdivision_iterations to 8 reduces the problem |
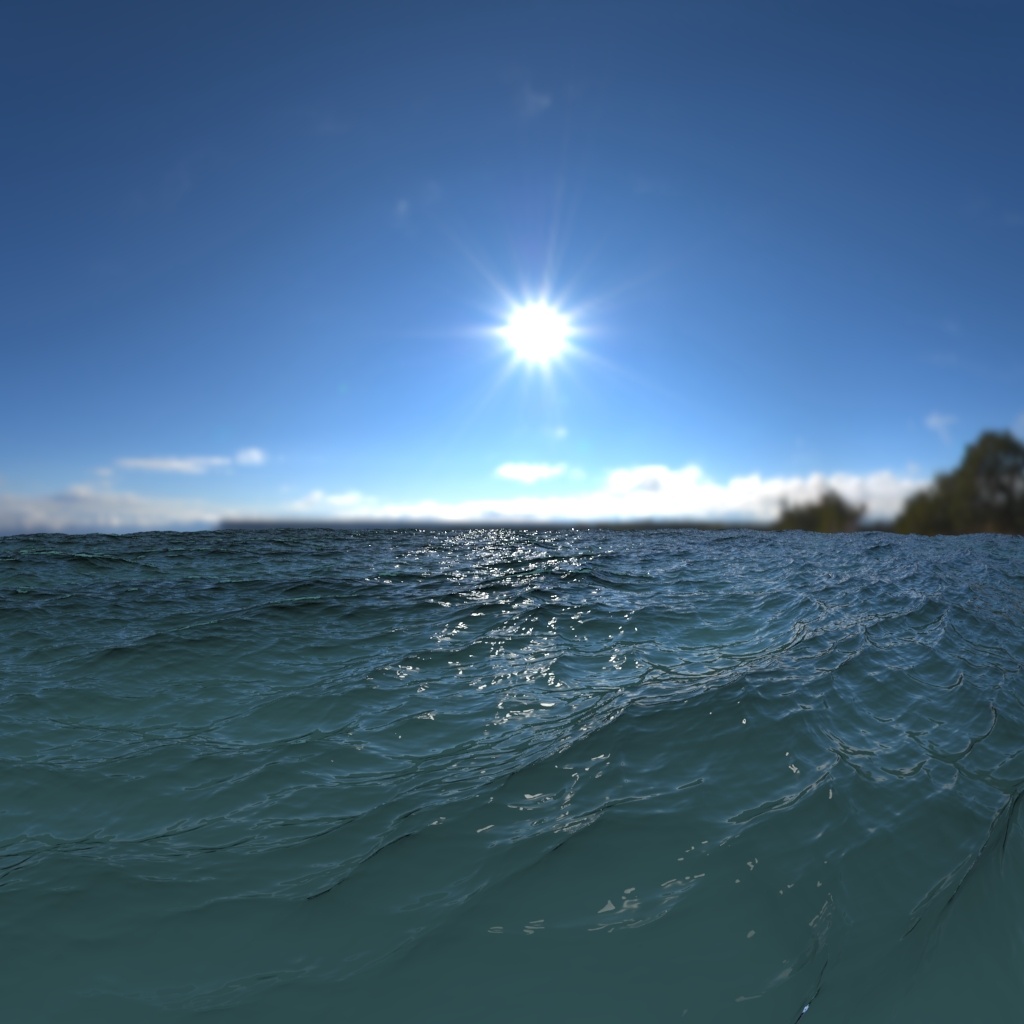
The dark patches behind the wave crests (self-reflection) can also be improved by increasing the specular_ray_depth in the render settings.
 |
 |
| specular_ray_depth: 1 | specular_ray_depth: 2 |
Conclusion
That concludes this tutorial on how to create a believable ocean scene. Using the correct displacement settings in conjunction with a high-quality 32-bit vector displacement and the correct standard_surface shader settings should give you something that looks realistic. Why not try adding depth of field or change the camera lens to something like a fish eye in order to add more visual interest to the scene.
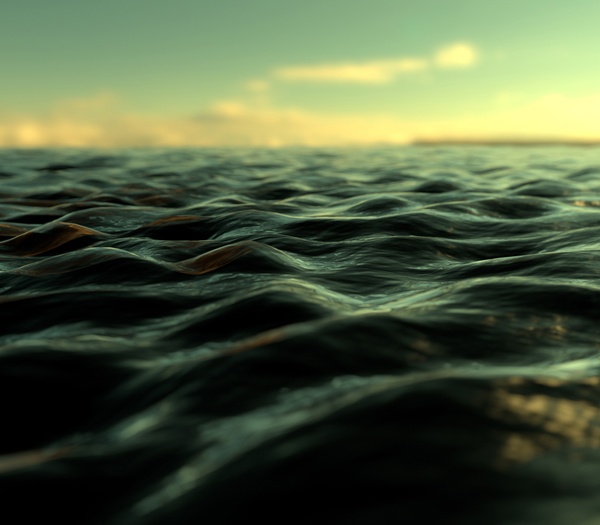
Below you can see how much more detail can be achieved by using a vector displacement map to create the wave effects compared to using regular geometry:
 |
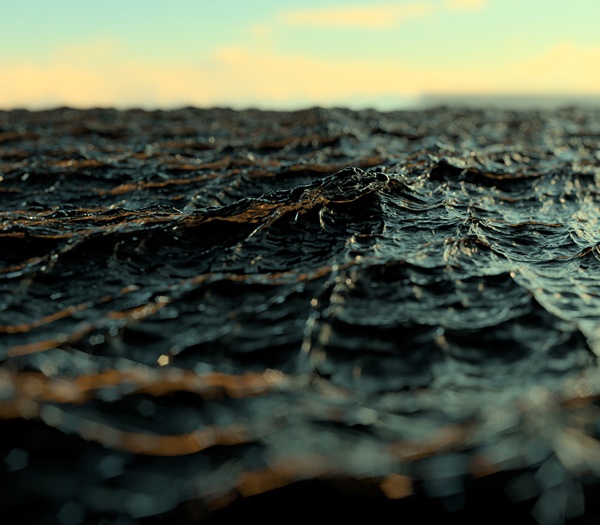 |
| Sea waves with polygon geometry | A vector displacement map can give far more detail than using geometry |
Animation of displacement value
 |
 |
 |
 |
 |
 |

Workflow example