Refractive Portrait
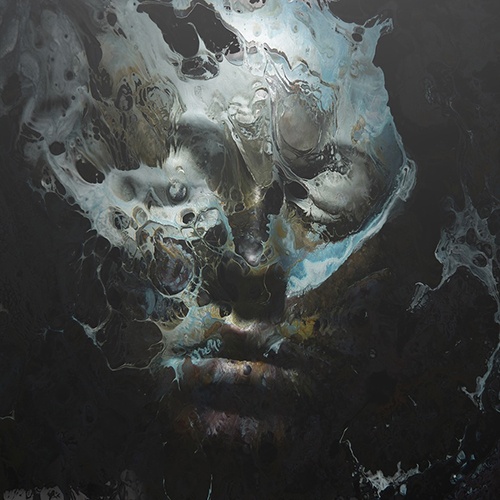
In this tutorial, we will explore how to create an abstract, painterly effect applied to a head scan model to produce a ghostly looking portrait. In this tutorial, we will specifically use the standard_surface shader in combination with the range and camera_projection shader to produce this effect. You will need a head model for this tutorial. An example of a free to use head scan model can be found here. You will be required to use your own texture for this tutorial. Further examples using this technique can be found here and here.
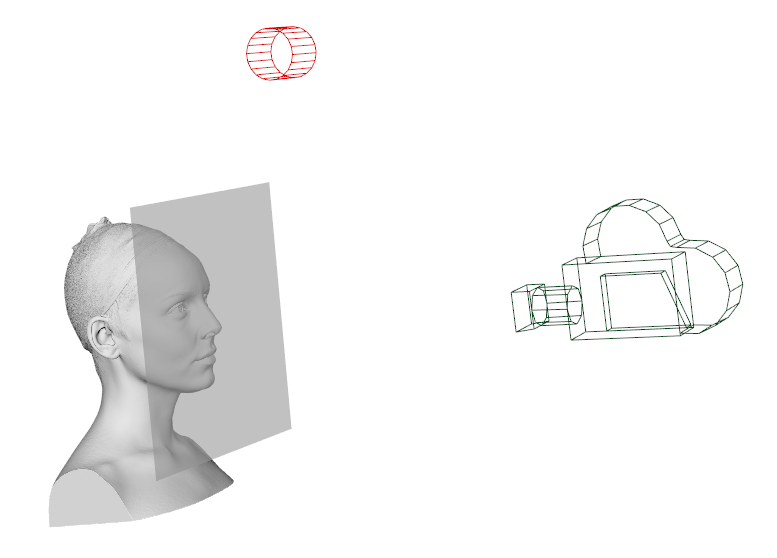
Scene Setup
- Import the head model into the scene.
- Create a cylinder or quad area light and position it above and slightly in front of the head model. Increase the lights exposure to around 4.
- Create a polygon plane and position it in front of the head. We will use this plane to refract the rest of the head using the same texture map.
- Create a camera (rename it RenderCam ) and position it so that it is pointing at the front of the head.
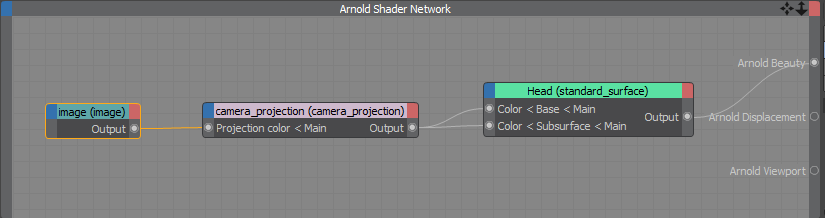
Head Shader
- Assign a standard_surface shader to the head model.
- Create a camera_projection shader and connect it to the base_color and subsurface color of the standard_surface shader.
- Create an image shader. Open the texture file in the image shader. Be aware that some images work better than others. It helps if you use an image with a lot of contrast. It will give more variation in the refraction which will give the effect that the head is distorting and breaking up more.
- Connect the Image shader to the projection_color of the camera_projection shader.
- In the camera_projection shader, choose RenderCam in Link to Camera (under Camera).
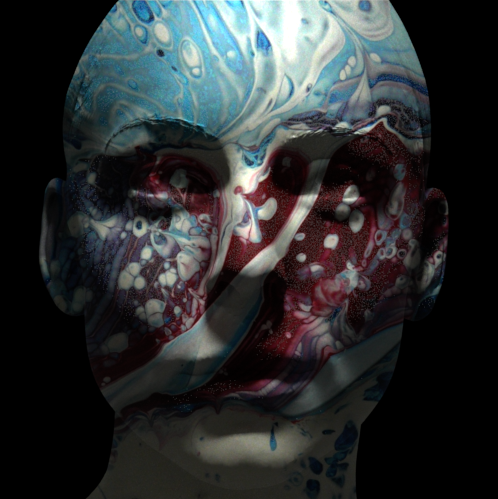
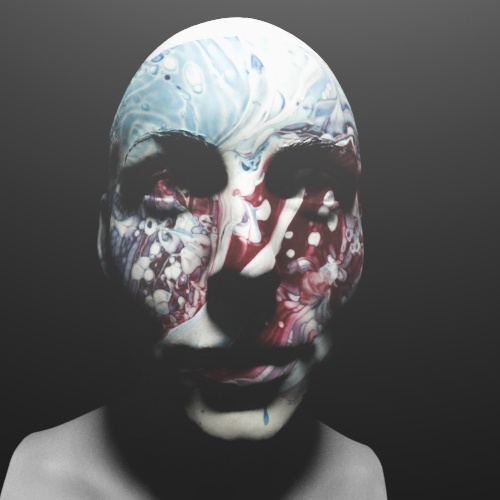
Head model render (without plane)
Head shader
Plane Shader
Create another standard_surface shader and assign it to the plane.
Increase the transmission_weight to around 0.9.
Connect the same projected texture to the specular_IOR and transmission_color via a range shader. The range shader is used to define how much the texture will refract and can be used to fine-tune the effect.
Increase the output_max of the range shader to around 6 and the input_max to around 2. Try experimenting with the other values of the range shader to get interesting effects.
 |
 |
 |
| output_max: 0 | output_max: 1 (default) | output_max: 6 |
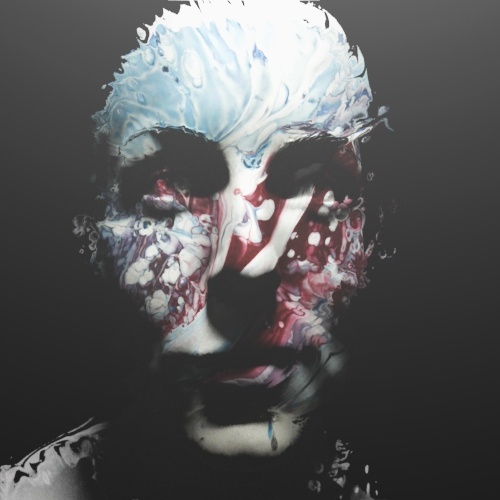
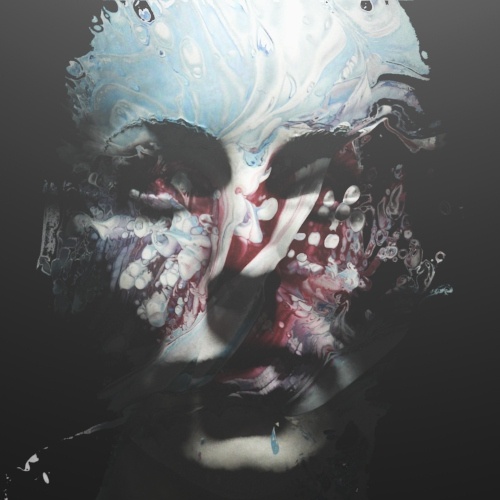
Plane refracting head behind it
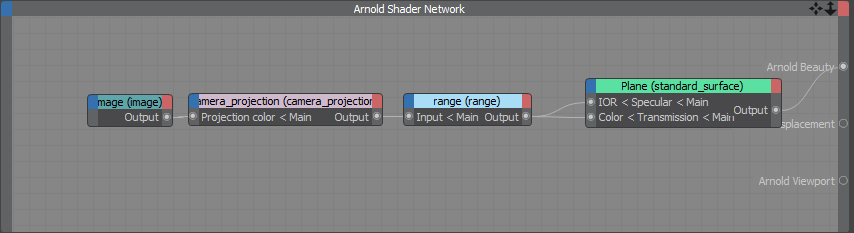
Plane shader