Coat
- Weight
- Color
- Texturing Example
- Roughness
- IOR
- Affect Color
- Affect Roughness
- Anisotropy
- Anisotropy Rotation
- Normal
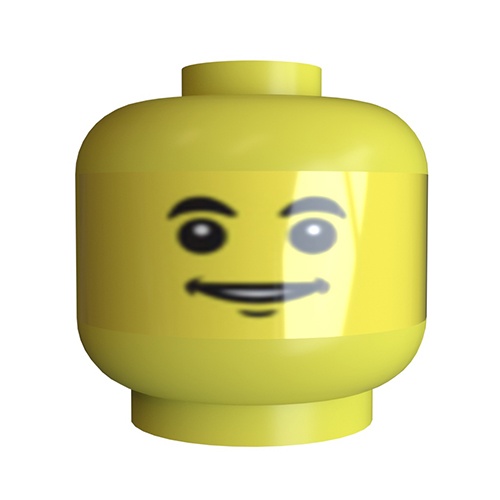
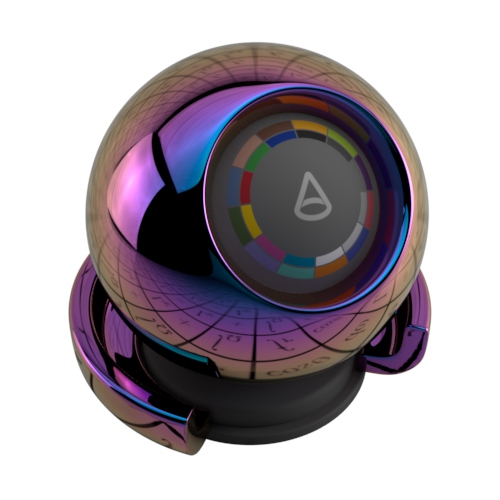
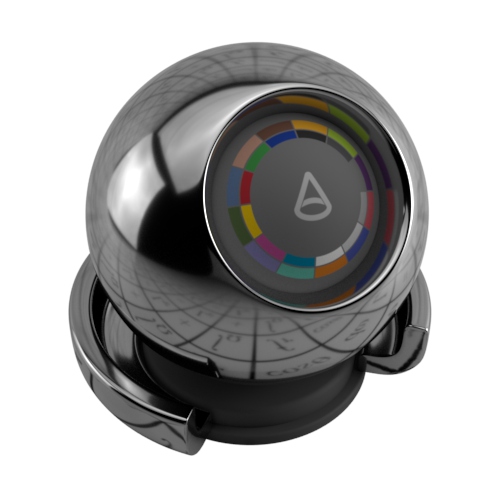
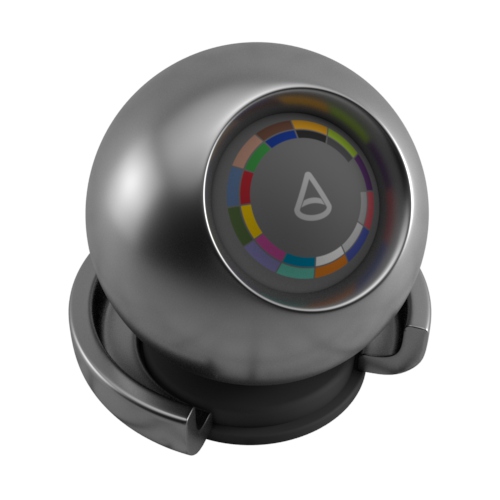
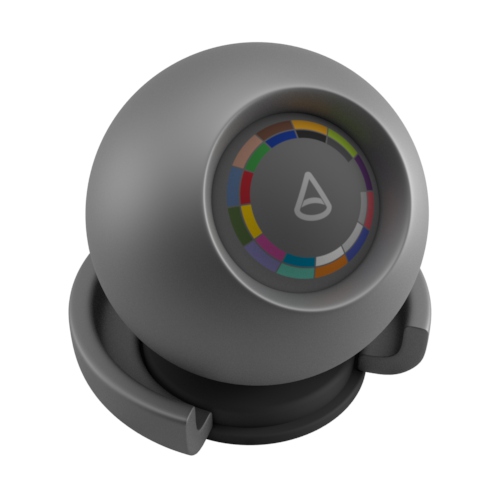
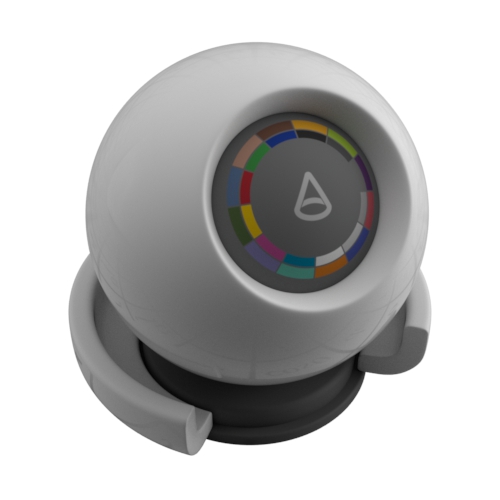
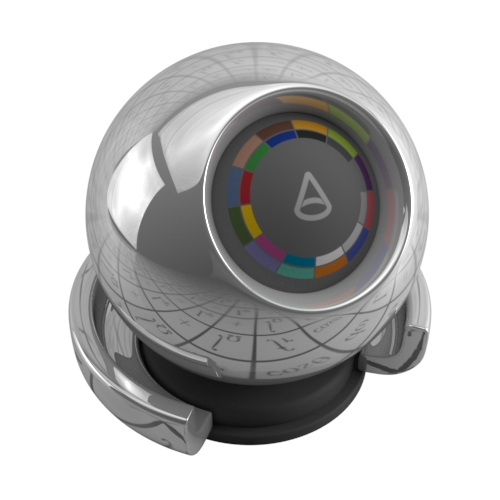
Weight
This attribute is used to coat the material. It acts as a clear-coat layer on top of all other shading effects. The coating is always reflective (with the given roughness) and is assumed to be dielectric. Examples would be the clear-coat layer for car paint or the sheen layer for a skin material. For example, for an extra oily layer or wet skin. Other examples would be objects that have been laminated or a protective film over an aluminum cell phone.
The coat layer simulates a dielectric (think plastic, glass, resin/enamel, many liquids) which absorbs light and so tints all of the transmitted light (save maybe some very minor polarization effects), while metals, on the other hand, tend to filter the color of whatever it is they are reflecting, even at grazing angles. Therefore, if you want to render a bare metal, the coat_weight should be 0.
 |
 |
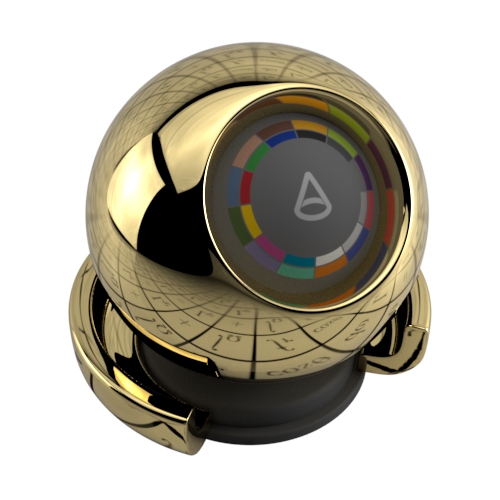 |
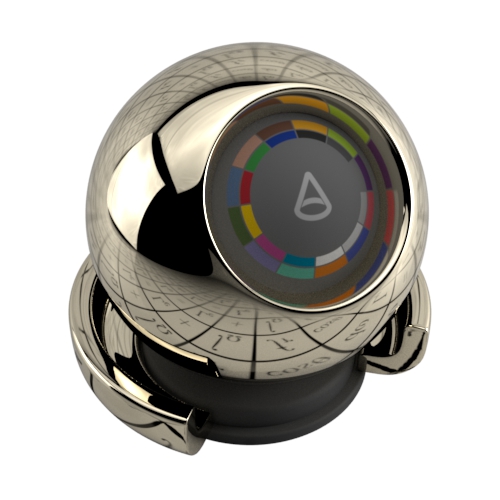
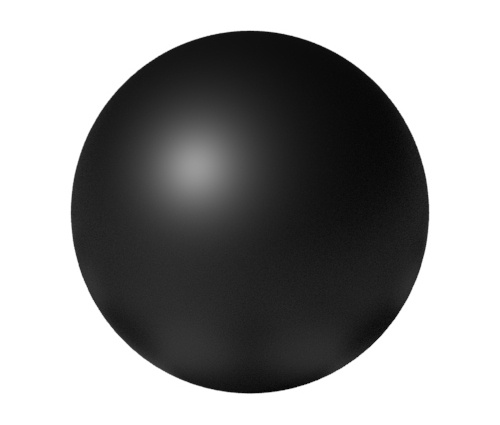
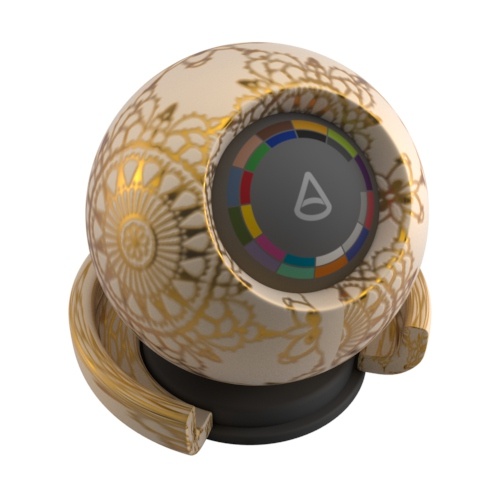
| 0 (default) | 0.5 | 1 (coat_color: Gold) |
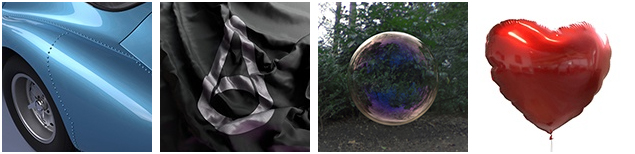
Coat can be used for materials such as metallic car paint, the reflective coating on a balloon, or a bubble for example.
 |
When combining a coat (low roughness) on top of a specular (high roughness), the sharp coat disappears at the center due to fresnel.
 |
Color
This is the color of the coating layer's transparency. In typical real-world cases, the coat_color should always be white and is there mostly for artistic control. In the example below, the red coat_color acts as a clear coat layer, tinting the specular reflection underneath.
 |
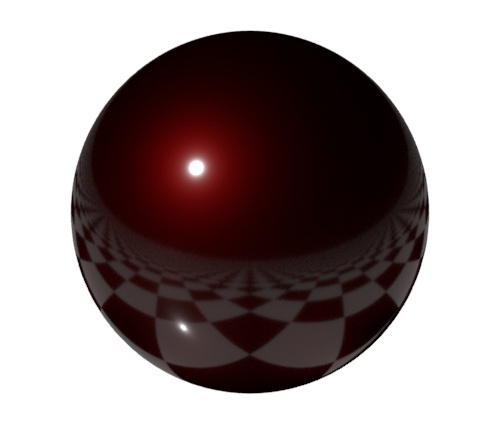 |
| specular only (high specular_roughness) | specular with coat (low coat_roughness and red coat_color) |
Texturing Example
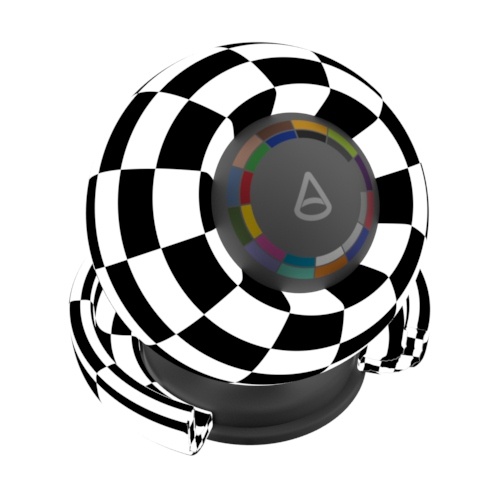
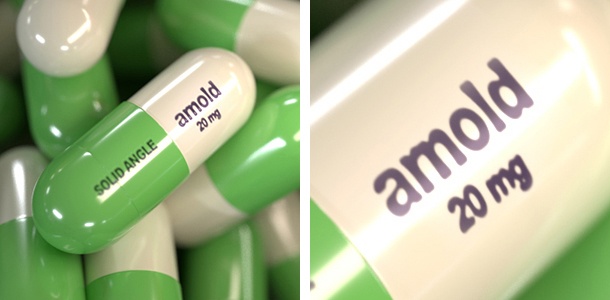
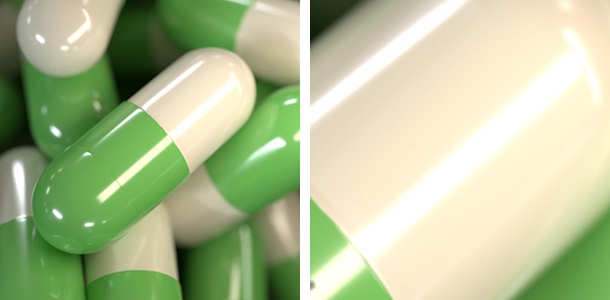
In the example below, a blue and white checker texture has been applied to the base_color and the coat_color has been changed to yellow. When combined, the yellow clear-coat layer on top of the base color gives a green tint similar to a semi-transparent layer of paint or lacquer.

You can also define how the coating affects the underlying base_color by connecting a texture map to the coat_weight.
 |
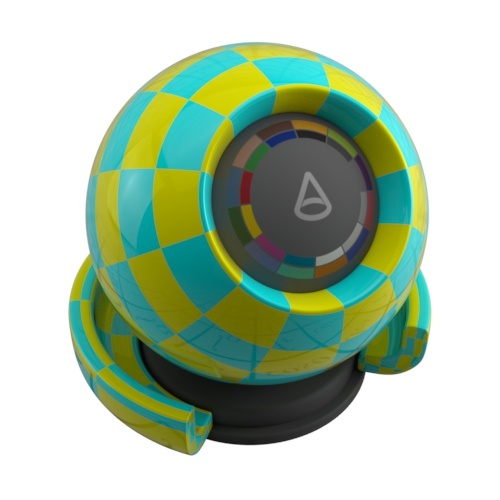 |
| checker -> coat_weight | Yellow coat_color is now restricted to white areas of checker and blue base_color is unaffected |
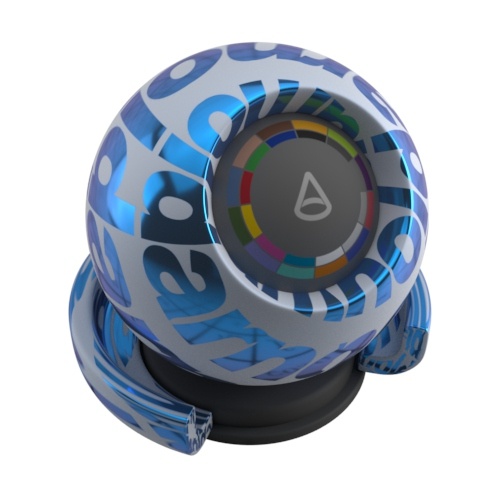
Coat_color can also be used to layer a stencil texture. In the example below, a type image has been connected to the coat_color, and the coat_roughness has been increased. Notice how it appears unaffected by the specular highlight that appears to 'sit' underneath it.
 |
 |
| Coating | Without coating |
 |
 |
 |
 |
| thin_film Texture maps -> coat_color |
Roughness
Controls the glossiness of the specular reflections. The lower the value, the sharper the reflection. In the limit, a value of 0 will give you a perfectly sharp mirror reflection, while 1.0 will create reflections that are close to a diffuse reflection. You should connect a map here to get variation in the coat highlight.
 |
 |
 |
| 0.1 (default) | 0.3 | 0.6 |
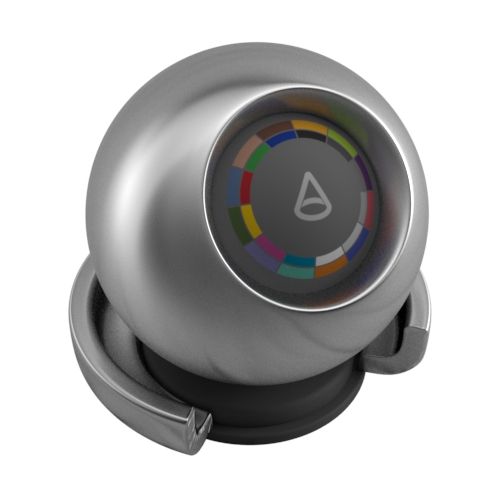
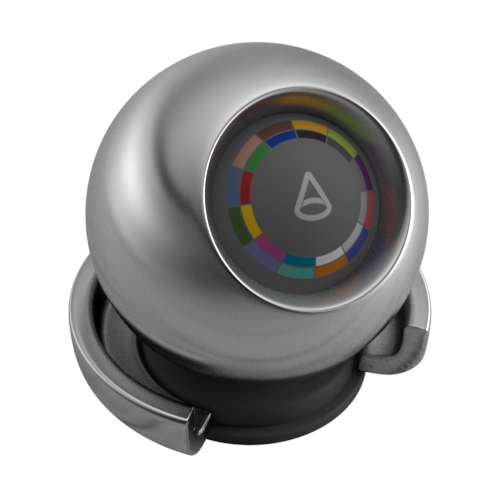
IOR
The IOR parameter (Index of Refraction) defines the material's Fresnel reflectivity and is by default the angular function used. Effectively the IOR will define the balance between reflections on surfaces facing the viewer and on surface edges. You can see the reflection intensity remains unchanged, but the reflection intensity on the front side changes a lot.
 |
 |
 |
| 1 | 2 | 6 |
Affect Color
In the real world, when a material is coated there is a certain amount of internal reflections on the inside of the coating. This causes light to bounce onto the surface multiple times before escaping, allowing the material's color to have an enhanced effect. An example of this is varnished wood. This effect can be achieved by using coat_affect_color.
 |
Affect Roughness
This causes the coating's roughness to have an effect on the underlying layer's roughness, simulating the blurring effect of being seen through the top layer. In the example below, a checker texture has been connected to the coat_roughness with metalness set to 1.0. When set to 0, the coating is unaffected, whereas at 1 the coating_roughness is apparent.
 |
 |
 |
| 0 | 0.5 | 1 |
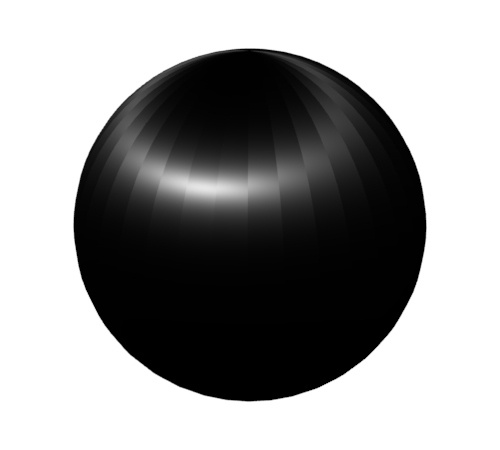
Anisotropy
Anisotropy reflects and transmits light with a directional bias and causes materials to appear rougher or glossier in certain directions. The default value for anisotropy is 0, which means 'isotropic.' As you move the control towards 1.0, the surface is made more anisotropic in the U axis.
 |
 |
 |
| 0 (default) | 0.6 | 0.9 |
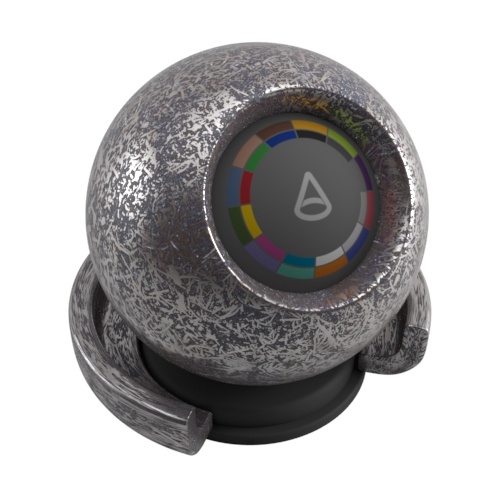
Anisotropy is suitable for materials that have a clear brush direction such as brushed metal which has tiny grooves in which form a 'stretched' anisotropic reflection.
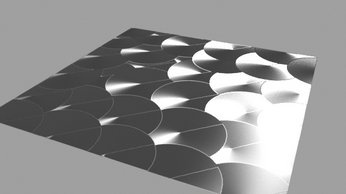
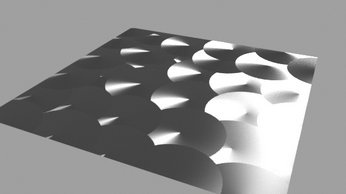
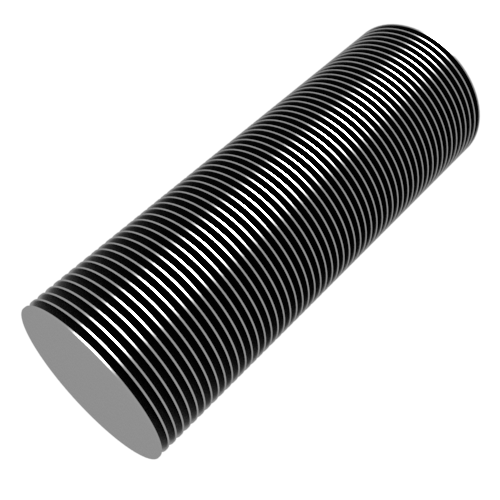 |
Many small discs form together to create an effect which is the anisotropic highlight
 |
 |
 |
| 0.3 | 0.6 | 0.9 |
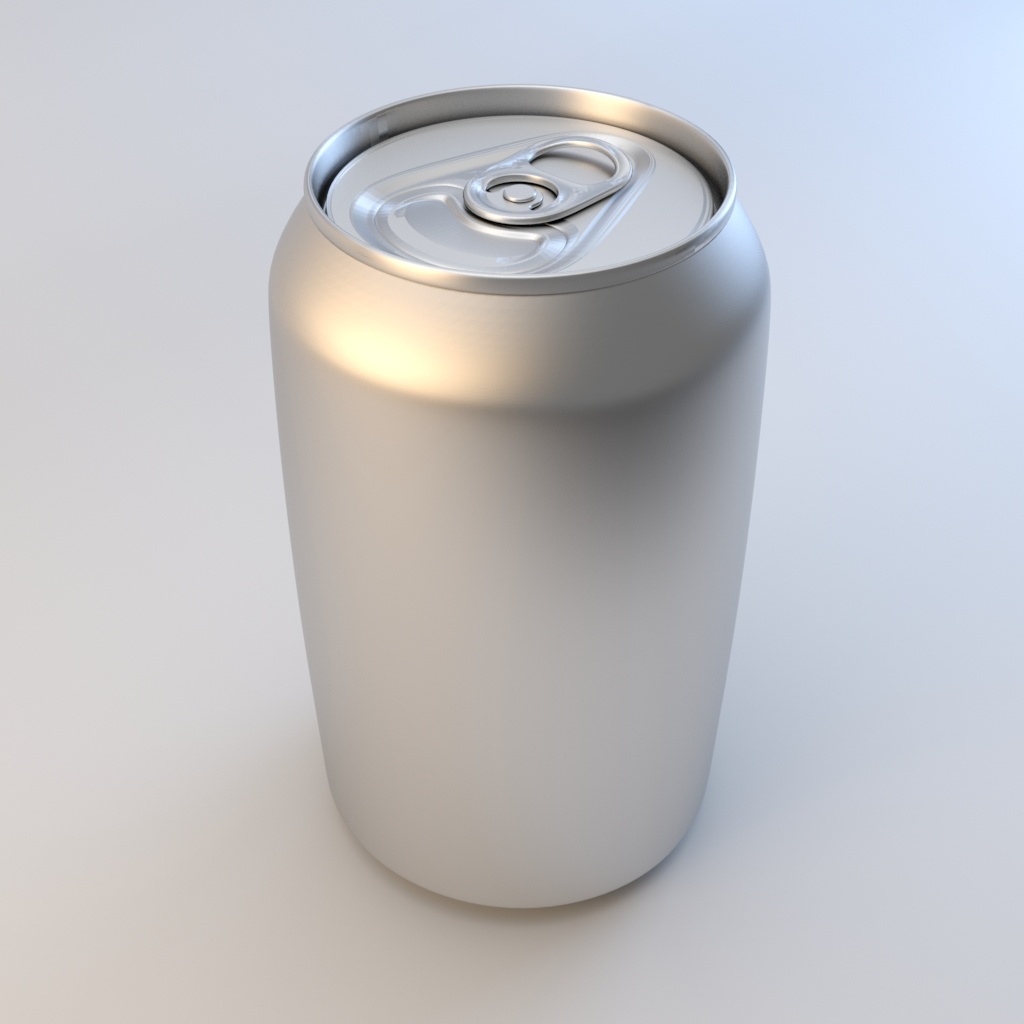
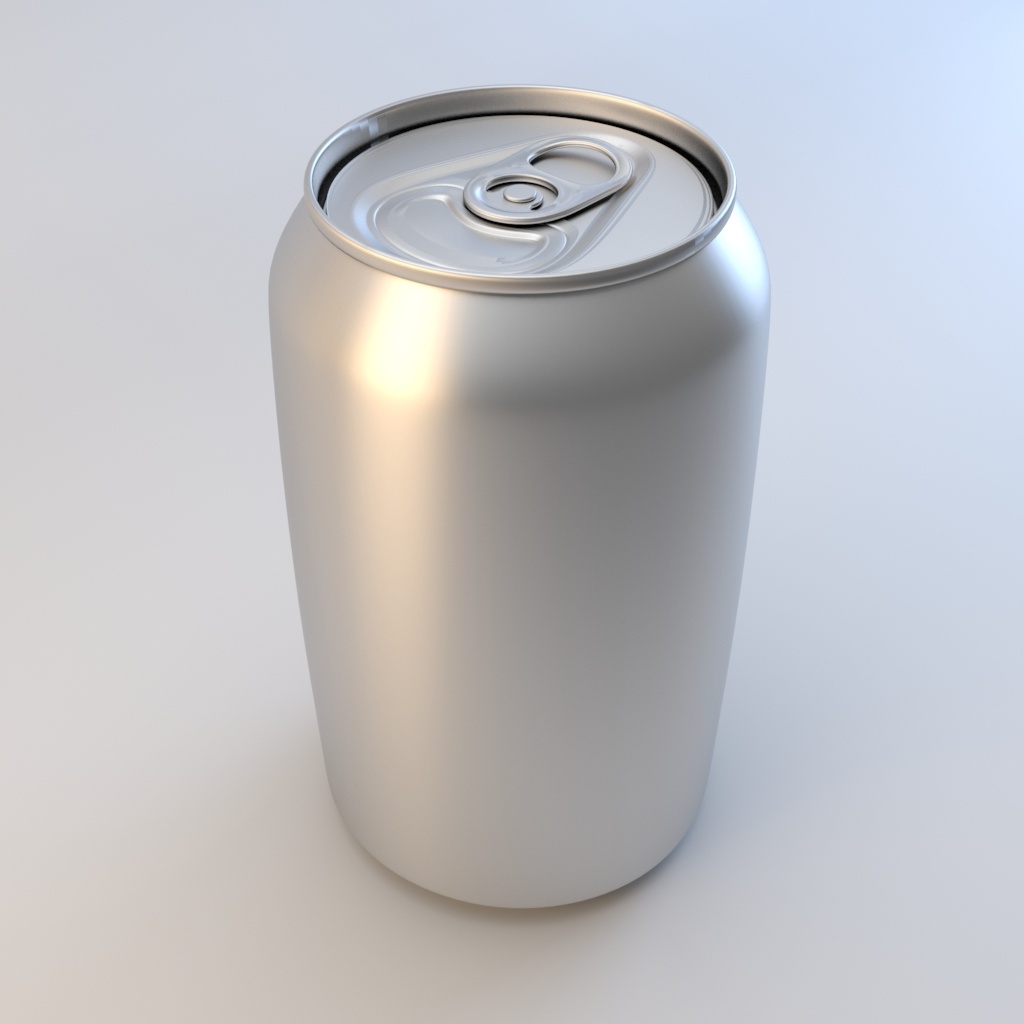
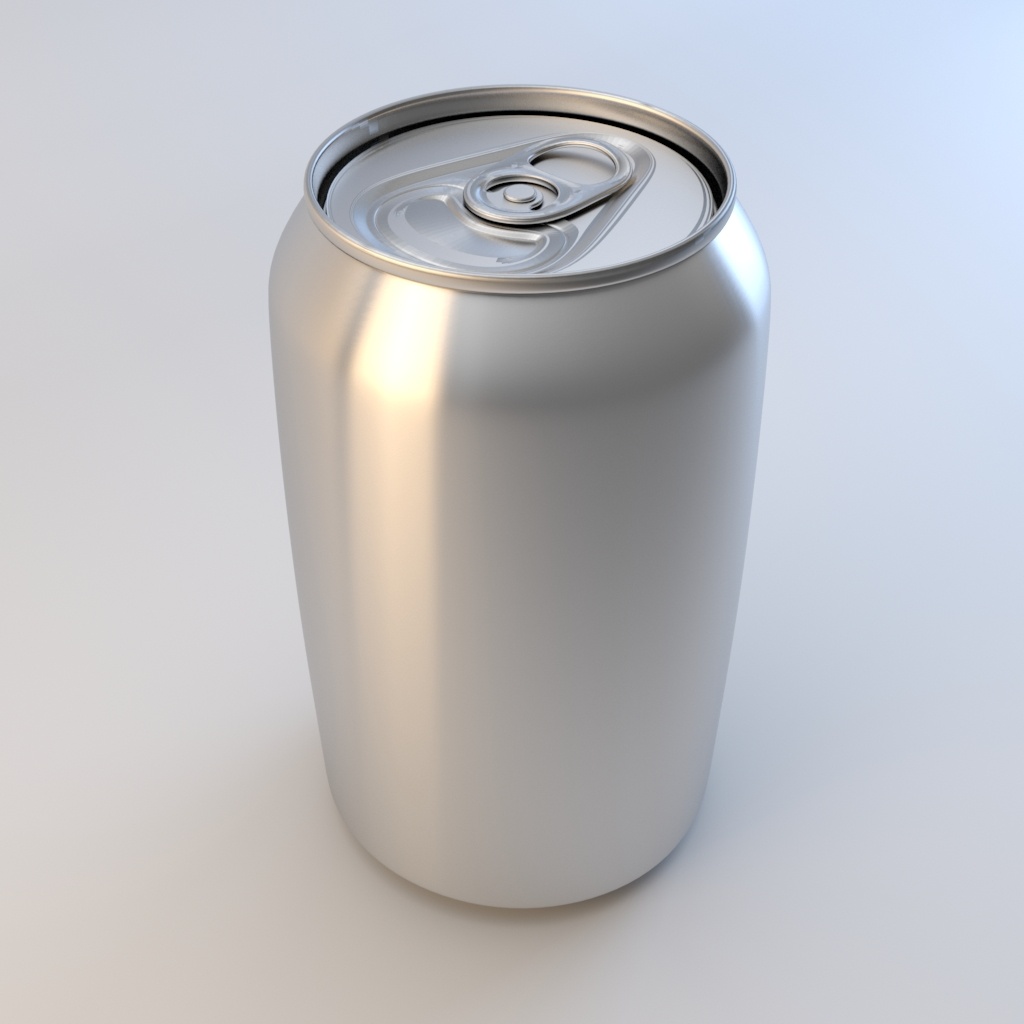
Anisotropic reflections are suitable for brushed metal effects such as in the example below:
 |
Texture assigned to anisotropic_rotation
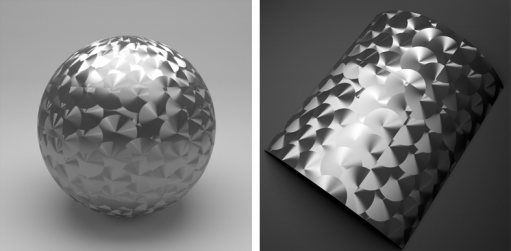
You may notice faceting appears in highlights when using anisotropy. It is possible to remove the faceted appearance by enabling s mooth subdivision tangents (via Arnold subdiv_smooth_derivs parameter). Take into account this requires a subdivision iteration of at least one in the polymesh to work).
 |
 |
| Faceting seen in the anisotropic highlight | Subdivision: enabled. Subdivision Iterations: 1. Smooth Tangents: enabled. |
Increase subdivision_iterations to remove anisotropic faceting.
Anisotropy Rotation
The rotation value changes the orientation of the anisotropic reflectance in UV space. At 0.0, there is no rotation, while at 1.0 the effect is rotated by 180 degrees.
 |
 |
 |
 |
 |
| 0 (default) | 0.25 | 0.5 | 0.75 | 1 |
It is possible to assign textures to the rotation . When doing so, it is advisable to avoid texture filtering. This means disabling MIP-mapping and disabling the magnification filter, which by default is set to "smart bicubic." One way is to set the mipmap_bias of the image node to a strong negative value, like -8, which means "use 8 MIP levels higher resolution than usual".
 |
 |
 |
| mipmap_bias: 0. Filtering: bicubic. | mipmap_bias: -8. Filtering: bicubic. | No mip-mapping. Magnification filter set to closest. |
Normal
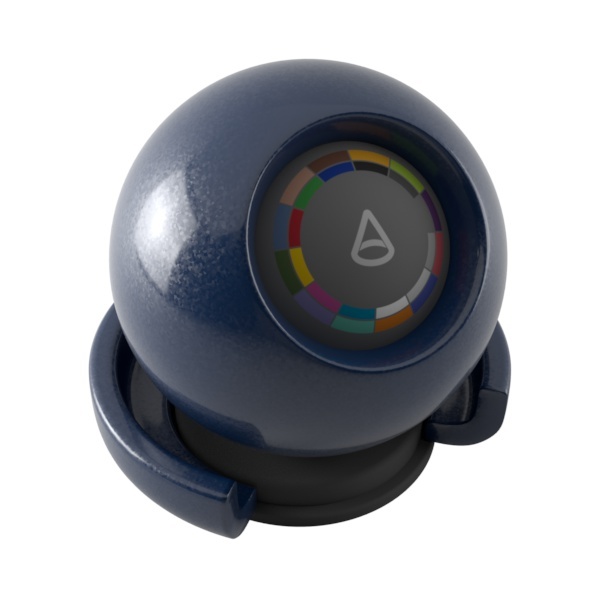
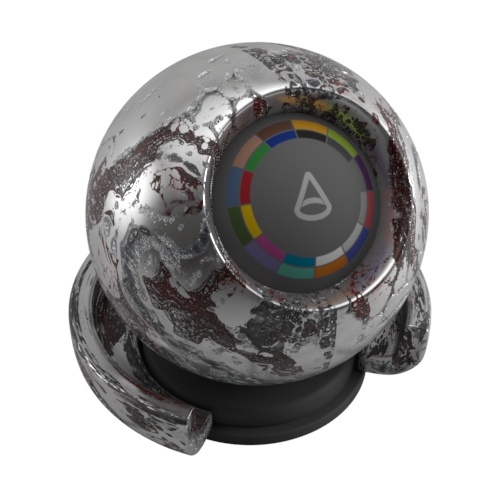
The coat_normal affects the fresnel blending of the coat over the base, so depending on the normal, the base will be more or less visible from particular angles. Uses for coat_normal could be a bumpy coat layer over a smoother base. This could include a rain effect, a carbon fiber shader, or a car paint shader where you could use different normals (using e.g. flakes) for the coat layer and base layers.
 |
 |
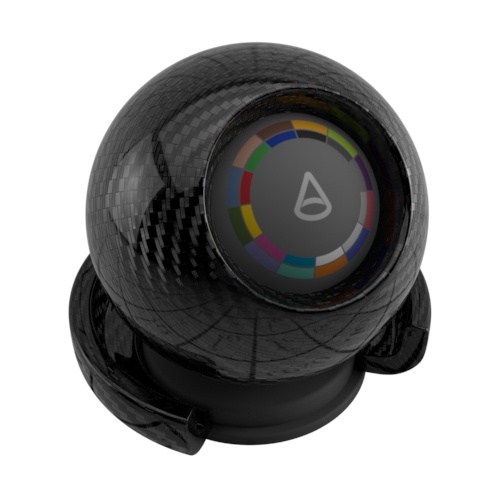 |
| Rain drops | Flakes | Carbon fiber |
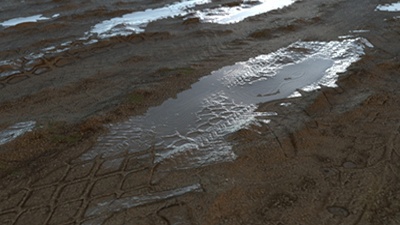
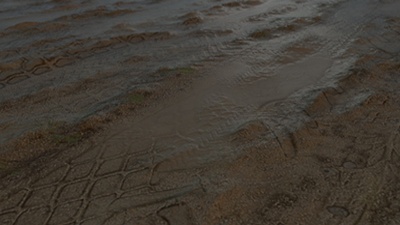
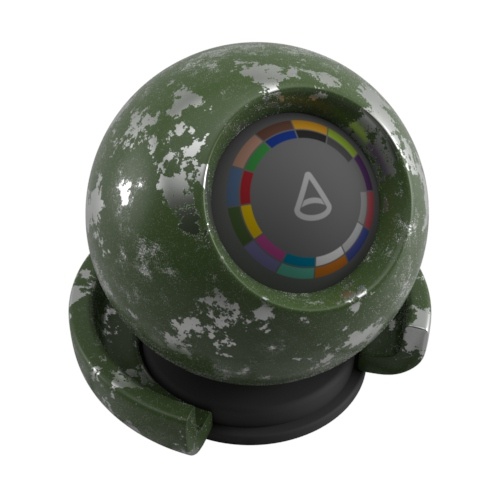
The coat_normal is suited to situations where the layer may be uneven, for example, an oily or wet layer, rain on streets or glazing on food.
 |
 |
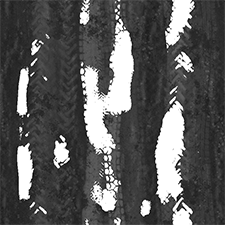 |
Puddles are created with a glossy texture map connected to coat_normal via bump shader (right).
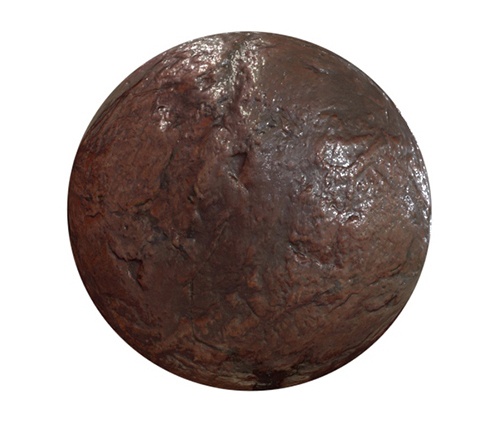
When you specify a coat_normal, it affects just the coat , and none of the layers below it (diffuse, specular, transmission). In the example below right, the rock material appears to have a clear coat layer, when a bump texture is connected to the coat_normal.
 |
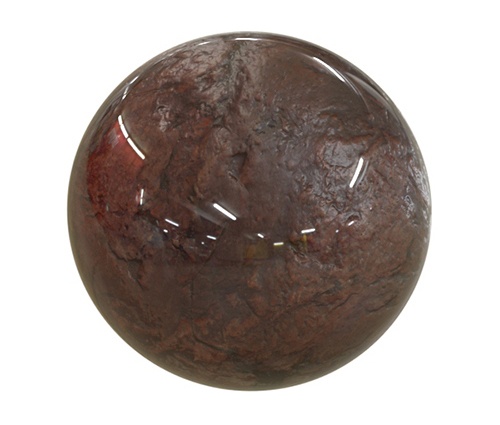 |
| Regular bump_map, specular_weight: 1, coat_weight: 1. | coat_normal map, specular_weight: 1, coat_weight: 1 (specular_weight is unaffected by coat_normal map). |
 |
 |
 |
 |
Textures -> coat_normal