Subsurface
 |
 |
 |
 |
 |
 |
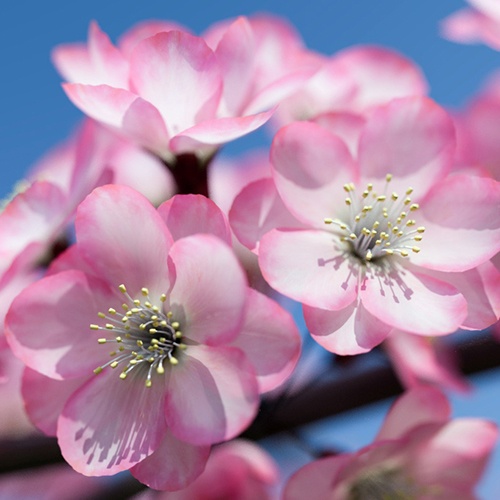 |
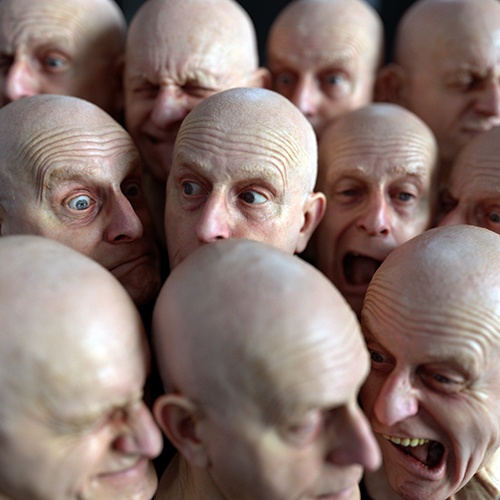
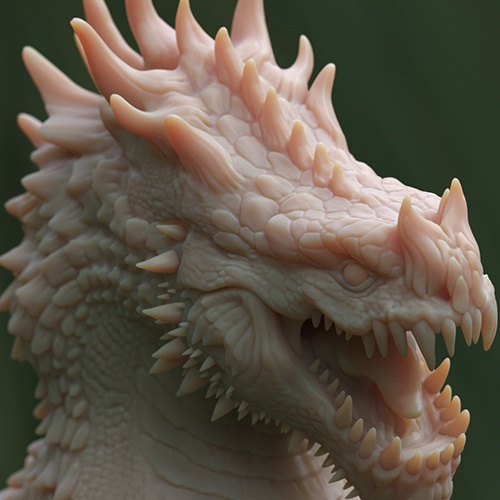
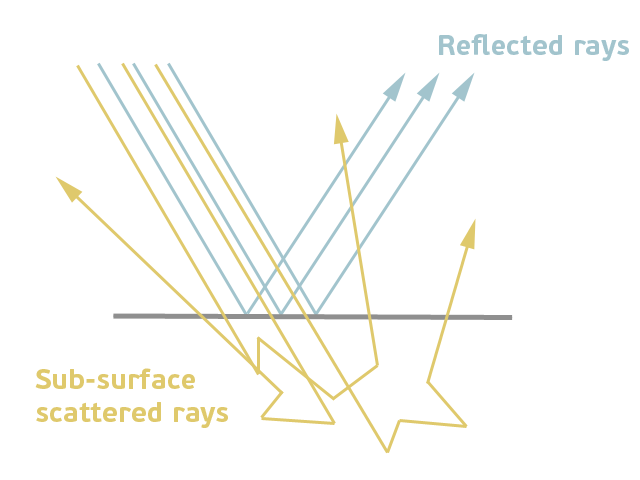
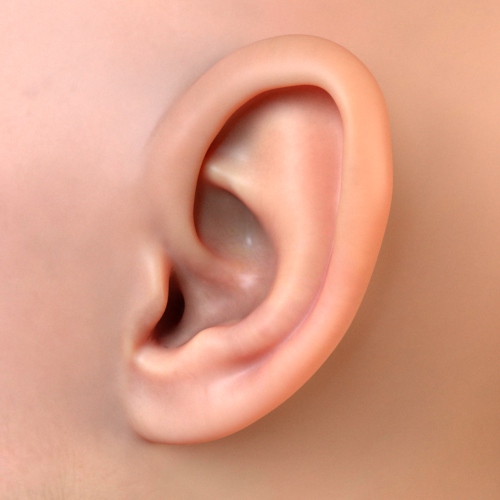
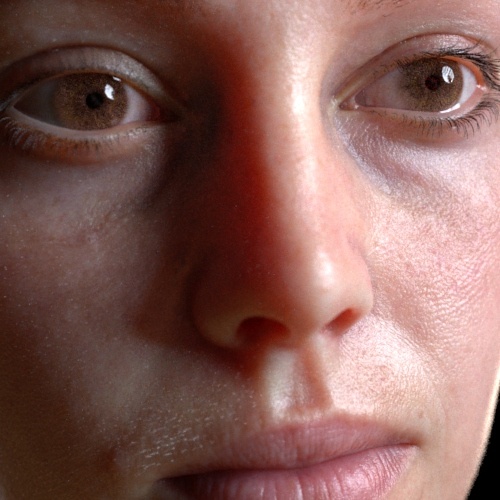
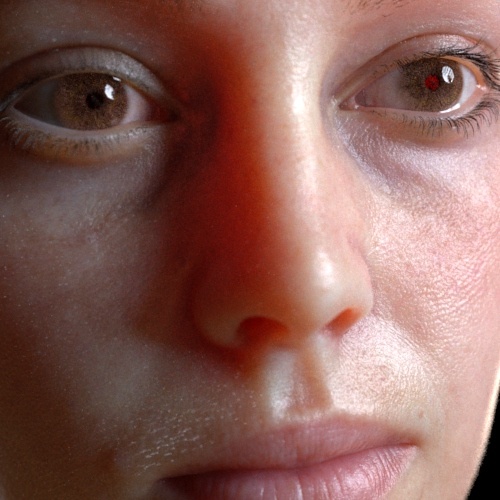
Sub-Surface Scattering (SSS) simulates the effect of light entering an object and scattering beneath its surface. Not all light reflects from a surface. Some of it will penetrate below the surface of an illuminated object. There, it will be absorbed by the material and scattered internally. Some of this scattered light will make its way back out of the surface and become visible to the camera. This is known as 'sub-surface scattering' or 'SSS'. SSS is necessary for the realistic rendering of materials such as marble, skin, leaves, wax, and milk. The SSS component in this shader is calculated using a brute-force raytracing method.
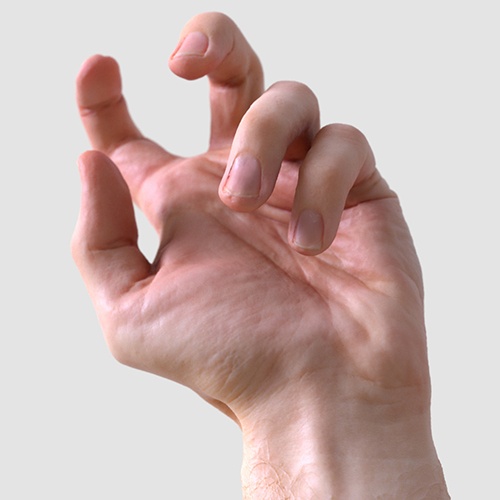
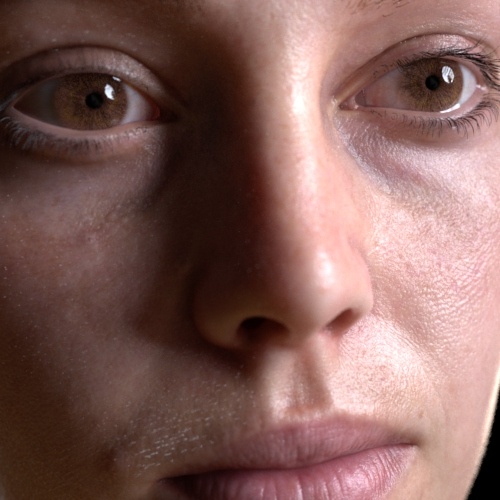
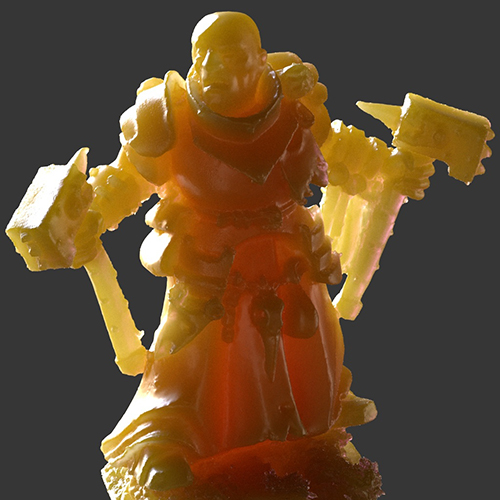
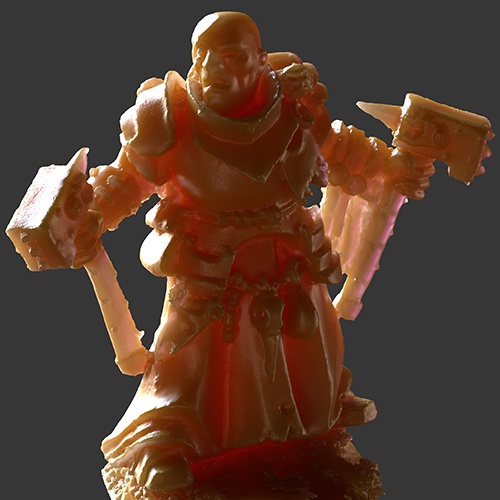
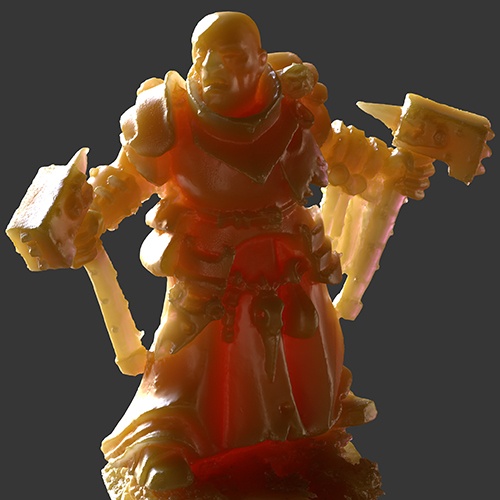
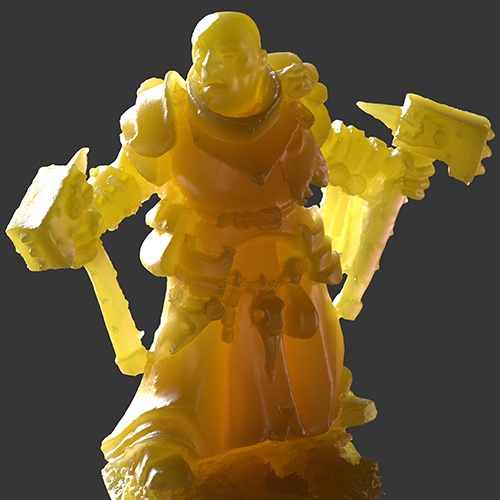
You must ensure that the geometry normals are pointing in the correct direction; otherwise, SSS will not render correctly.
 |
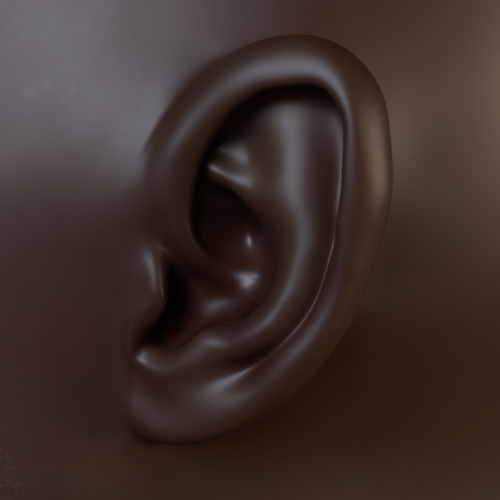 |
| Normals pointing outwards (correct) | Normals pointing inwards (incorrect) |
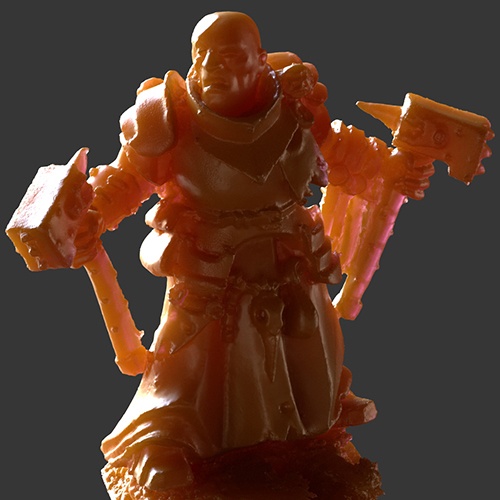
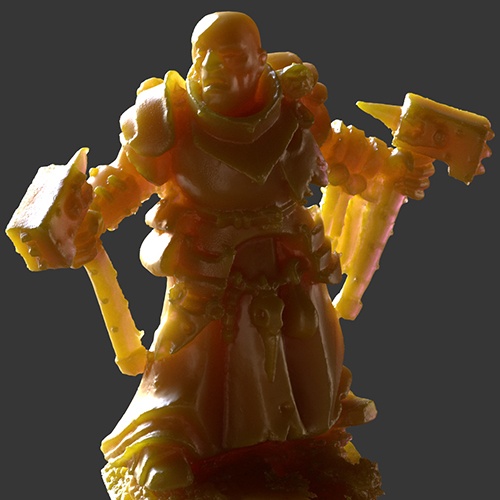
Subsurface is important when replicating realistic materials such as plastics, for example:
 |
 |
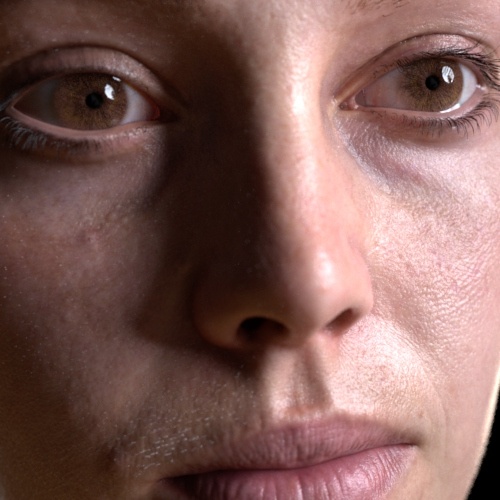
| subsurface: disabled | subsurface: enabled |
Weight
The 'blend' between Diffuse and Subsurface scattering. When set to 1.0, there is only SSS, and when set to 0, it is only Lambert. In most cases, you want this to be 1.0 (full SSS).
 |
 |
 |
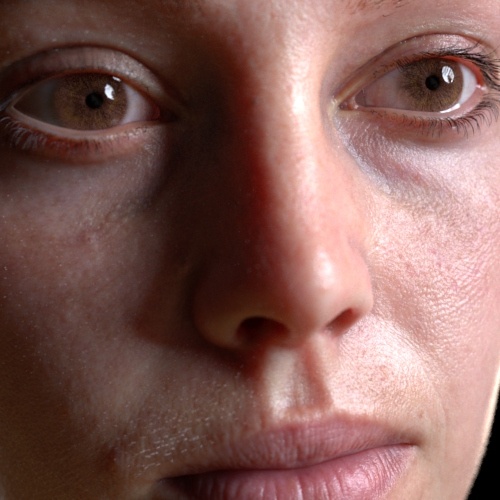
| 0 (default) | 0.5 | 1 |
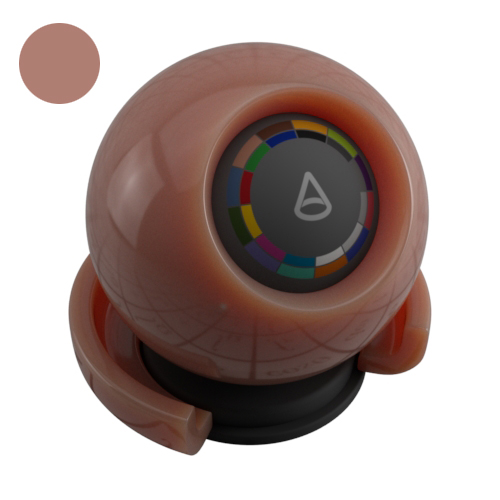
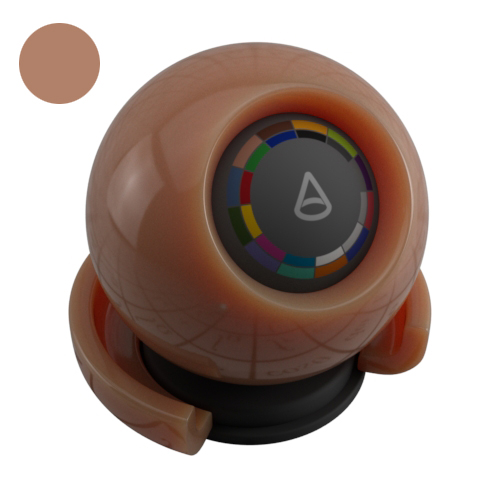
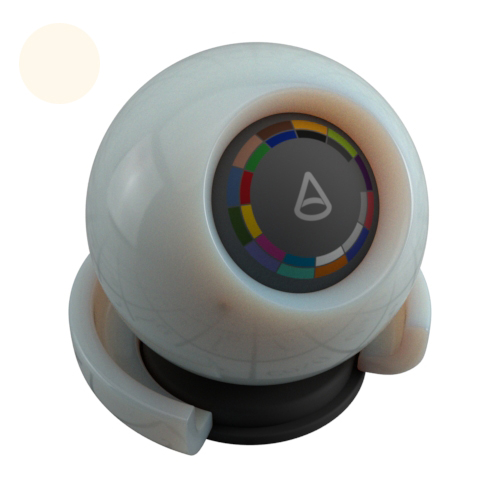
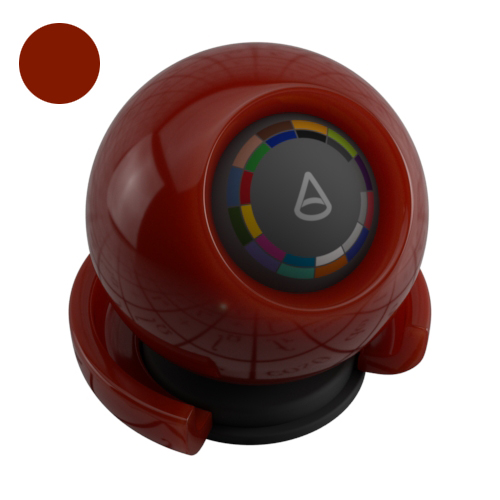
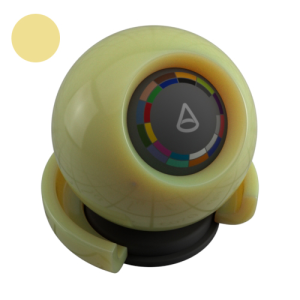
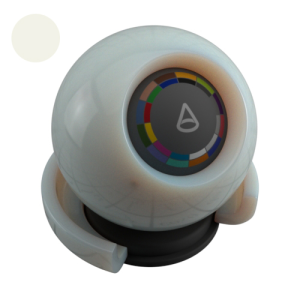
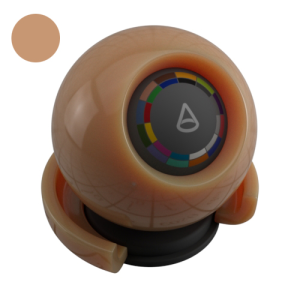
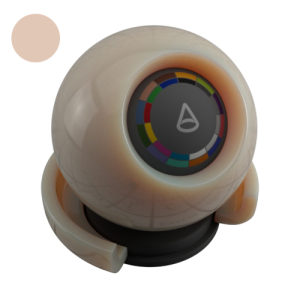
Color
The color used to determine the Subsurface scattering effect. For example, replicating a skin material would mean setting this to a fleshy color.
 |
 |
 |
 |
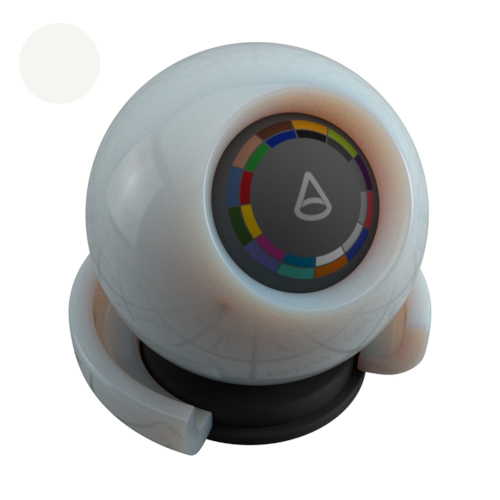 |
| Apple | Chicken | Cream | Ketchup | Marble |
 |
 |
 |
 |
 |
| Potato | Skim milk | Skin 1 | Skin 2 | Whole milk |
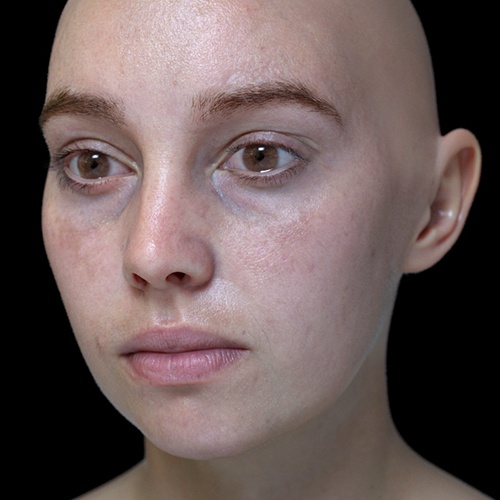
Skin Color
Generally, you would connect a color texture map to the Subsurface Color, and set the Subsurface Radius to a value appropriate for skin (mostly a higher value for the red channel, assuming red mostly comes from blood). The radius can also be textured if desired. Veins would be part of the color texture map, and that not only affects the color but also how the subsurface scattering behaves. Standard Surface has a mix between Base and SSS. It is your choice if you want to use Diffuse with skin. It can be used to e.g. mix in a different texture with a mask for e.g., face paint, or to vary sharpness by connecting the same texture to both the Base Color and Subsurface Color and changing the blend factor. ![]()
Radius
The approximate distance up to which light can scatter below the surface, also known as “mean free path” (MFP). This parameter affects the average distance that light might propagate below the surface before scattering back out. This effect on the distance can be specified for each color component separately. Higher values will smooth the appearance of the subsurface scattering, while lower values will result in a more opaque look.
 |
 |
 |
| 0.25 | 0.5 | 1 (default) |
The lighter the color, the more light is scattered. A value of 0 will produce no scattering effect:
 |
 |
 |
| 0 | 0.2 | 1 (default) |
Increasing the radius value can radically change the appearance of the material, from looking like leather to marble. SSS is very scale-dependent. You will need to adjust the radius multiplier depending on the size of your model. If you were to render using the default SSS settings, you might get something that does not look correct. Alternatively, adjusting the scene scale can have similar results.
 |
 |
 |
| 0 | 0.5 | 1 (default) |
Instead of distributing all of the colors with the same amount, you can also choose different radius values for each of the RGB colors. For example, a material like clay or skin should have a higher red radius than green and blue.
When rendering skin, you should use a value like 1.0, 0.35, 0.2, indicating that red should scatter deepest and green and blue less. This would replace the three-layer workflow ( deep, mid, and shallow layers) for skin, where you would make the deep layer red to indicate that deep should scatter with a larger radius. Setting scatter_radius.R to a larger value would correspond to that.
 |
 |
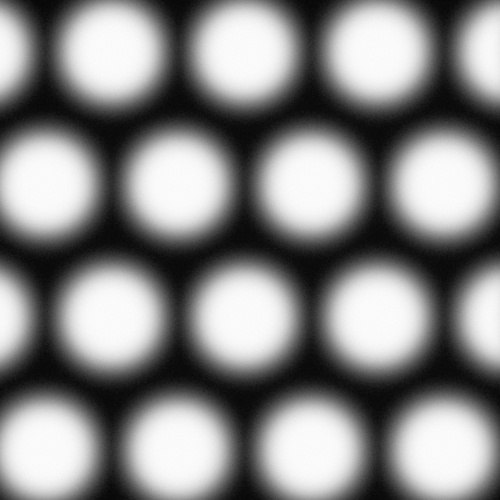
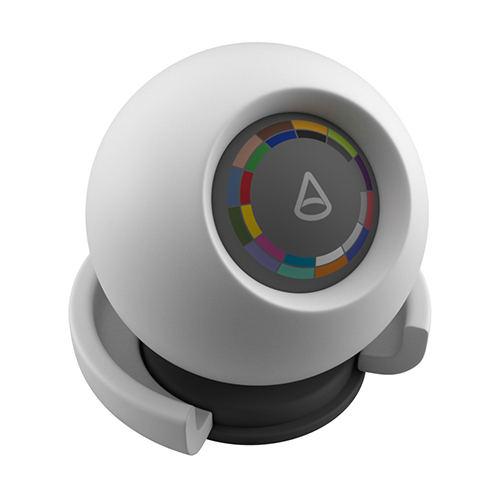
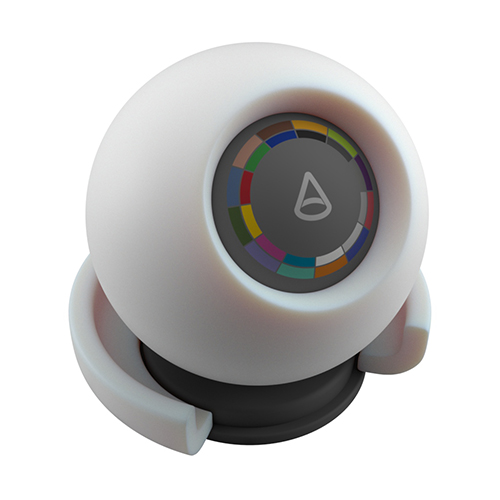
| White (default) | Red tint |
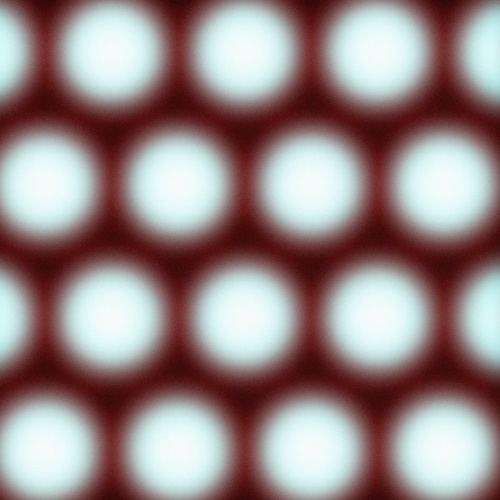
The images below show the effect when increasing the red color of the radius. Notice the colored 'fringing' effect around the edges of the circles. The same effect occurs when Gaussian blurring the red channel of the source image in a compositing package.
 |
 |
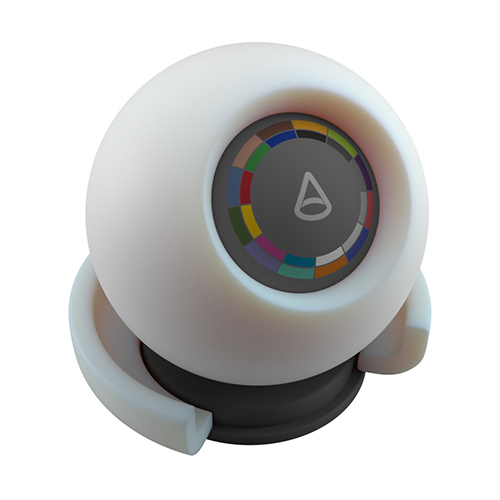
| R:0.5 G:0.5 B:0.5 | R:0.1 G:0.5 B:0.5 |
Scale
Controls the distance that the light is likely to travel under the surface before reflecting back out. It scales the scattering radius and multiplies the SSS Radius Color.
 |
 |
 |
| 0 | 1 (default) | 2 |
If the scene is in meters, then subsurface_scale can be set to 0.01 to specify the sss_radius in centimeters. For example for skin, the sss_radius could be 0.37cm, 0.14cm, 0.07cm.
 |
 |
 |
| 0 | 0.25 | 0.5 |
Type
Diffusion
With a single layer, it can capture both surface detail and deep scattering. Designed to closely match the characteristics of the full Monte-Carlo simulation, while remaining an approximation that's much cheaper to evaluate than a full randomwalk.
Randomwalk (default)
Unlike the empirical BSSRDF method based on diffusion theory, the randomwalk method actually traces below the surface with a real random walk and makes no assumptions about the geometry being locally flat. This means it can take into account anisotropic scattering like brute-force volume rendering and produce much better results around concavities and small details. It can also be substantially faster for a large scattering radius (i.e., large mean free path) compared to diffusion. On the other hand, randomwalk can be slower in dense media (i.e., small mfp), may require redialing materials to achieve a similar look, and is more sensitive to non-closed meshes, "mouth bags", and internal geometry, potentially casting shadows.
Randomwalk v2
This method scatters more accurately and deeply through highly-transparent/optically-thin objects, which produces SSS with more saturated colors around fine surface detail and heavily backlit regions of an object. Note that renders will be more costly and noisier than with the original method since randomwalk will be on average longer and more random.
 |
 |
 |
| diffusion | randomwalk (default) | randomwalk v2 |
Anisotropy
Henyey-Greenstein Anisotropy coefficient between -1 (full back-scatter) and 1 (full forward-scatter). The default is 0 for an isotropic medium, which scatters the light evenly in all directions, giving a uniform effect. Positive values bias the scattering effect forward, in the direction of the light, while negative values bias the scattering backward, toward the light.
This parameter only works with the randomwalk SSS method.
 |
 |
 |
| -0.7 | 0 (default) | 0.7 |
SSS Set Name
It is possible to tag multiple objects as belonging to the same SSS 'set' so that illumination will blur across object boundaries. A common use case might be blurring between teeth and gum geometry. It is enabled by adding the constant STRING userdata sss_setname to the same value on the objects in the set.
 |
 |
| No sss_setname used (default) | Same sss_setname used across all objects |