Working with Solaris
This beginner's tutorial shows you how to use the Arnold renderer in Solaris. It shows how to render the kitchen USD file with Arnold in the LOPS context.
First, let's bring the kitchen USD into Stage.
- Start off by creating a File or Sublayer (same) in the Stage context so that we can use it to open the kitchen USD. Rename it to 'kitchen'.
- Find the File (kitchen_set.usd). You should see the kitchen in the viewport.
- It was originally modeled in Z-up. We can use a Transform node to rotate it -90 degrees in the X-direction (choose All Geometry Primitives under the Primitives menu of the Transform node).

File (kitchen_set.usd) in Stage
If we look at the Scene Graph Tree, we can see the contents of the kitchen have been put into Geometry and Props groups.
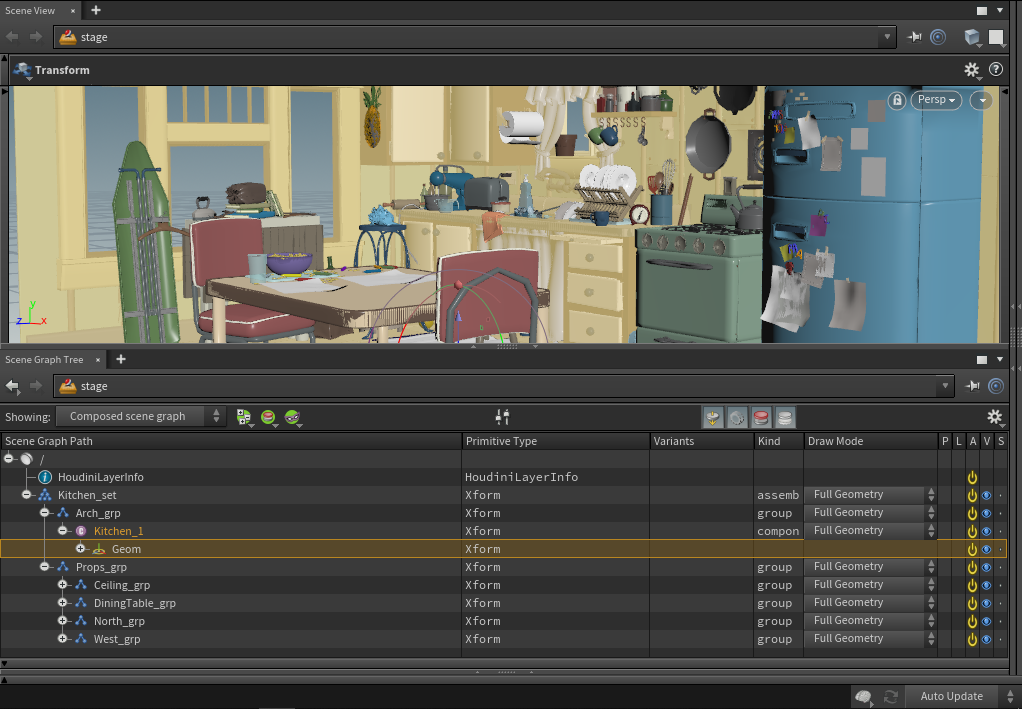
kitchen.USD Scene Graph Tree
Shading
Now let's add some shaders to the kitchen geometry.
- Connect a Material Library node to the Transform node.
- Create an Arnold Material Builder inside the Material Library.
- Create a standard_surface shader inside the Arnold Material Builder node and connect it to the OUT_Material node.
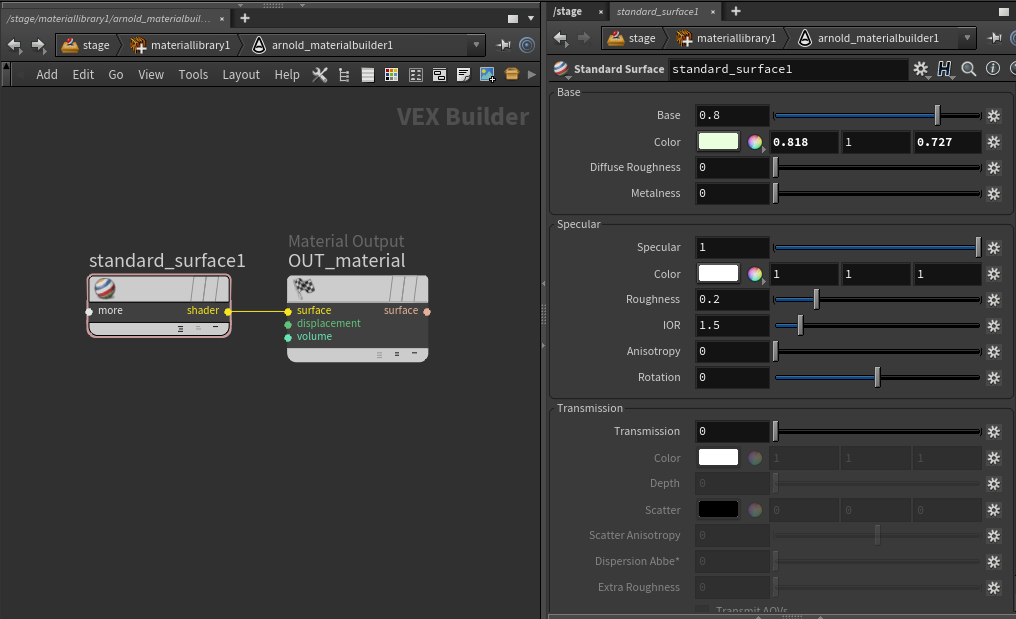
standard_surface -> OUT_material (inside Arnold Material Builder )
Now, let's assign this material to the wall geometry.
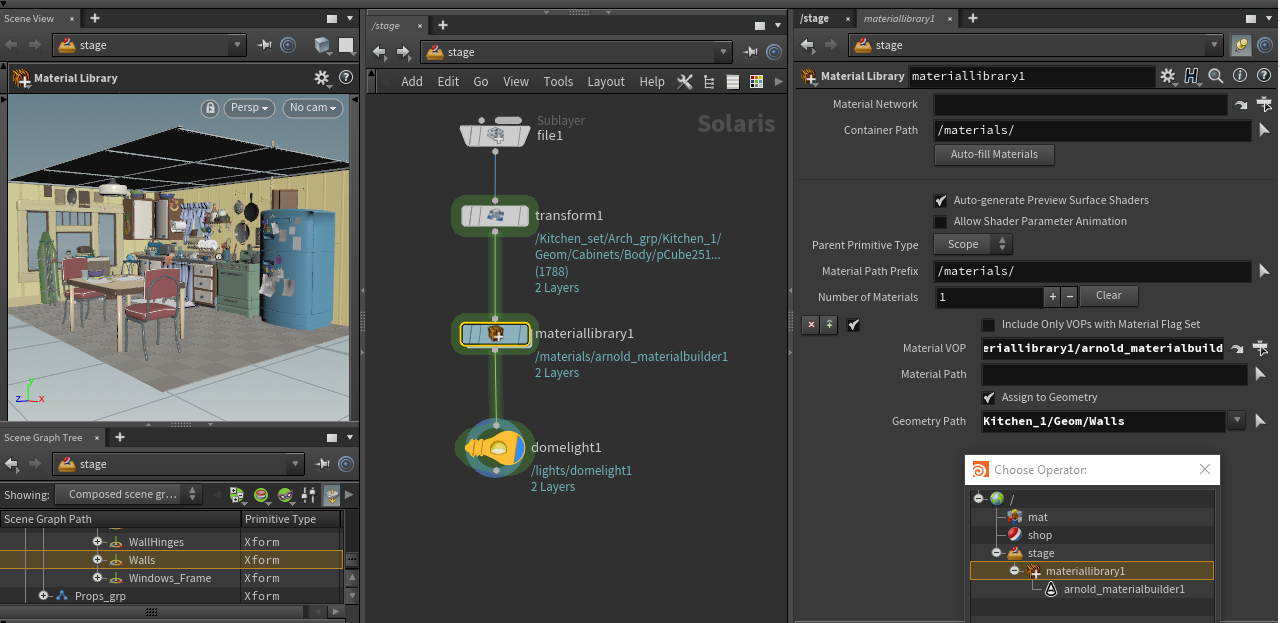
- Select the Material Library node and choose the Walls geometry group in the Geometry Path.
An alternative method for assigning the material would be to drag the Walls group from the Scene Graph Tree onto the Material VOP. This will automatically create the path for you.
- Choose the materiallibrary1 in the Choose Operator window for Material VOP.
 ## Lighting
Now let's test render the scene to see how our shaders look.
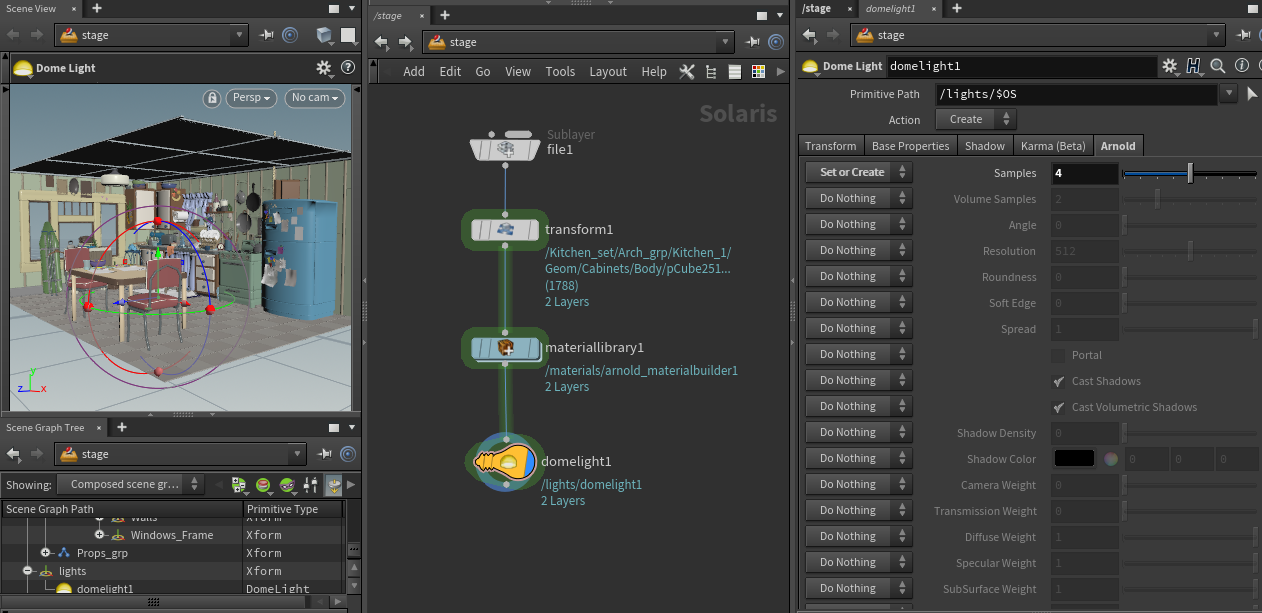
- Create a Dome Light and connect it to the materiallibrary node.
- Under the Arnold Tab of the Dome Light, change the Samples to 4 (choose Set or Create).
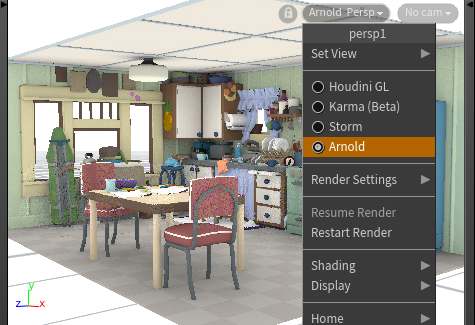
Viewport Rendering
- Select the Persp dropdown menu in the camera viewport and choose Arnold from the Hydra delegate list. You should now see the kitchen USD rendered with Arnold.
Final Frame Rendering
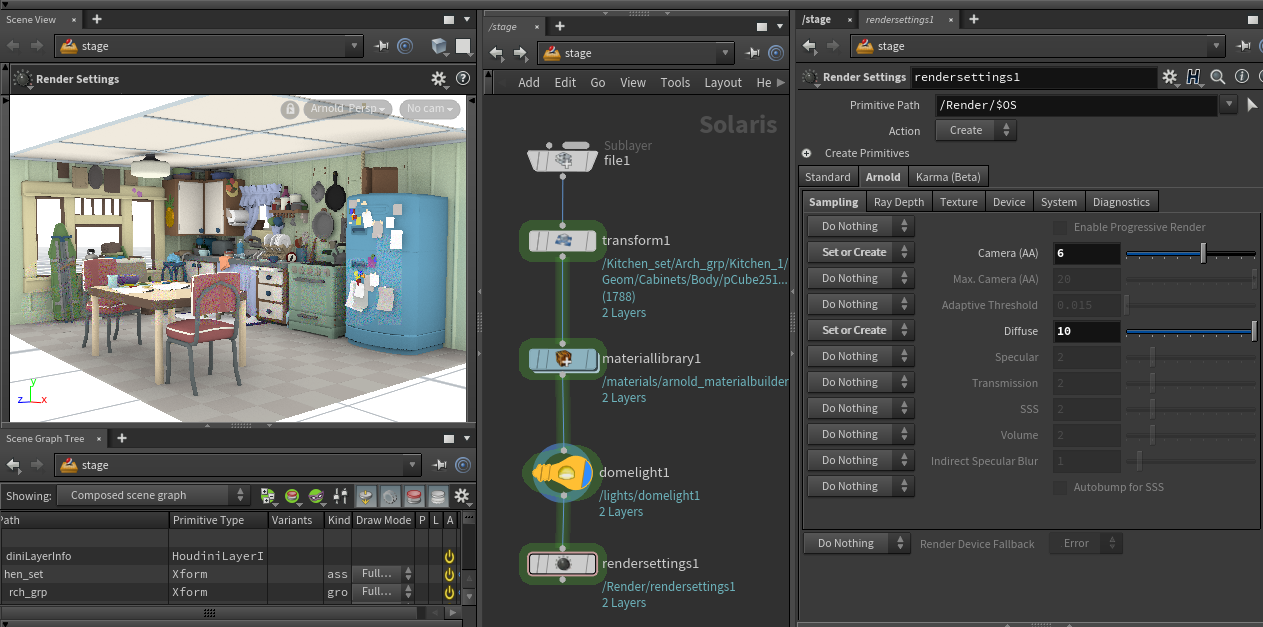
Now let's set up the scene for final frame rendering. To improve the noise, we need to adjust the lighting and render settings.
- Create a Render Settings node and connect it to the Dome Light.
- Change the desired resolution in the Standard tab of the Render Settings node.
- Under the Arnold Sampling tab, set the Camera (AA) samples to 5 or 6 for final frame rendering.
- Set the Diffuse samples to around 10 to improve the quality of the indirect lighting in the scene.
- Create a camera node and insert it before the Render Settings node.
- Create a USD Render ROP and connect it to the Render Settings node.
- You can now choose to either render to Disk or MPlay, and that will give you your final rendered image.
