Rendering Paint Effects Curves using Override Sets
This tutorial shows you how to render a complex 'abstract' curve scene using Maya's Paint Effects in combination with MtoA's override sets. We will create some interesting shapes using Maya's Paint Effects tools. We will then convert the results to curves and render them very quickly and easily using override sets. So let's begin.
The Curve Collector is a faster and easier method for rendering a large number of curves.
The scene file can be downloaded here.
Paint Effects Gloppy Brush
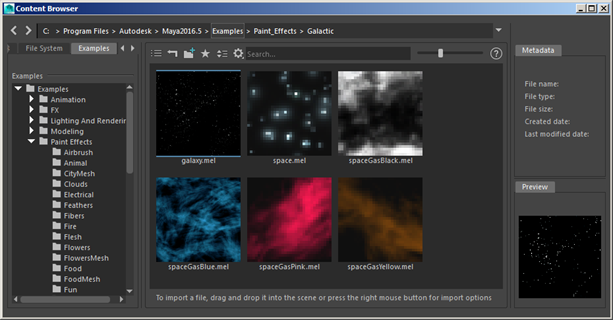
- Create a new scene. Open the Content Browser window.
- In the list of Paint Effects, folders on the left should be a folder called funmesh. Select the folder.
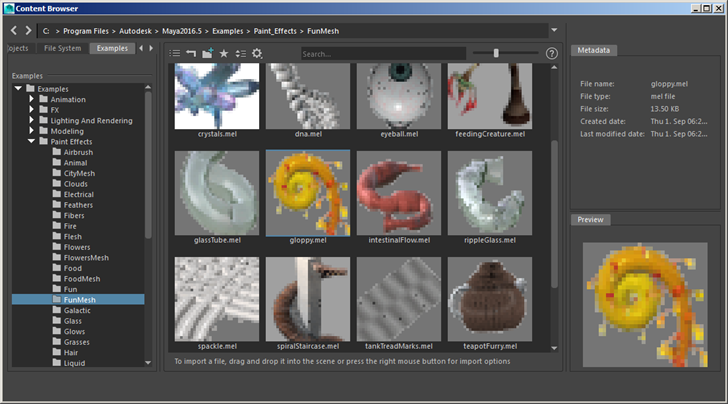
- In the right pane should be a brush called 'gloppy.mel'. Select it and paint the brush in the Maya viewport until you get something like the image below (the settings used for this Gloppy strokeshape are - Sample Density: 80 and Global Scale: 4.
Convert Paint Effects To Polygons
- We now want to convert the Gloppy paint effects brush to polygons so that we can paint another brush onto it. Select the Gloppy brush and go to Modify>Convert Paint Effects to Polygons.
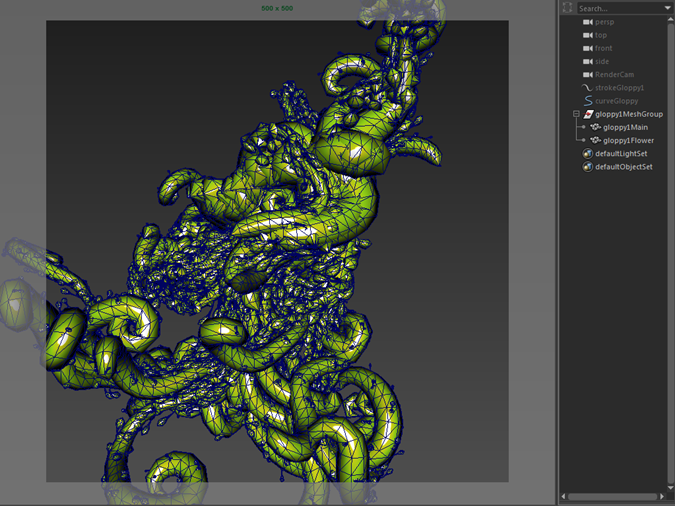
You should now have a polygon version of the Gloppy paint effects brush as per the image below:
Paint Effects Galaxy Brush
- Open the Content Browser window again. This time, select the 'Galactic' folder and select the brush 'galaxy.mel' in the pane on the right. We are going to 'auto-paint' this brush onto the Gloppy polygon mesh.
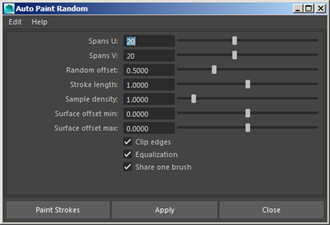
- With the Gloppy geometry selected and the 'galaxy.mel' paint effects brush highlighted, open the Paint Effects>Auto Paint> Paint Random options window. The Auto Paint Random will randomly apply the selected paint effects brush to the selected geometry, saving us from having to do it manually. The Spans U and V determine how many strokes it applies to the geometry. Be careful not to go too high with this number. Otherwise, Maya may take a long time to calculate all of the curves, or worst run out of memory. Change Spans U and V to 20.
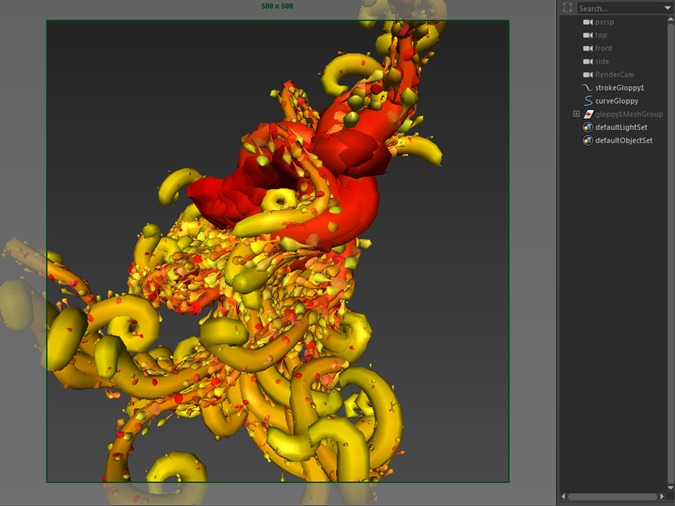
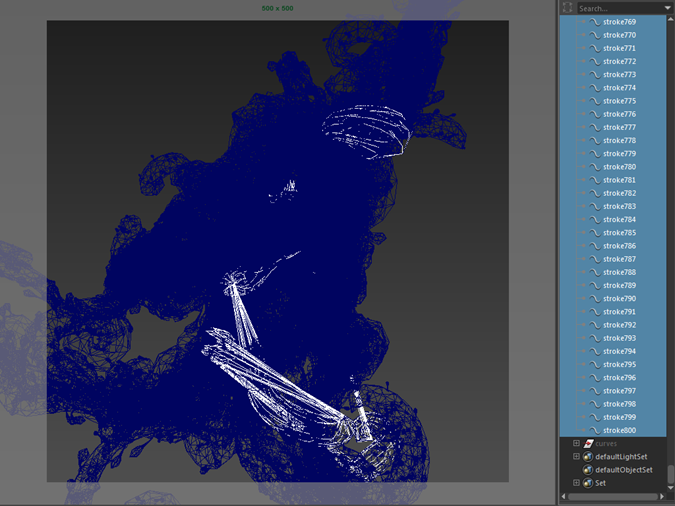
- Press Apply. You should see the new 'galaxy' strokes appear in the modeling and outliner windows as below:
Convert Paint Effects To Curves
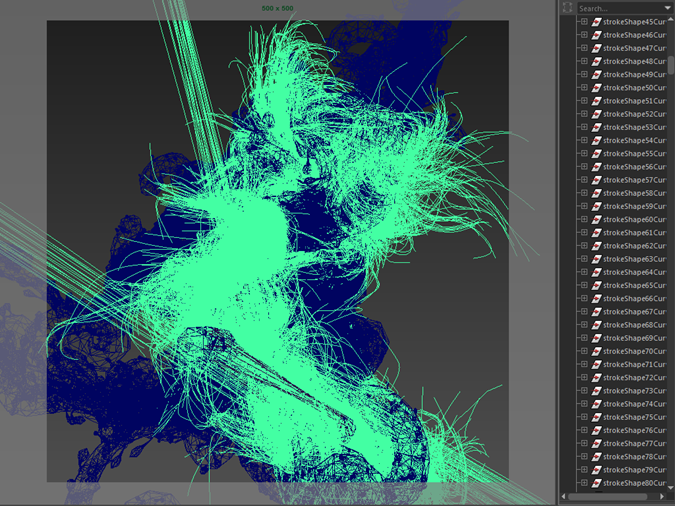
- Now we can convert these paint effects strokes to curves. To do this, select the 'galaxy' strokes and go to Modify>Convert Paint Effects to Curves. After some time calculating, Maya should convert all of the 'galaxy' strokes into curves (you will probably notice the curves look very different from the galaxy paint effects strokes. Do not worry; this is exactly the effect that we want!
- With the curves selected, create a Set for them (Create>Sets>Set).
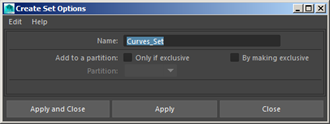
Add Curves To Set
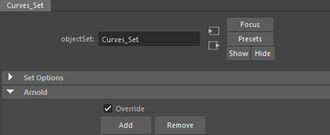
- Select the Set and open the Attribute Editor. Click on Arnold. You should see the ability to add or remove override attributes:
A quicker and more efficient method for rendering multiple curves is to use the Curve Collector.
You may notice a delay when selecting the curve Set. This is due to a large number of curves involved.
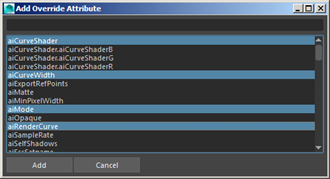
Add Extra Attributes
- Click on 'Add'. The 'Add Override Attribute' window should appear. Select the following attributes:
- aiRenderCurve - d etermines whether or not the curve will render.
- aiCurveShader - allows you to assign a shader to the curve. Connect either a standard_hair or standard_surface shader to this attribute.
- aiCurveWidth - allows you to set a width value for the curve. Choose a value of at least 0.010 to get some thickness, but not too much.
- aiMode - allows you to choose which rendering mode for the curve - ribbon or thick. Choose thick
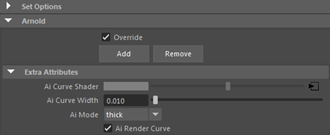
The 'Override Attributes' that you have added should appear under Extra Attributes in the Attributed Editor for the set. You can see that we have connected a shader to Ai Curve Shader (in this case a standard_surface). The Ai Curve Width has been set to 0.01. You can choose to increase or decrease this value depending on your preference (all of the example renders use 0.01). The Ai Mode has been set to thick, which in this case looks better because it has a circular cross-section.
Conclusion
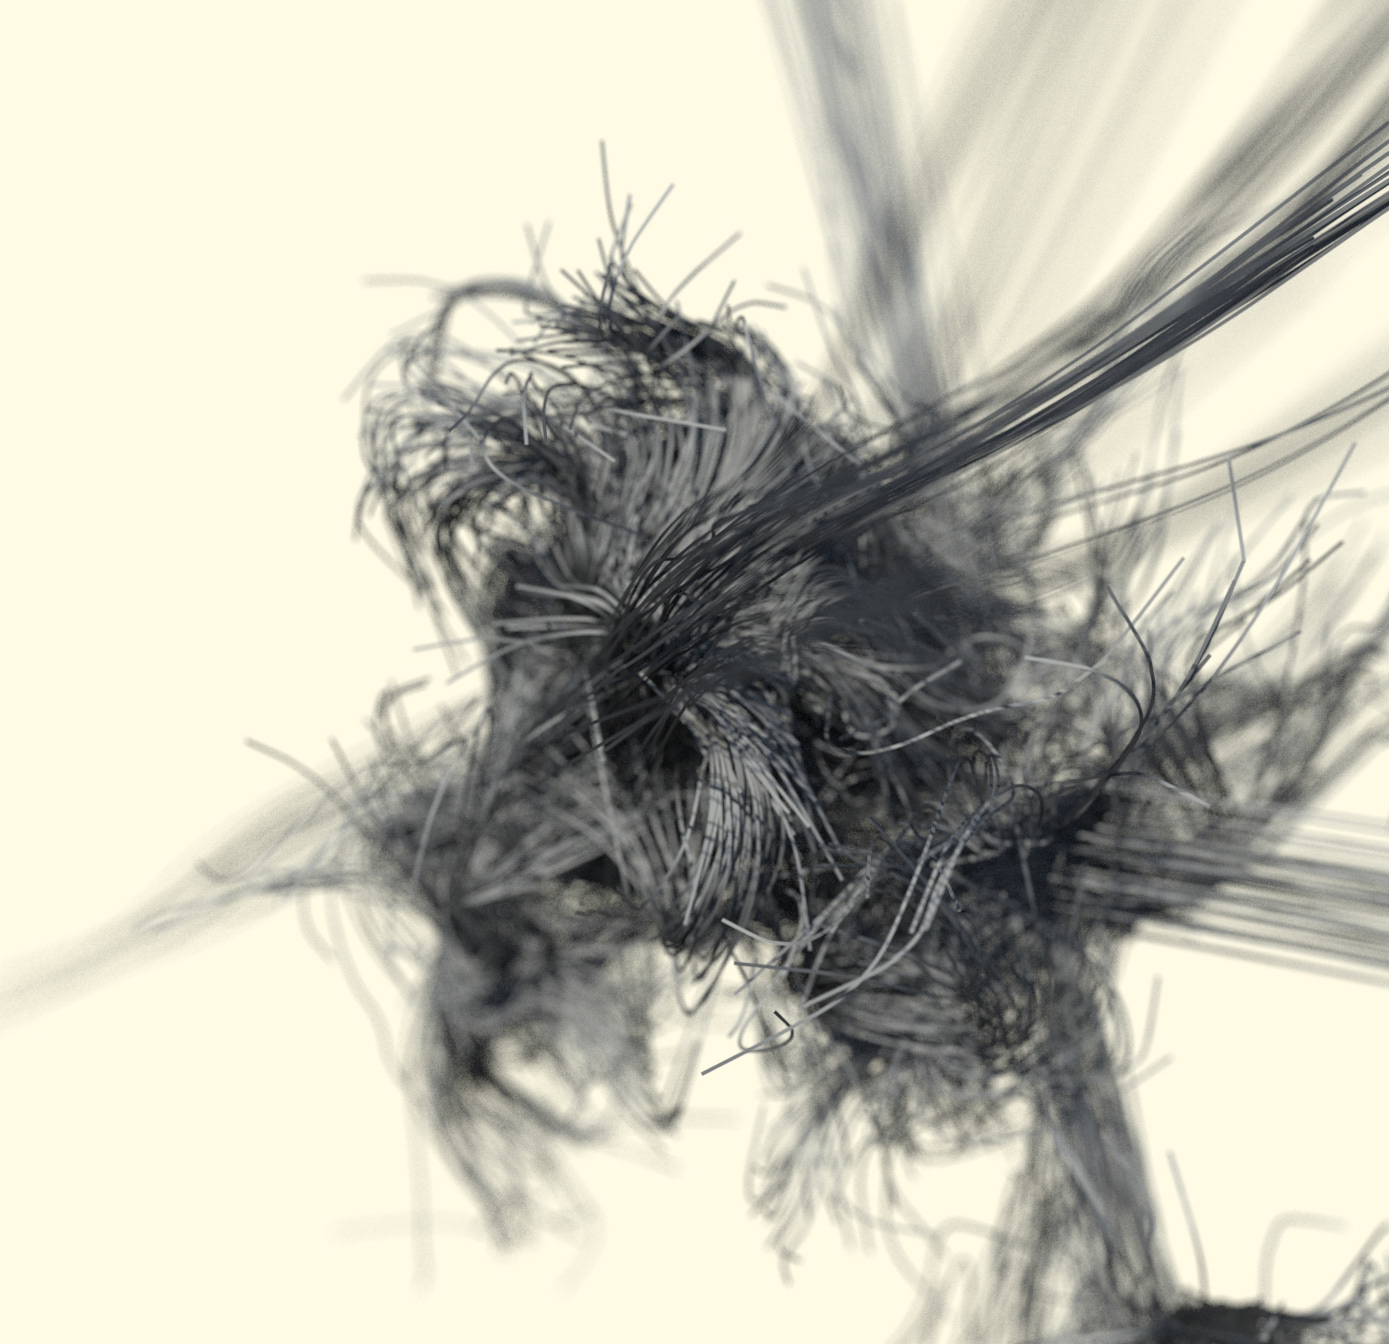
You are now ready to start rendering the curves. The next step would be to add some interesting lighting (physical_sky as in the images below), and camera depth of field. You could also try adding a Paint Effects 'line modifier' to either the 'gloppy' or 'galaxy' strokes to 'style' the curves into some more interesting shapes.