
Using ACEScg with Photoshop
This tutorial shows the workflow involved in matching the output from the Arnold RenderView when rendering in ACEScg with the SDR video view in Photoshop. This will involve downloading and using an ACEScg icc profile, assigning it to the document, and using a color lookup pointing to a LUT to emulate the SDR video view.
The .csp and .icc files can be downloaded here thanks to Alex Fry for his CSP file.
Tip:
In Windows, right-click the file ACESCG Linear.icc file and select Install Profile to install it. The file should already appear for Mac users.
Here are the steps:
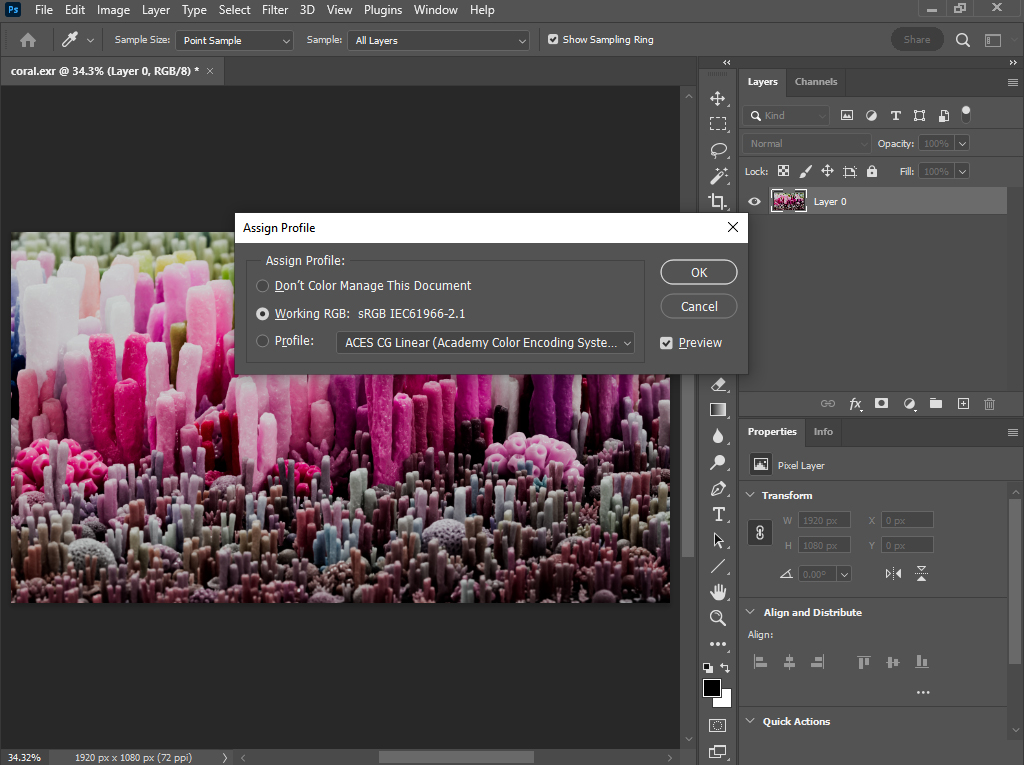
Open an ACEScg exr in Photoshop.
Edit -> Assign Profile -> ACES CG Linear (Academy Color Encoding System AP1)
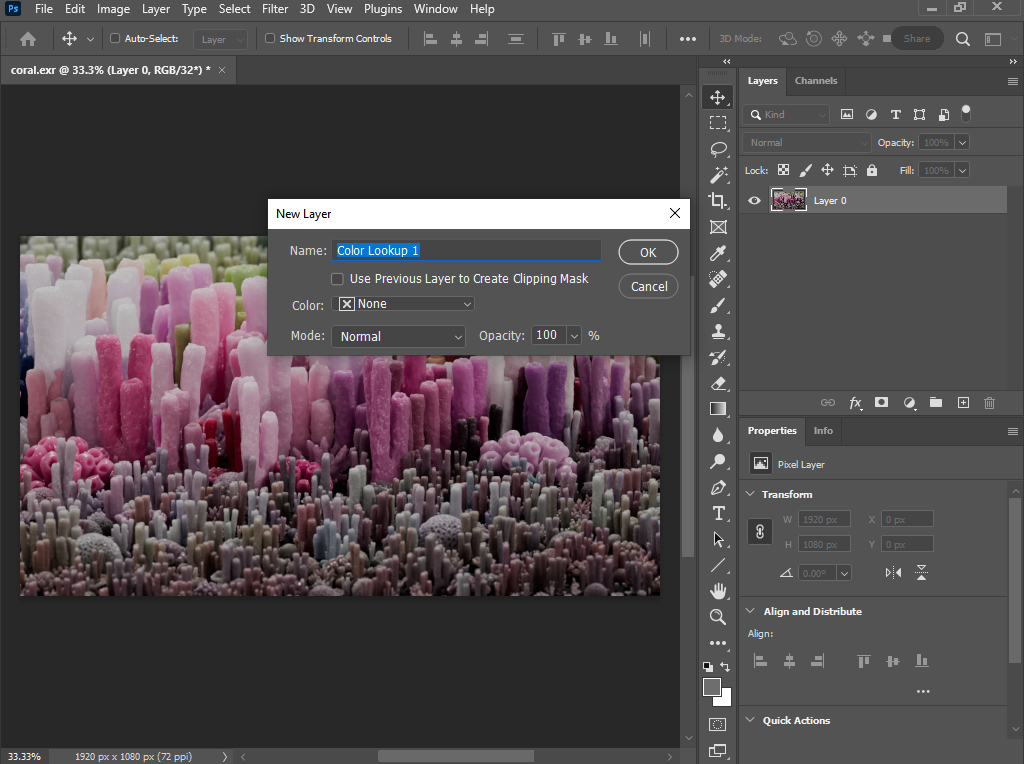
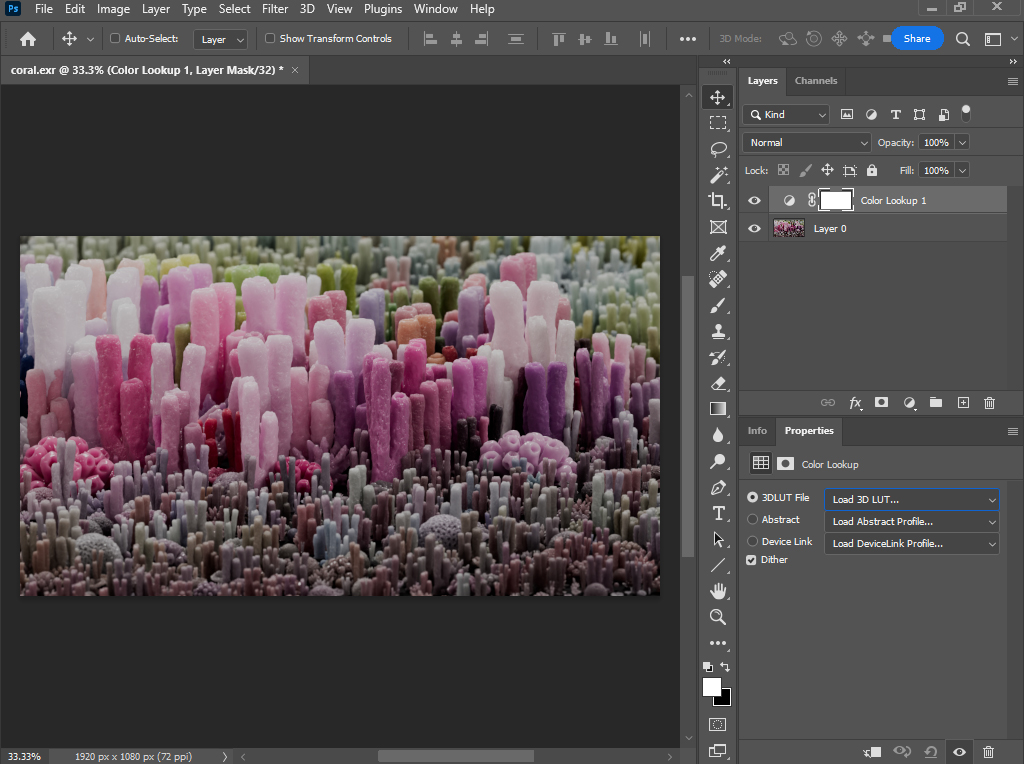
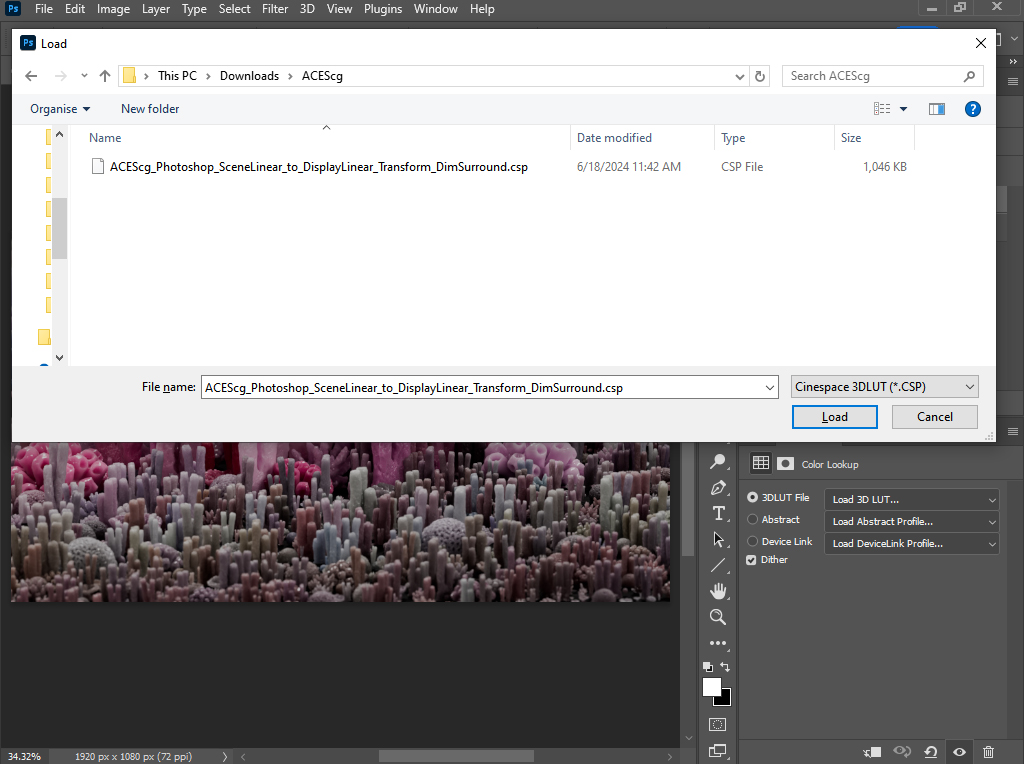
- Layer -> New Adjustment Layer -> Color Lookup -> Load 3D LUT
- Select Load 3D Lut in the Properties tab.
- Choose Load 3D Lut from the top of the menu.
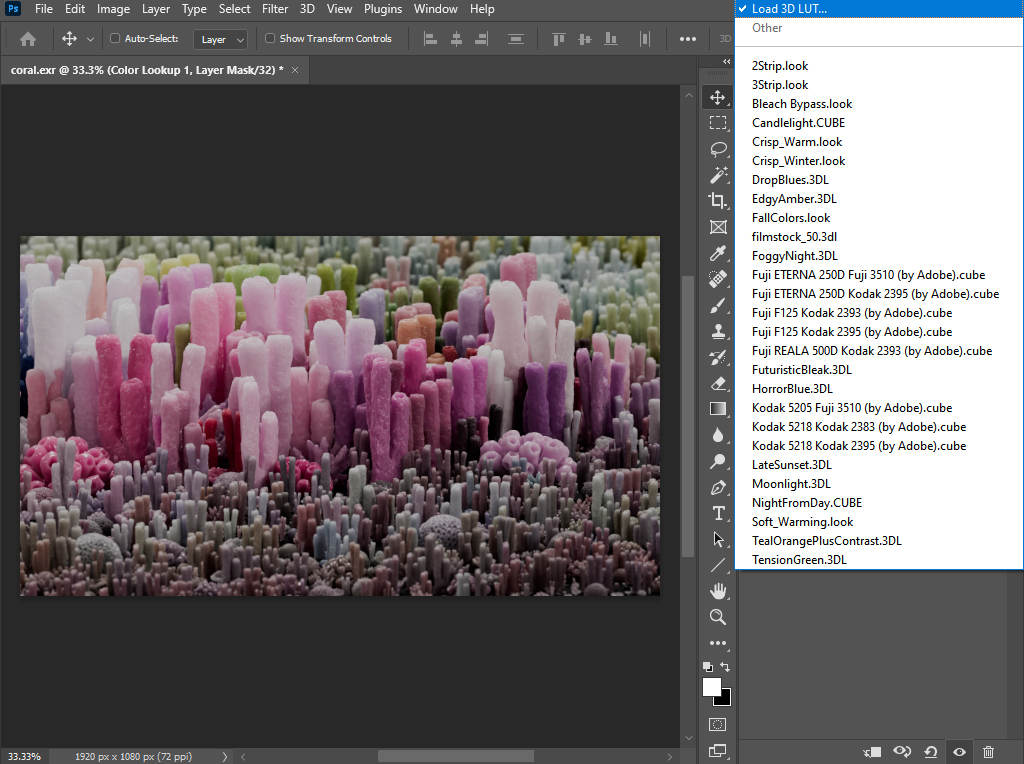
- Navigate to ACEScg_Photoshop_SceneLinear_to_DisplayLinear_Transform_DimSurround.csp
- Ensure you have the correct ICC profile assigned to your monitor in the OS display preferences (Photoshop will use this). In Windows this can be assigned under Color Management.