Rendering Opacity Maps with Paint Effects
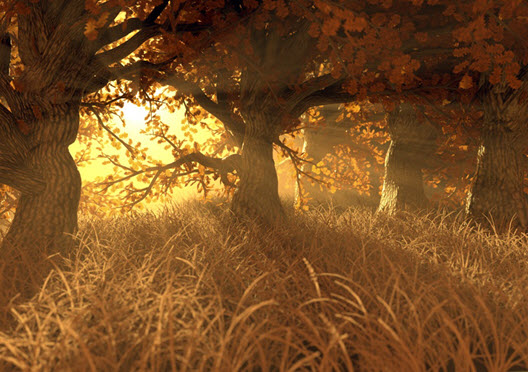
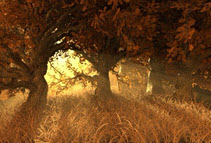
This tutorial aims to demonstrate some of the workflows used to reduce render times when rendering tree leaves with Arnold. In this example, we are using a Maya Paint Effects scene that has been converted to polygons. However, these techniques can also be applied to other types of geometry that involve opacity maps.
| The scene can be downloaded here. |
|---|
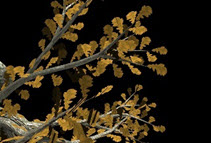
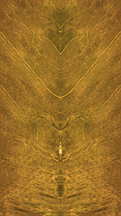
The typical workflow for opacity is to connect an alpha mask to the opacity attribute of a standard_surface shader.

Leaves with alpha map connected to standard_surface.opacity
Ray Switch
One way to speed up the rendering of the leaves is to use the ray_switch node. The ray_switch gives us greater flexibility for including and excluding only the rays that we want to render. In this situation, we do not need to include every shading aspect for each leaf. One workflow method would be to:
- Assign a ray_switch shader to the leaves.
- Connect the standard_surface shader which has the diffuse and opacity map to the camera rays of the ray_switch shader.
- Connect a different standard_surface shader to the diffuse_reflection and shadow rays of the ray_switch shader.
This way, only the camera and diffuse rays (using a simple diffuse standard_surface shader) are calculated which will speed up render times:
 |
 |
| ray_switch: 1 min 3 secs | Without ray_switch: 1 min 48 secs |
 |
 |
| Without ray_switch: 15 mins 47 secs | ray_switch: 6 mins 40 secs |
Leaf Width Scale
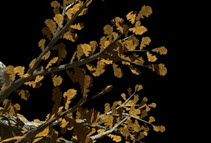
There is a workaround within Paint Effects that can avoid the issue of opacity altogether. Since the idea is to not have any texture-based transparency, the Width Scale will determine the shape of the leaf. The way to think about the texture is kind of a reverse envelope or lattice deformation of the Width Scale shape (which is half the shape of the leaf/half of the texture).
Below is an example of the workflow involved:
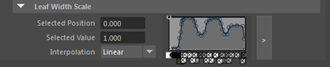
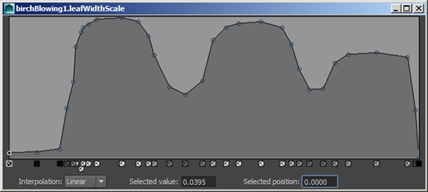
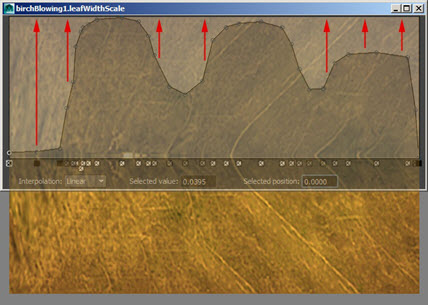
- Select the Paint Effects brush attributes (in this case strokeBirchBlowing). Go to Leaf Width Scale. This can be found under Tubes> Growth >Leaves.
- Draw a fairly detailed leaf profile, as long as there are not any undercuts.
- In an image editing program, use an alpha-less texture to match the shape of the leaf. The leaf texture needs to be scaled to the edges of the texture map so there are no gaps.
Connect the modified leaf texture to a standard_surface shader and assign it to the leaf geometry.
Convert the Paint Effects brush to polygons and assign the standard_surface shader to it.
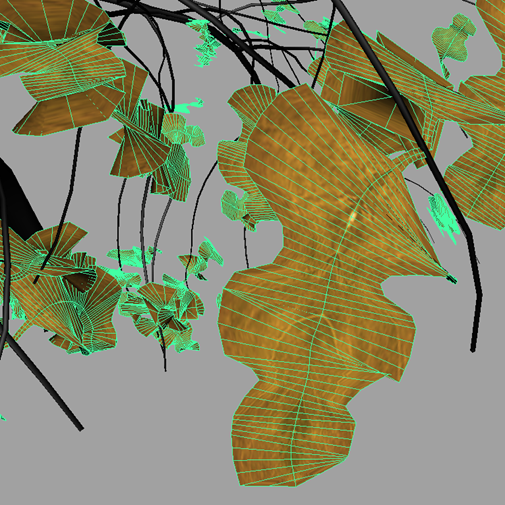
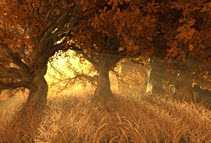
Modified leaf texture assigned to leaf geometry with modified Leaf Width Scale
Many thanks to Jonathan Richter for his assistance with this tutorial.