Export Data to Microsoft Excel
Assemble lets you export the view to a Microsoft Excel file so you can share the model data with a colleague who does not have Assemble. You can also use this offering to analyze model data in Microsoft Excel.
You have the option to include instances in the export file.
- If you include instances, a row for each instance of the model element is included in the Excel file.
- If you do not include instances, the grouping order displays from the highest tier down to the Type level in the Excel file.
Export to Microsoft Excel including instances
You can export a view to Microsoft Excel from your Project page.
In Inventory, go to the top, right corner and select
 Import/Export > Export to Microsoft Excel.
The Export to Microsoft Excel dialog appears.
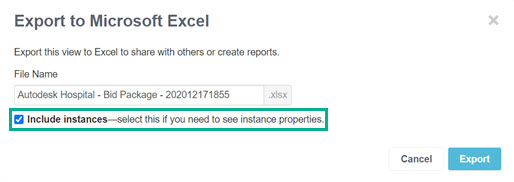
Select Include instances to include instance properties in the export file.
Click Export.
- To open the export file in Microsoft Excel, select the new Excel file at the bottom of your page. The new Excel file is saved to your downloads folder.
Export to Microsoft Excel excluding instances
- To open the export file in Microsoft Excel, select the new Excel file at the bottom of your page. The new Excel file is saved to your downloads folder.
In the Export / Import to area, click Export to Microsoft Excel.
Assemble generates a default file name named using the Project Name - Model Name - Version - View - DateTime. Change the file name if desired.
Un-check the Include instances check box to exclude the instances.
Click Export.
Notes regarding the exported Excel file
Pick-list options (enumerations) for properties that have pick-list values in Assemble will be available in Excel. Look-up values, such as Assembly Codes, will not be look-up values in the Excel file.
The Excel worksheet will not be Protected by default. However, by protecting the sheet, cells that can be imported into Assemble will be unlocked, whereas all other cells will be locked.
Quantity column values will be rounded to 2 decimal places (hundredths).
Quantity column values will have bold text.
Rows 1 through 4 will be "frozen" so headers do not scroll.
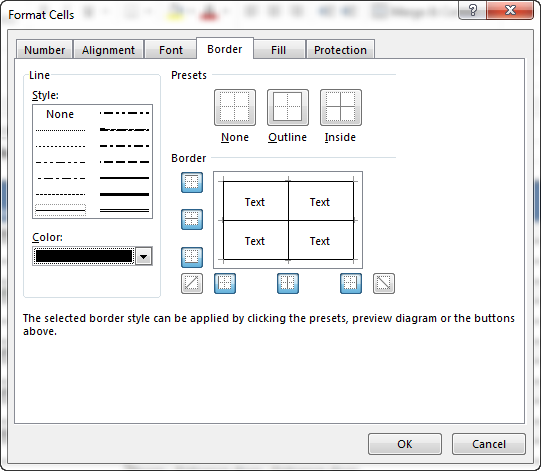
Borders are set to All, Black, and Thin.
"Description" column width is set to 75 with wrapped text.
Page size is set to 11 X 17 with Narrow page margins.
Page orientation is set to Landscape.
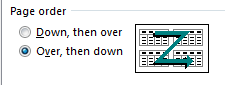
Print page order is set to over, and then down.