Create a New Server Configuration
You can create server configurations to use with Assemble from any Autodesk application such as Revit, AutoCad 3D or NavisWorks that has the Assemble Add-in installed.
To create a new server configuration,
From an Autodesk application with the Assemble Add-in installed, open a model.
From the menu bar, go Assemble > Publish
 .Note: If the Publish button is inactive, select the default 3D view of the project to activate the button.
The Assemble Server Configuration displays in your Autodesk application.
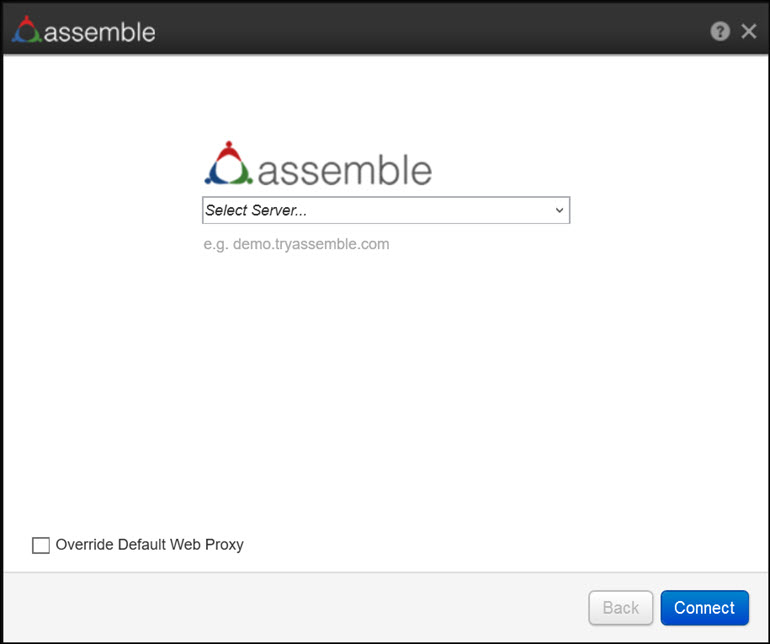
In the drop-down, enter the new server configuration for your Assemble web application.
Select Connect.
The Assemble Sign in dialog appears.
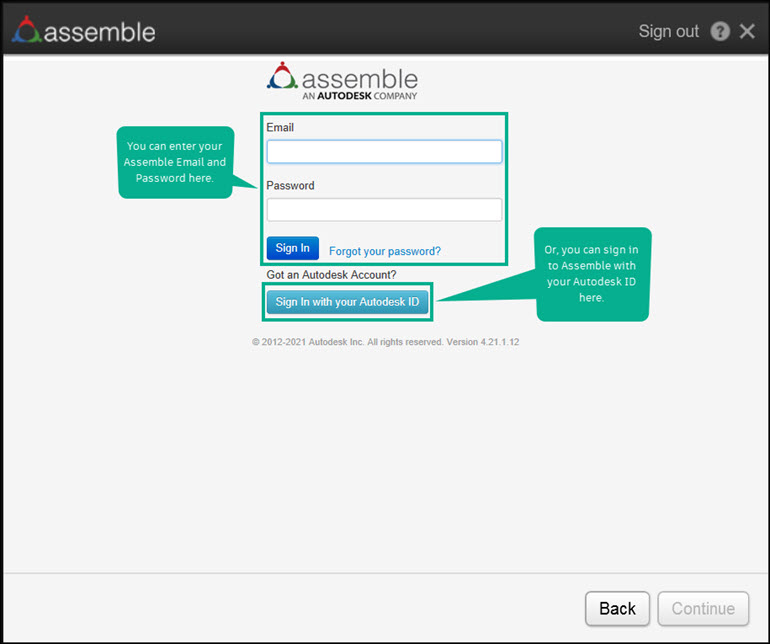
Sign in to Assemble. There are two ways:
Use your Assemble Sign In credentials.
a. In the Email box, enter your email address.
b. In the Password box, enter your password.
c. Select Sign In.
Use your Autodesk ID.
a. Select Sign in with your Autdesk ID at the bottom of the dialog.
The Sign in dialog appears.
b. In Email, enter your email address. Select Next.
The Welcome dialog appears.
c. In Password, enter your Autodesk ID password. Select Sign In.
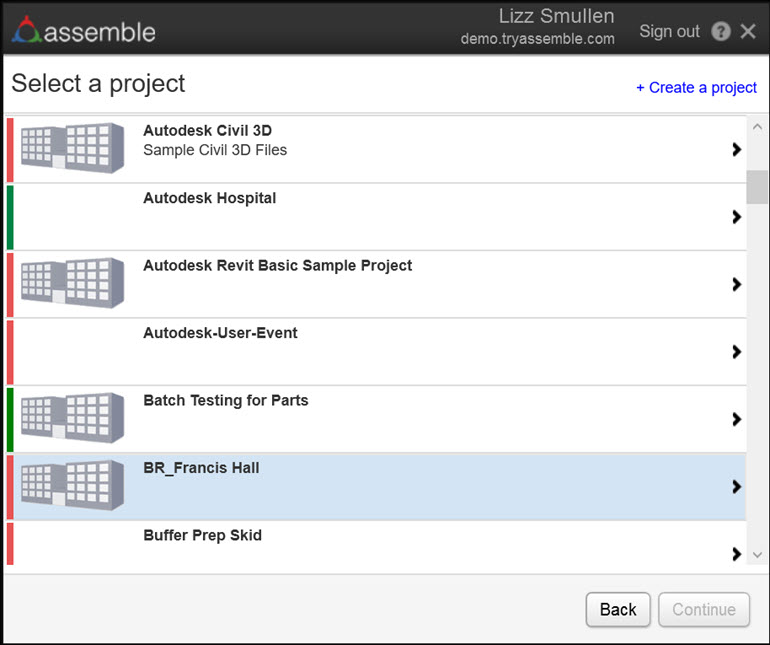
Autodesk Assemble opens to the Select a project page.