Create Views
Create views to streamline your Model Coordination review processes. Combine related models and 3D views, and use model property filters to include only the elements relevant to your current task.
The model property filters are not available when working in coordination spaces configured against the Plans folder or its subfolders.
Click the Module Selector > Model Coordination
 .
.Use the Models tab to select the models you want to save as a view, then click Open in viewer.
If necessary, click Select models on the Models
 panel, and edit your combination of models and 3D views.
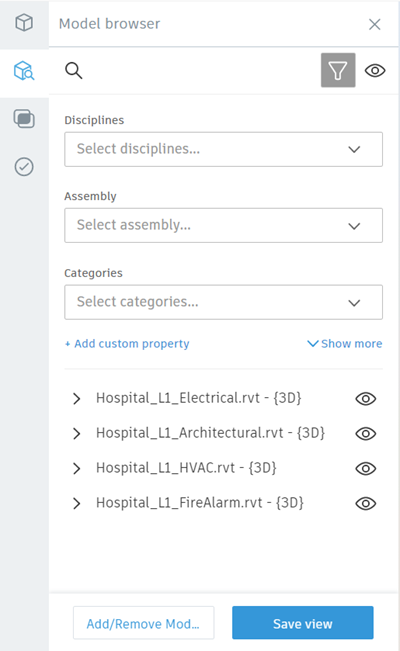
If you only want to include specific model elements in your view, open the Model Browser
 panel.Note: The Model Browser button is not available when working in coordination spaces configured against the Plans folder or its subfolders.
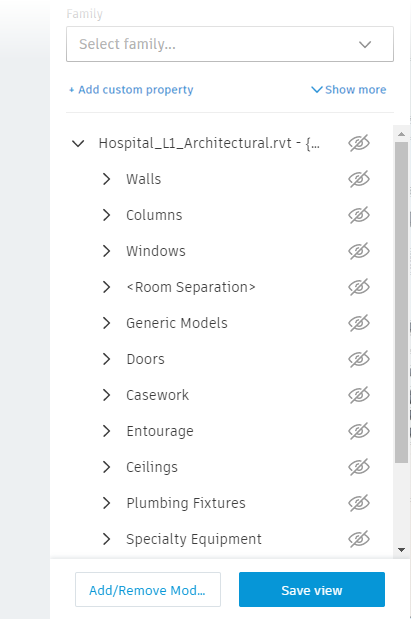
If necessary, use the model tree to help locate and isolate specific model elements, and the Visibility
 buttons to show or hide elements.
 Note: These settings are not saved in the view.
Use the drop-down lists to access the filters. Select the filter checkboxes to choose the elements you want to include in the view.
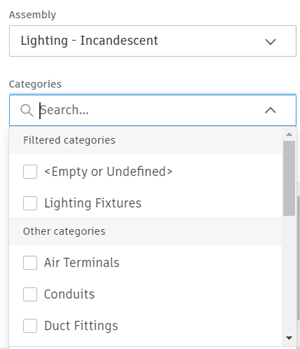
Tip: Once you have selected a filter, the other filter options may be grouped into 'Filtered' and 'Other', indicating which filters are relevant to the applied filter, whilst still giving access to the other filters as needed.
Clashes and issues related to the selected elements are available for review. Deselected elements are excluded from the view, and their associated clashes and issues aren't displayed.
Tip: Use the Empty or undefined filter option to include all the model elements in the view that; any of the selected filters don't apply to, or that have no value defined for the property.The default filters that are available for the main file types are:
Filter RVT IFC DWG Disciplines Revit discipline (grouped by category) n/a n/a System or Assembly Identity data, Assembly description Identity data, Assembly description Region 1 data or assembly Category category or _RC (Revit category) Element, category, or IfcClass General or layer Family category or _RFN (Revit family name) Item, type, other, or family n/a Type category, _RFT (Revit family type) IFC type or IfcName [Type] n/a Note: The filters available depend on the file types that you have open, and the properties that were defined in the model in the respective authoring tool. If you have a combination of file types open, some filters will only apply to certain models.If the default filters don't meet your needs, click Add custom property to create a custom filter based on any property defined in your models:
Use the search field to search for the required model property.
Select the checkbox next to the property to add it to the list of filters at the top of the dialog box.
Drag the selected filters to control the order in which they appear on the Model browser panel. You can also deselect the default filters so they no longer appear.
Click Update to save your selection to the Model browser panel.
Tip: By default, only three filters are displayed on the Models filter panel. Click Show more to expand the filter list.
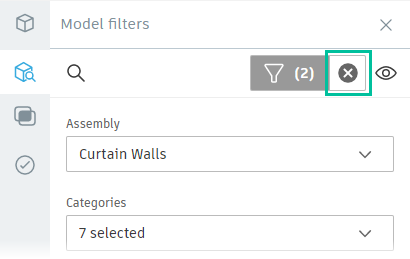
To remove the applied filters from the models, click the X icon at the top of the Model browser panel, or use the reset option in the viewer.

When you have combined and filtered the models and 3D views as needed for your view, click Save view.
Use the dialog box to enter a title and description of the view, and select a privacy status.
Tip: There are two privacy statuses for views. Public views are viewable by all project members in the coordination space. Private views are only viewable by the creator and project administrators.Click Save view.
The view is saved in the Views tool.