Photos on the Web
In this article, you'll learn how to use the Photos tool on web:
- The Photos Gallery
- Sort Photos
- Filter Photos
- Add Photos
- Photo Details
- Add Location to Photos
- Share, Download, and Delete a Single Photo
- Download Photos in Bulk
The Photos Gallery
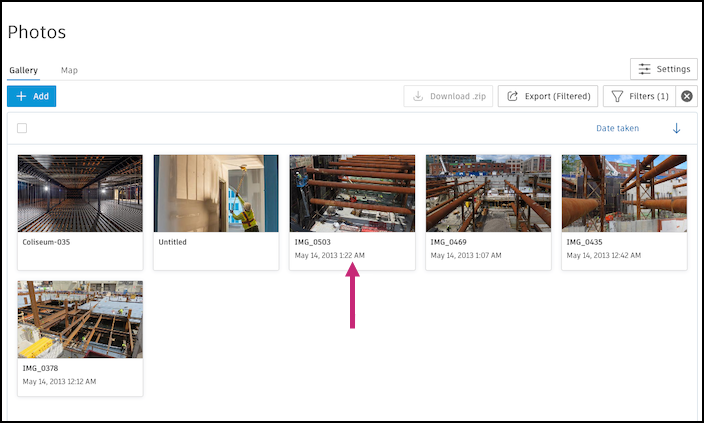
In the Photos Gallery, members can add and download project photos and videos, see them displayed on a map, and export a photos report. Any photos and videos uploaded as references in other Autodesk® Build tools also live in the Gallery.
Project members can view all the project photos and videos in the Gallery.
To access the Photos Gallery:
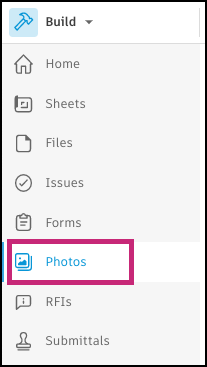
Click the Photos icon on the left navigation menu.
Click any photo or video to open it and view its details.
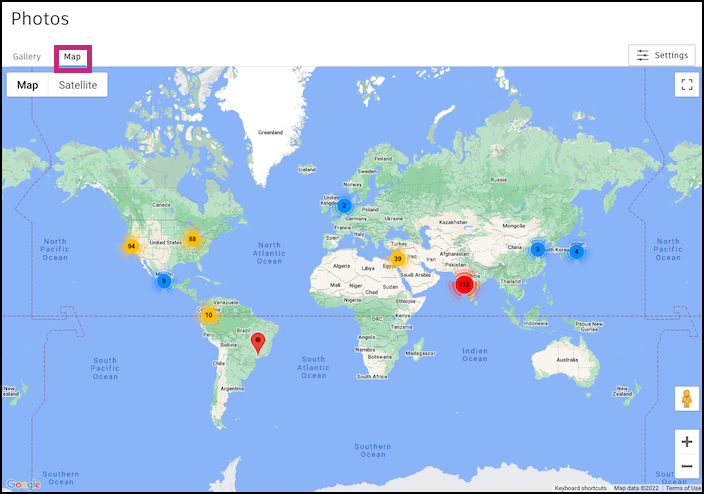
If you'd like to see photos and videos arranged by GPS location, click the Map tab. Simply click Gallery to return to the main gallery view.
Sort Photos
You can sort photos and videos in your gallery using three attributes:
- Date Taken
- Date Added
- Title
- Select the attribute that you want to use
- Click the sort arrow to sort by ascending or descending order.

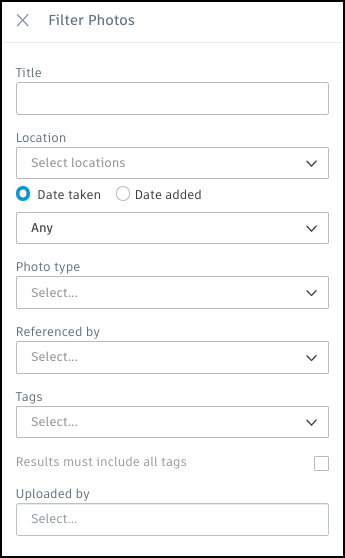
Filter Photos
Use filters to narrow down the number of photos and videos you see. You can filter photos and videos by various attributes:
- Title
- Location
- Date Taken
- Date Added
- Photo type
- Referenced by
- Tags
- Person who uploaded the file
When filtering by a date, you can narrow your results to a specific date or range. Or you can enter a custom date range. Use the drop-down menu below the date taken or added selection to choose an option.
You can apply multiple filters at once. If you don't see any photos or videos after applying a filter, that means no files in the project match your criteria. Click Clear to clear your filters and try again.
Add Photos
- Click Add to begin.
- Drag a file into the box, or click Choose file to select a file.
- Continue adding files until you're finished.
- Click Done
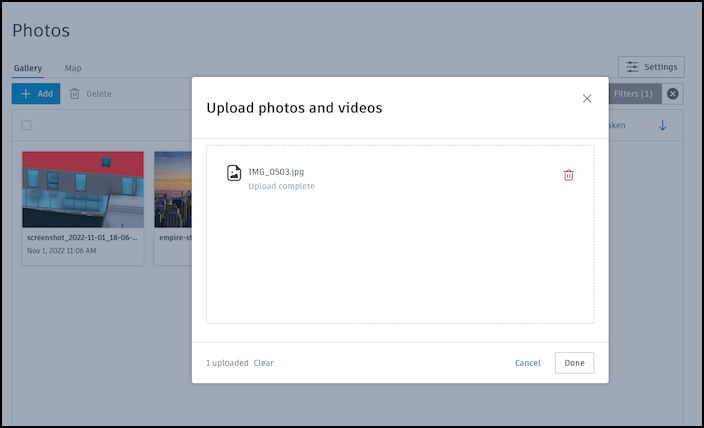
To remove a file after adding it to the upload box, click the red trash-can icon next to its name.
Photo Details
To view a photo and associated details, click it from the Photos Gallery. With the photo open, you can see all data associated with it in the panel on the right side of the screen. Learn more about photo details here.
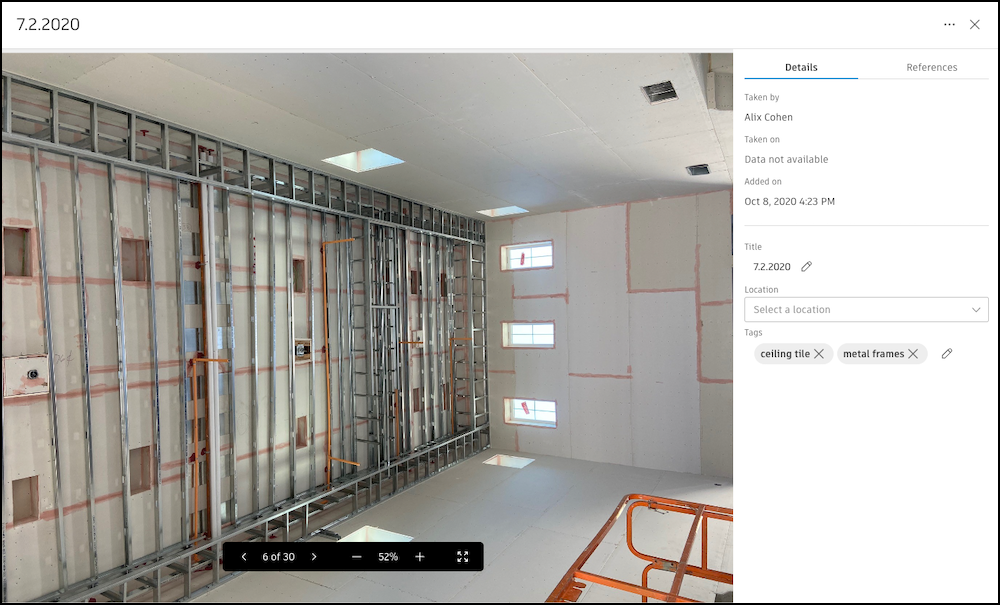
On the bottom of the photo, you'll find controls to navigate between photos and to zoom in and out on the image.
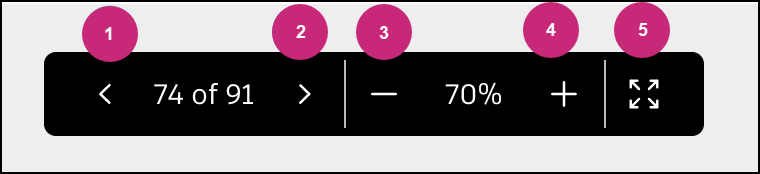
Move to the previous image in the gallery
Move to the next image in the gallery
Zoom out
Zoom in
Toggle full screen mode
- Click the icon again to exit full screen mode
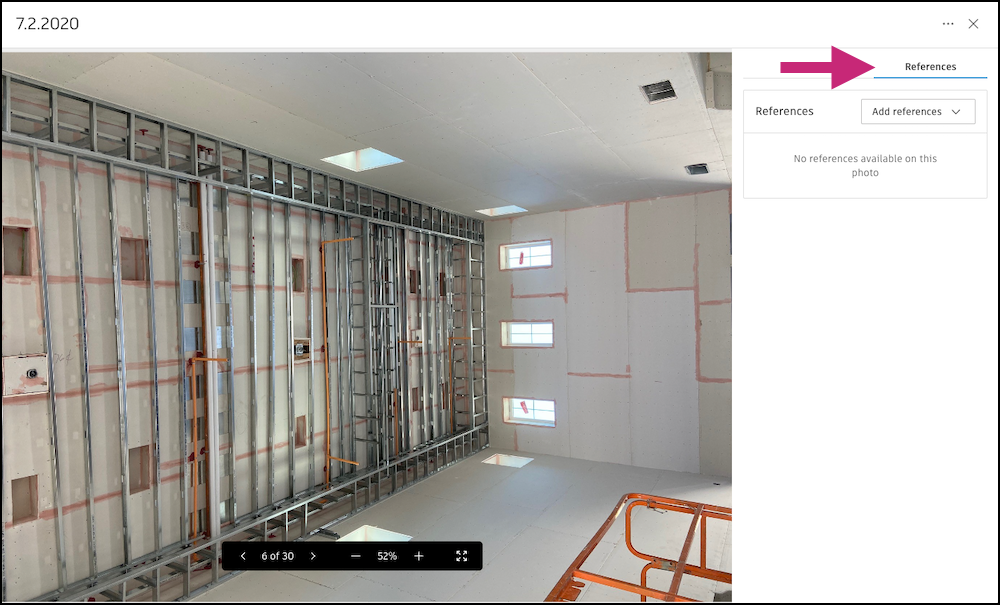
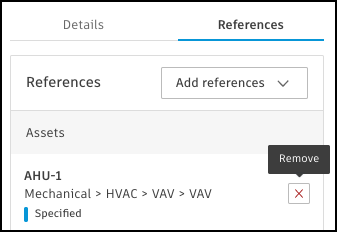
References on Photos
With a photo open, click the References tab.
To add a reference, click the Add references drop-down menu and select the type of reference you want to add.
You can add the following references:
- Assets
- Forms
- Submittals
- Sheets
- RFIs
To remove a reference from a photo, hover your cursor over the reference you want to remove and click the X icon.
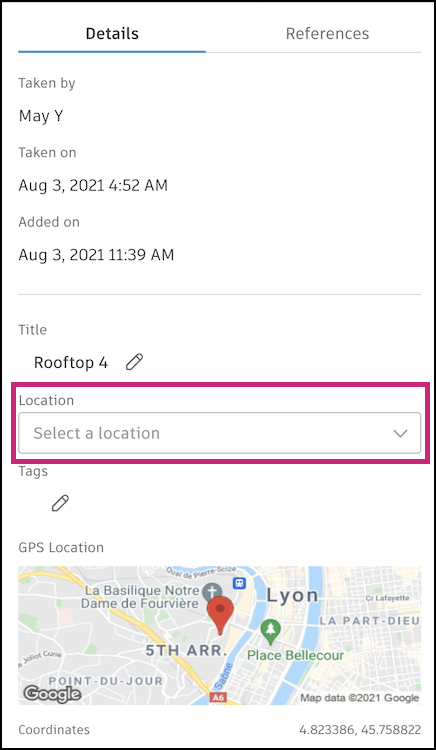
Add Location to Photos
To add a location to a photo, first make sure that locations are configured on your project. Learn more about setting up locations in Build.
To add a location to a photo, open up the photo's detail view. Select a location or sublocation from the Locations drop-down menu.
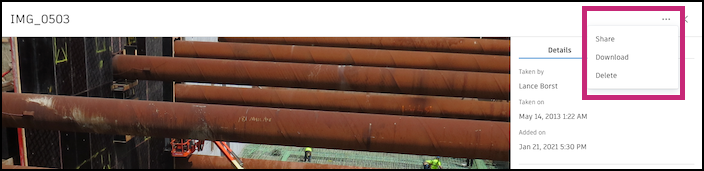
Share, Download, and Delete a Single Photo
Click the photo in the gallery.
In the photo detail view, click the
 icon.
icon. Click Share, Download, or Delete in the drop-down menu.
- Share: This copies a link to the photo that you can share with anyone with access to the project.
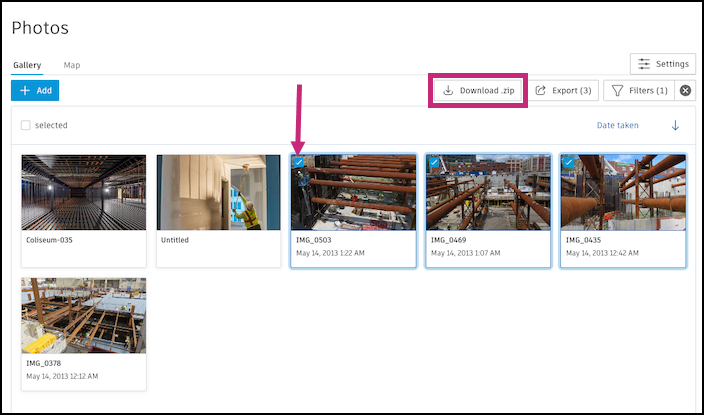
Download Photos in Bulk
To download multiple files, you can use the selection box in the upper-left corner of each image to select the files you want to download. Or click the selection box under the Add button to select all files.
Next, click Download ZIP. Your files will be added to a ZIP archive and saved to your computer.
To create a PDF report of your photos, see Creating Photo Reports.