Quick AI Issue Creation on Android BETA
Use Quick AI Issue Creation to create issues faster in the field. This feature lets you capture issues by taking a photo and adding a short description. AI enriches your issue by automatically filling in the issue details for you.
Open the Forma mobile app.
Tap the project you want to open.
Do one of these:
Tap Issues from the bottom menu. If you don't see Issues, tap More
 and find Issues. Tap the Quick create issue button in the bottom left of the issues list.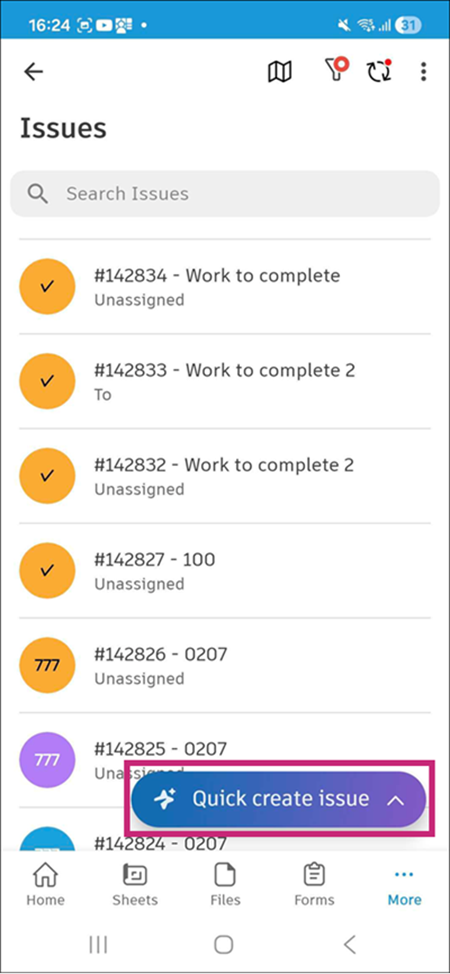
The camera opens automatically. Take a photo of the issue.
Tip: You can also select images from your device library by tapping in the bottom right of the screen.Note: The issue is created when you take or select the first photo. You can add up to five photos for AI processing.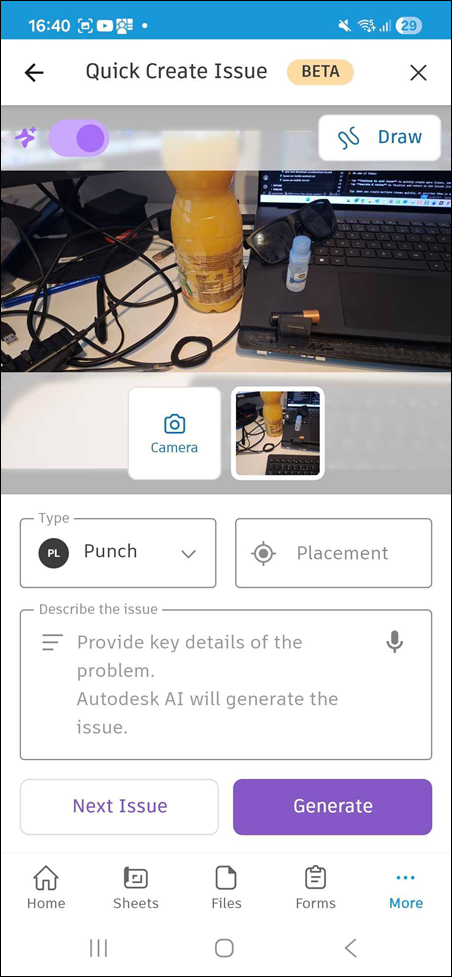
In the Quick Create Issue view, add the following details about the issue:
Photos: Tap the camera icon to add more photos. Tap any attached photo to view or delete it. You must keep at least one photo.
Describe the issue: Enter a short description. You can type or use speech-to-text. This description helps AI understand the issue context.
Type: Select the issue type. The default is Punch List. Your selection stays the same for the next issue you create.
Template: Select an issue template instead of a type. AI keeps the values set by the template and doesn't change them.
Placement: Add a placement on a sheet or file. The last sheet or file you opened appears by default.
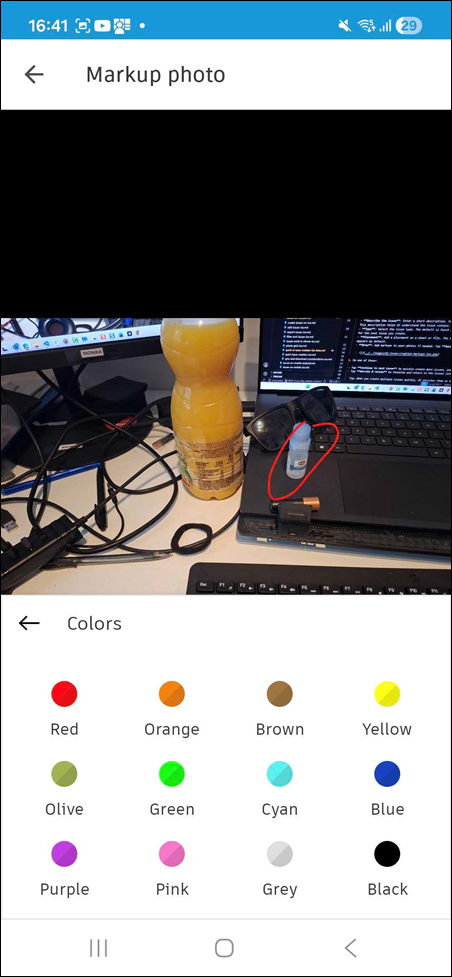
Draw: Add markups to your photos if needed. Tap Save to save your markups.
Do one of these:
- Tap Next issue to create additional issues in sequence.
- Tap Generate to finish and return to the Issues list.
Tip: When you create multiple issues quickly, AI enriches them in the background while you work.
Create issues from a sheet or 2D file
You can also start Quick AI Issue Creation in the viewer. Place the issue pin on the sheet first, then take the photo. This helps when you capture many issues during a site walk.
Open a sheet or 2D file in the viewer.
Tap and hold the Issues icon on the markup toolbar.
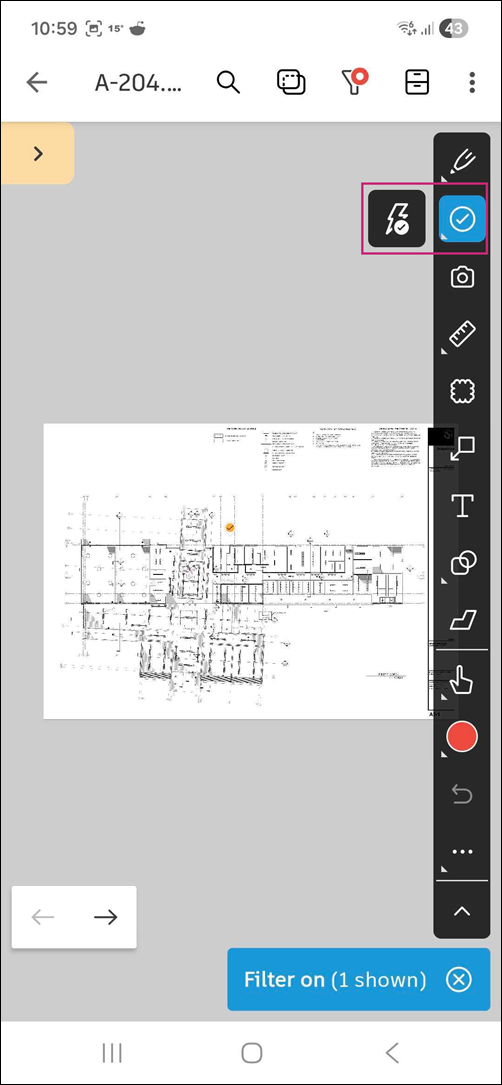
Tap the quick issue creation icon, then tap the sheet or file to place your issue.
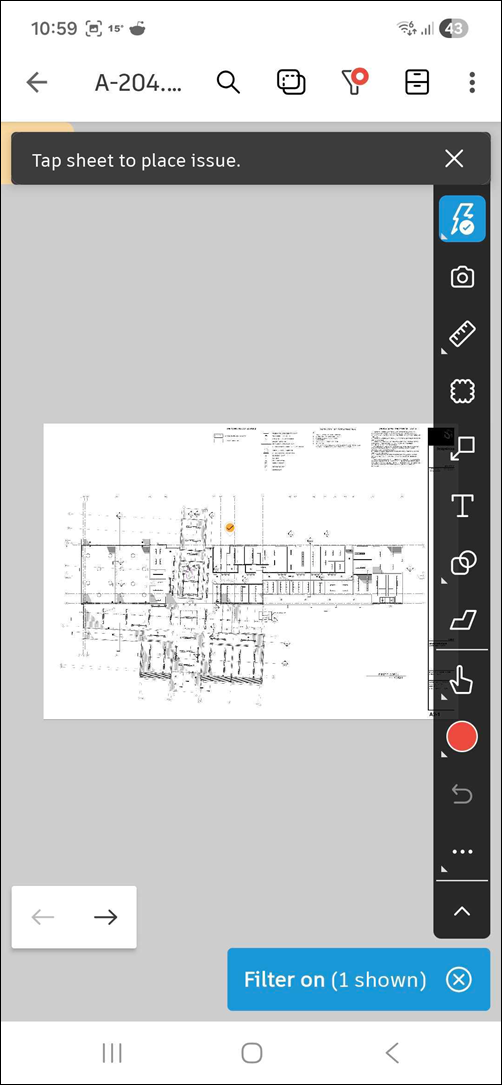 Tip: Your selection is remembered for the next issue. Press and hold again to switch back to regular issue creation.
Take a photo of the issue, then add the issue details in the Quick Create Issue view.
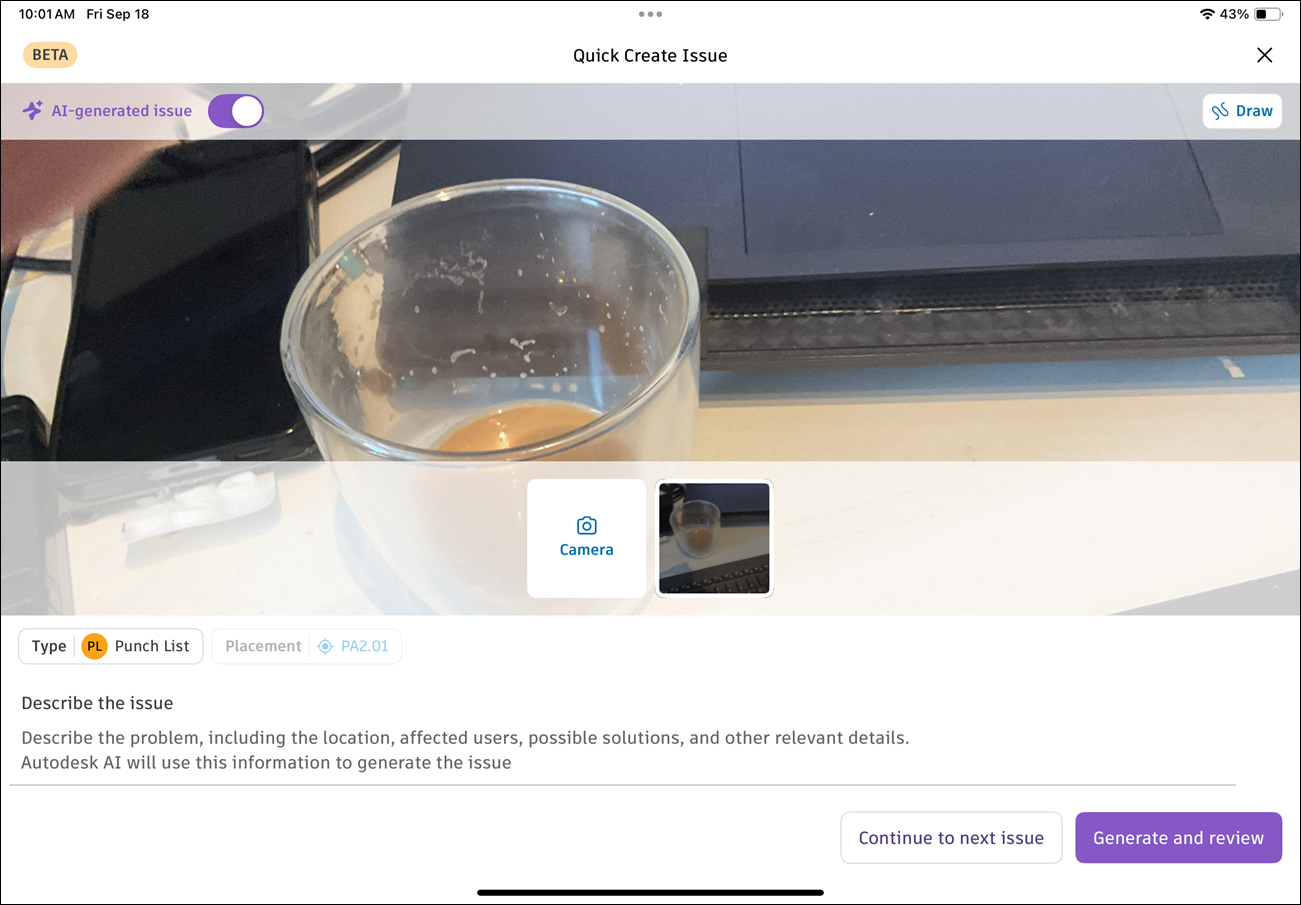
Do one of the following:
- Tap Continue to next issue to return to the sheet and place another issue pin. AI enriches the previous issue in the background.
- Tap Generate and review to return to the sheet and open the issue details.
You can move an issue pin while AI is still processing the issue. If you leave the Quick Create Issue view before you finish, the issue is discarded and the pin is removed.
AI enrichment process
After you create an issue with Quick AI Issue Creation, AI analyzes your photo and description to fill in issue fields automatically.
AI enriches the issue details, which appear marked in purple:
Title
Description
Root cause
Assignee
Watchers
Due date
Custom fields (text, paragraph, and dropdown types)
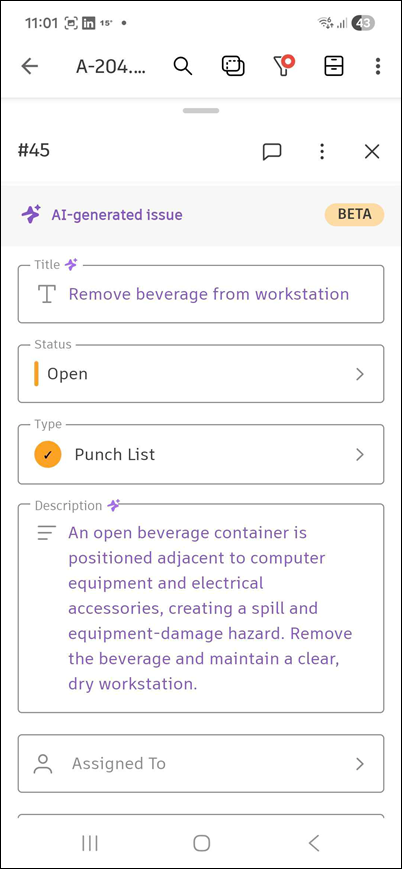
AI doesn't fill in location, location details, placement, or references. Add these details yourself. Values set by a template aren't marked in purple.
Note: Issues being enriched by AI always appear at the top of the Issues list.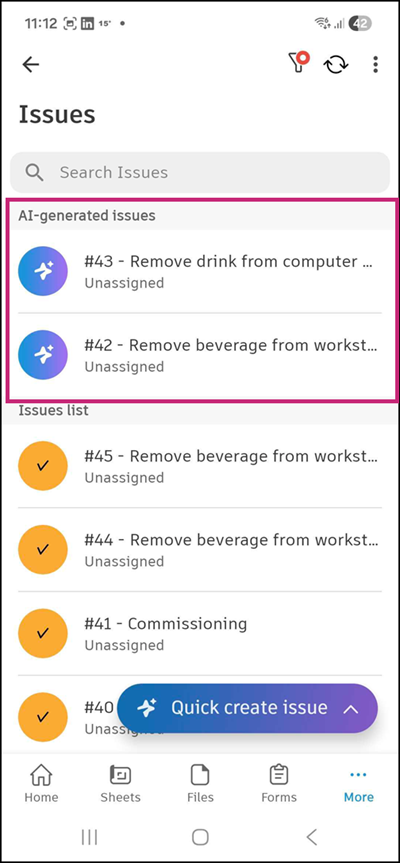
Note the following:
You must be connected to the internet for AI enrichment to work
AI refers to your recent issues of the same type. Suggestions follow how you and your company usually document issues.
If AI can't determine a value, the field stays blank.
AI enrichment takes less than 15 seconds. You can continue working while AI processes your issues.
If you close the app during AI enrichment, the process stops. You'll see an error message on the issue.
Generate without AI toggle
You can turn off AI enrichment while still using the quick create flow.
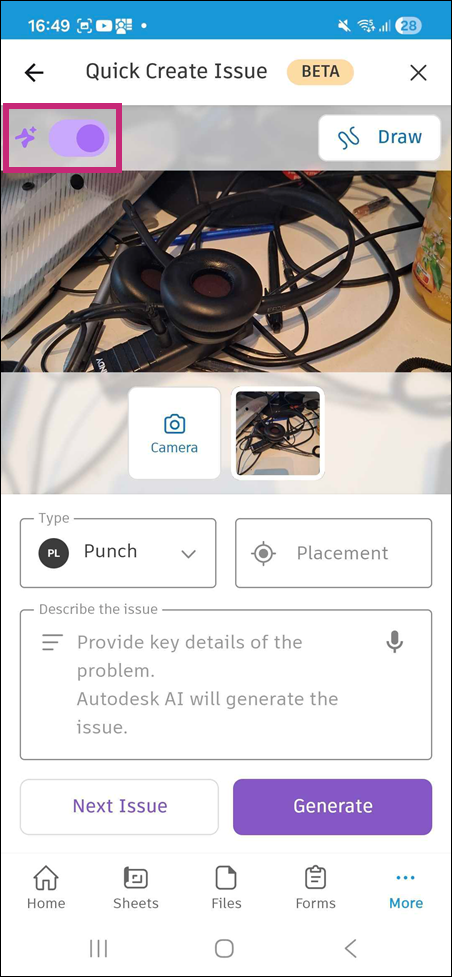
In the Quick Create Issue view, locate the purple toggle in the top left of the screen.
Turn off the toggle. The quick create flow continues without AI enrichment:
- The Describe the issue field becomes a standard Description field.
- You can add unlimited photos.
- You can still select an issue type or a template.
- When you tap Create & review, the issue is added to the Issues list immediately.
The toggle setting remains the same for your next issue.
Note: If your hub doesn't have AI features enabled, you won't see the AI toggle, but you can still use Quick create to add issues faster without AI enrichment.