Create Issues on iOS
Use the Autodesk Forma mobile app on iOS to create issues, add required details, and include attachments, references, placement, and GPS location information.
Create Issues on iOS
Launch the Forma mobile app.
Tap the project that you want to open. If you open a project that has new data available, you may be prompted to sync to see the latest project data, but that is an optional step.
Tap the Issues icon. If you do not see Issues on the bottom menu, tap the More menu icon
 and then find Issues.
 Create an issue by tapping the Create issue button at the bottom left of the screen.
Select from the Types or Templates.
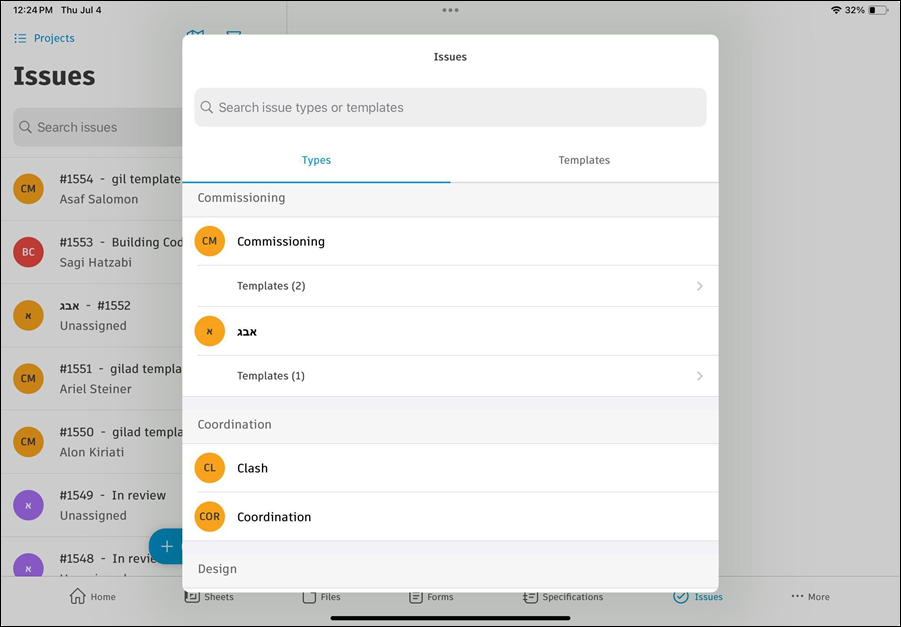
- Issues must have a type and types are preconfigured or created in the Types settings on web
- Templates have an associated type and can contain prepopulated information to make creating issues faster. You only see templates for issue types that are open to you. Templates are created in the Templates settings on web
Fill in relevant details about the issue. Some fields may be required and others will only be available if they've been configured on your project. Required fields are displayed with a red asterisk.
Enter or select the following details:
Status
Type
Description
Assignee
Watchers: Select from Members, Roles, or Companies.
Location
Location details
Due date
Start date
Placement
Root cause
Note: If there is at least one empty required field, the issue will be created in the Draft status. You cannot change the status until all required fields are complete. Required fields are displayed with a red asterisk. Administrators set fields as required in the Types settings. When you attempt to leave an issue in the Draft status, you can tap Go back to finish editing or Save as draft.GPS locations: Tap the Map icon
 at the top of the Issues list to view the location of project issues on the map. Tap the issue pin of your choice to view and edit details of this issue. See GPS Locations on Issues on iOS for more information.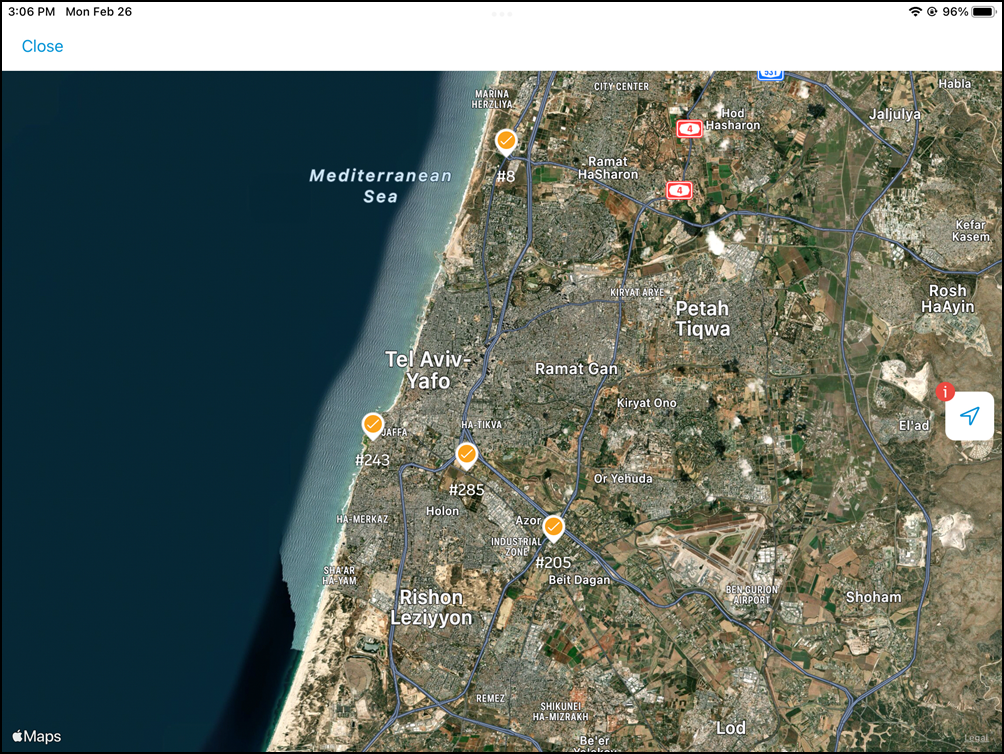
Attachments: Take a photo with your camera or attach a file from your device.
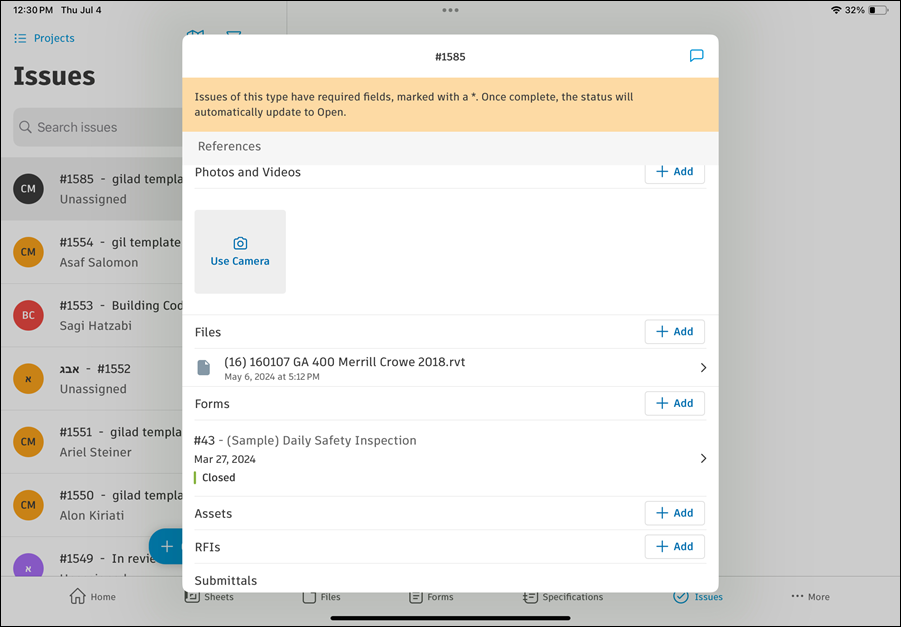
References: Navigate to the References section, tap Add next to the tool of your choice, and then select the file for which you want to create a reference. References are links to files that exist in other Autodesk Forma tools like Assets, Forms, Photos, RFIs, Sheets, or Submittals. See Issue References and Attachments for details.
Quick Create Issues From Sheets and 2D Files
Launch the Forma mobile app.
Tap the Sheets icon located on the bottom menu bar.
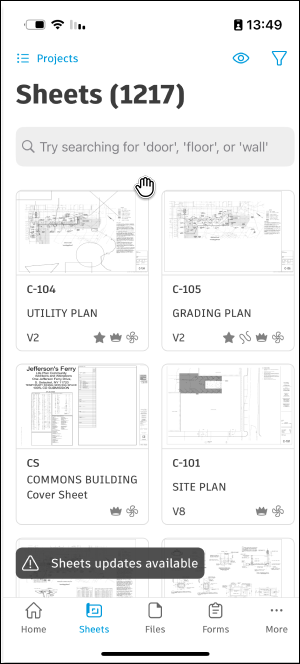
Select the sheet you want to view.
Tip: Pinch to zoom in or out on the sheet for better visibility.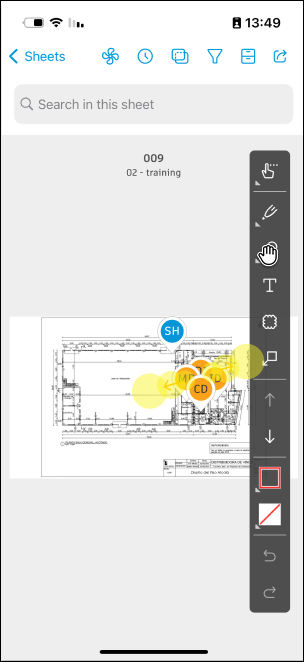
Tap the Issues icon on the right side of the markup toolbar.
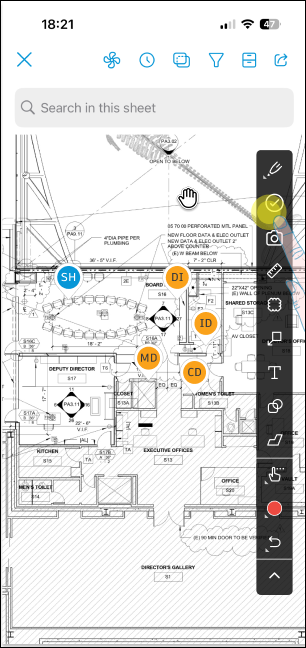
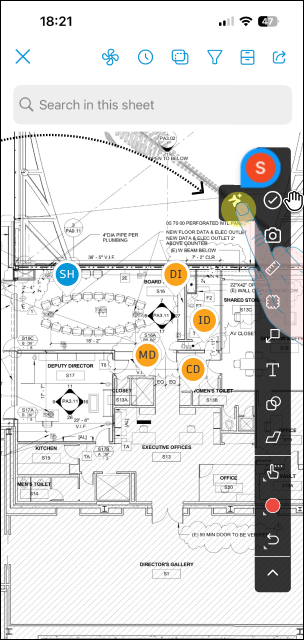
Press and hold to open the Quick Create icon.
Tap the location on the sheet where you want to place the issue pin, as prompted.
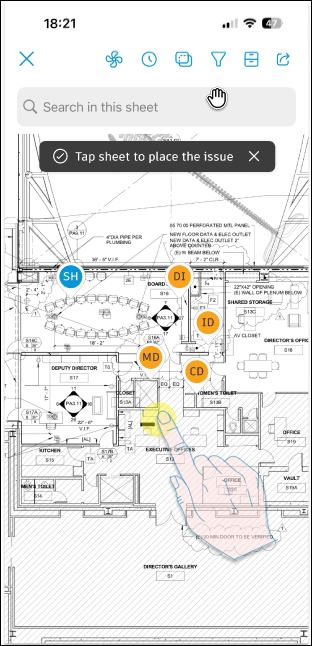
After placing the issue and selecting its visibility, the confirmation toast message will disappear.
