RFI Types
RFI types are used to dictate which RFI workflow gets used to manage the lifecycle of the RFI. Several RFI types can exist in the project, allowing for flexibility in the way RFIs get routed and managed. The RFIs tool comes prepopulated with a default RFI workflow type.
Each RFI workflow type includes roles for the RFI Creator, Manager, and Reviewer. There is also a workflow type that includes an RFI Coordinator role. When a coordinator is used, the coordinator can provide the official response.
Create RFI Types
To create an RFI type:
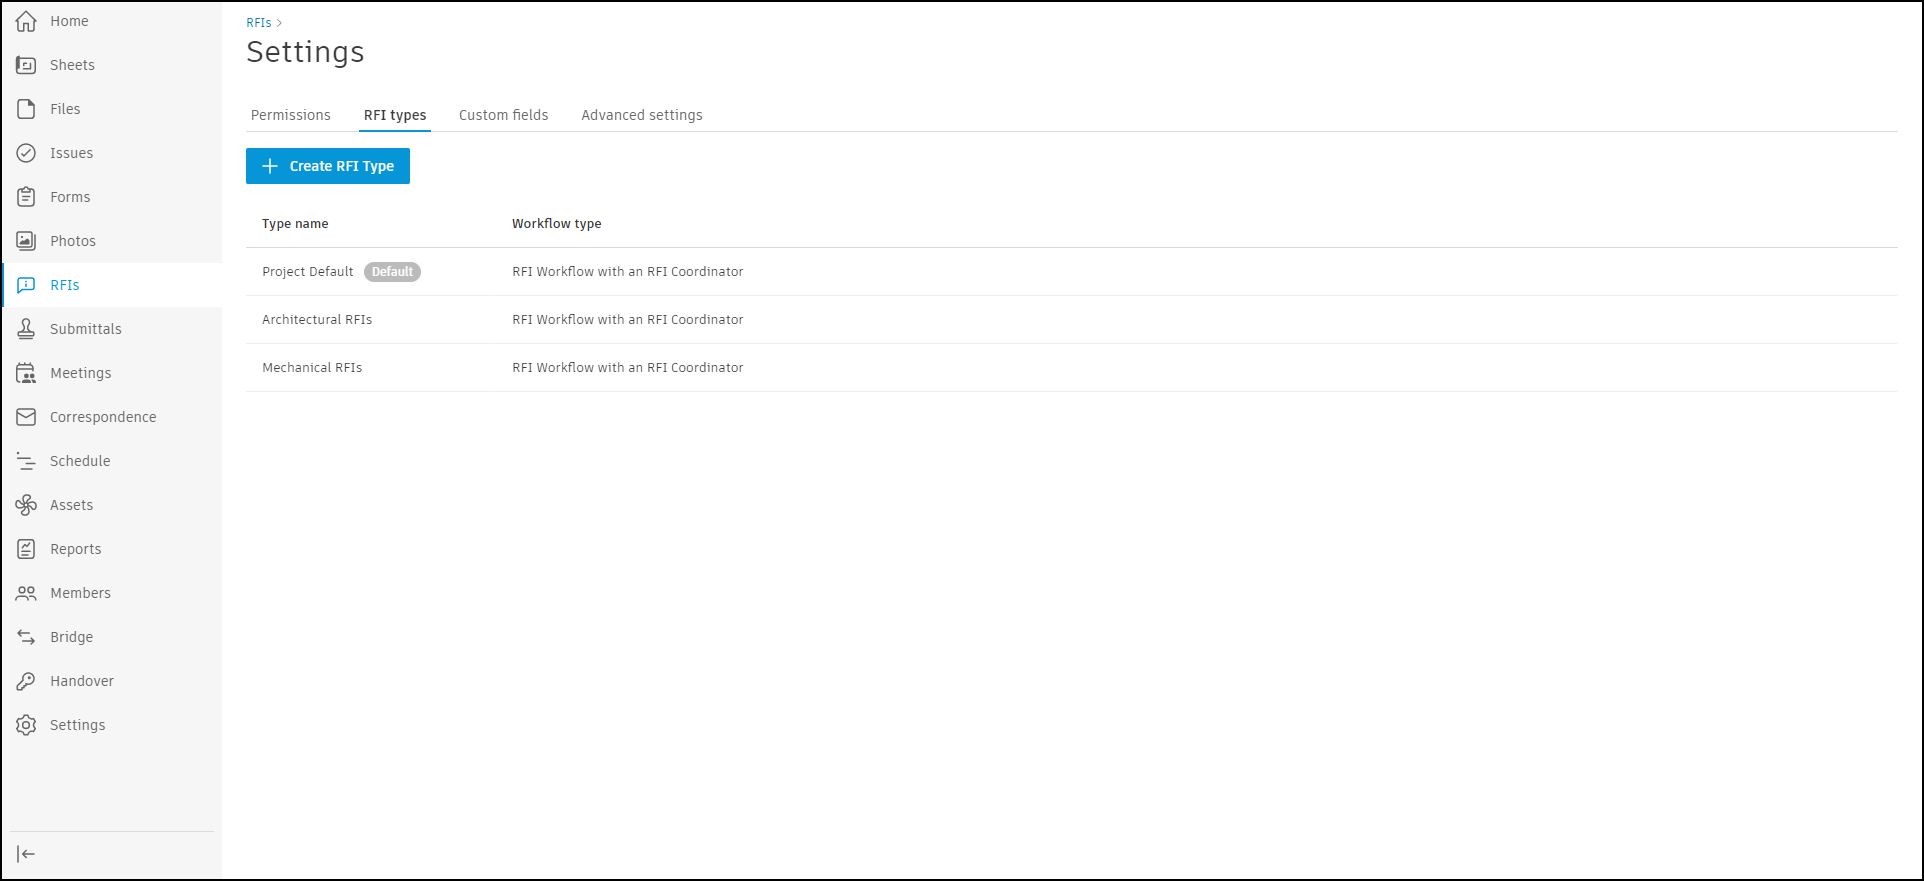
Click RFIs from the left navigation to open the RFIs tool.
Click
 and choose RFI types.
Click
 .
.Enter an RFI Type title to help identify the RFI type for future use.
Select a Workflow type. Available choices include:
The following steps are optional and meant to provide extra context for the RFI type:
- Choose a Default Reviewer for this RFI type. You to select up to ten default reviewers. As a reminder, project members must have RFI Reviewer permissions defined to be selected as a default reviewer. Similarly, if you select the workflow with an RFI coordinator, project members must have RFI Coordinator permissions defined to be selected as a coordinator.
- Choose a Default Manager.
- Choose a Default Watchers.
- Choose a Due date in calendar days.
- Choose a Default Manager.
- Enter Location details.
- Choose the following:
- Cost impact (Yes, No, Unknown).
- Schedule impact (Yes, No, Unknown).
- Priority (High, Normal, Low).
- Discipline.
- Category.
- Enter External ID.
To set this RFI type as the project default, turn on the Set as Default setting at the top of the form. The default RFI type can't be deleted.
Click Create.

Manage RFI Type Fields
The Manage Fields tab allows project administrators to customize which fields appear in RFI forms and which fields are required for each RFI type. This customization applies to both new and existing RFIs of the selected type.
Access the Manage Fields Tab
- Click RFIs from the left navigation to open the RFIs tool.
- Click and choose RFI types.
- Select an existing RFI type or create a new one.
- Click the Manage Fields tab.
The RFI type configuration is split into two tabs:
- Type details: Configure default values, reviewers, managers, and other type-specific settings
- Manage Fields: Control field visibility and requirements
Hide or Show Fields

You can hide fields that are not relevant to a specific RFI type. Hidden fields will not appear in the RFI creation form or RFI detail view for that type.
To hide a field:
- In the Manage Fields tab, locate the field you want to hide.
- Toggle the visibility switch to hide the field.
- In the confirmation dialog, click Confirm.
- Headline: Hide field?
- Message: The field will be hidden for all RFIs of this type, including existing RFIs. Data associated with this field will continue to be displayed.
- If a hidden field contains a value, it will continue to appear in the RFI until the value is deleted.
- If a user deletes the value from a hidden field, the field will then disappear.
- Required fields cannot be hidden. If you attempt to hide a required field, a tooltip will indicate: "Required fields cannot be hidden."
To show a previously hidden field:
- In the Manage Fields tab, locate the hidden field.
- Toggle the visibility switch to show the field.
A success message appears: "Changes have been successfully saved."
Make Fields Required
You can designate specific fields as mandatory for an RFI type. Required fields must be filled before users can transition the RFI to certain statuses.
To make a field required:
- In the Manage Fields tab, locate the field you want to make required.
- Toggle the required switch.
- In the confirmation dialog, click Confirm.
- Headline: Add field requirement?
- Message: This field will be required for existing and new RFIs of this type.
- Mandatory fields apply to both new and existing RFIs of this type.
- Hidden fields cannot be set as required. If you attempt to make a hidden field required, a tooltip will indicate: "Hidden fields cannot be required."
- Mandatory fields are visible and block RFI transitions when not filled in the following status changes:
- Draft → Open for review
- Draft → Open for Manager
- Open for Manager → Open for Review
- Draft → Open for coordinator
- Open for manager → Open to coordinator
- In other transitions, mandatory fields do not block the transition even if they have no value. This can occur if the RFI was already created before the field was defined as mandatory.
- Fields that are set as mandatory cannot be cleared once filled.
To remove a field requirement:
- In the Manage Fields tab, locate the required field.
- Toggle the required switch.
- In the confirmation dialog, click Confirm.
- Headline: Remove field requirement?
- Message: This field will no longer be required for existing or new RFIs of this type.
A success message appears: "Changes have been successfully saved."
Field Management Capabilities
The following table shows which fields can be hidden or set as mandatory:
| Field | Can be Hidden | Can be Set as Mandatory | Notes |
|---|---|---|---|
| Status | No | No | Status must be visible for all RFIs |
| RFI Number | No | No | RFI Number must be visible for all RFIs except in Draft & Open for Manager statuses |
| Title | No | No | Title must be visible for all RFIs |
| RFI Type | No | No | Type must be visible for all RFIs |
| Ball in court | No | No | BIC must be visible for all RFIs |
| Co-reviewers | Yes | Yes | |
| Due Date | Yes | Yes | |
| Location | Yes | Yes | |
| Location details | Yes | Yes | |
| Question | No | Yes | Question must be visible for all RFIs |
| Suggested Answer | Yes | Yes | |
| Cost Impact | Yes | Yes | |
| Schedule Impact | Yes | Yes | |
| Priority | Yes | Yes | |
| Category | Yes | Yes | |
| Discipline | Yes | Yes | |
| External ID | Yes | Yes | |
| Watchers | Yes | Yes | |
| Custom Fields (active only) | Yes | Yes | Only active custom fields can be managed |
Field Behavior When Hidden in Type Details
When a field is hidden in the Manage Fields tab:
- The field appears as disabled in the Type details tab
- Default values for hidden fields are disabled and cannot be set
- A tooltip indicates: "To add default values the field should be shown"
RFI Workflow Diagrams
The workflow diagrams depict the various states an RFI goes through as it is processed. The boxes represent the state and role involved at each step.
The arrows going out of each box represent actions that the role adjacent to that box can take to transition the RFI to the other stages.
For example:
- The arrow from Manager to Reviewers means the Manager can forward submitted RFI to a Reviewers
- The arrow from Creator to Manager means the Manager can reopen a closed RFI
Default RFI Workflow

The default RFI type has five main stages:
- Draft Stage: The RFI starts as a draft created by the person or team asking the question (Creator). At this point, it is not yet submitted.
- Submission Stage: The finalized RFI is submitted and becomes active.
- Review Stage: A designated team reviews the RFI and the questions or concerns raised.
- Answer Stage: The RFI is then answered, but remains open for any follow-up.
- Closure: The RFI process concludes when no further action is needed. But it can be reopened if more clarification is required later.
RFI Workflow with RFI Coordinator

The RFI type with an RFI coordinator has up to eight stages:
- Draft Stage: The RFI is prepared in draft format, but not yet finalized.
- Submission Stage: The completed RFI is submitted.
- Preliminary Review: A Coordinator reviews the RFI before the main review.
- Forwarding: The Coordinator sends the RFI to the Reviewers.
- Detailed Review: The expert Reviewers thoroughly assess the RFI.
- Answer from Reviewers: The Reviewers provide an answer/solution.
- Answer Stage: The RFI is addressed, but may still need clarification.
- Closure: The RFI process ends. It can be reopened if needed later.