Review and Organize Specifications
The final step in the publishing process allows you to review your specifications to ensure that all sections have been recognized correctly and are located in desired locations.
Optical character recognition (OCR) technology will automatically attempt to extract sections of your specification.
This article includes:
- Viewing and Navigation Options
- Add Specification Sections
- Edit Specification Sections
- Remove Specification Sections
- Delete All Specification Sections
- Create Specification Groups
- After Publishing Specifications
Viewing and Navigation Options
You can use the following viewing and navigation options to review your specifications.
| Icon | Name | Description |
|---|---|---|
| Rotate page | Click to rotate the specification 90 degrees counterclockwise. | |
| Fit page | Centers and fits the whole page within the canvas. | |
| Pan | Moves the view parallel to the screen. | |
| Zoom in | Click to zoom in on the specification. | |
| Zoom out | Click to zoom out on the specification. | |
 |
Page navigation | Allows you to navigate to the previous or next page, and indicates the current page as well as the total number of pages in the specification. |
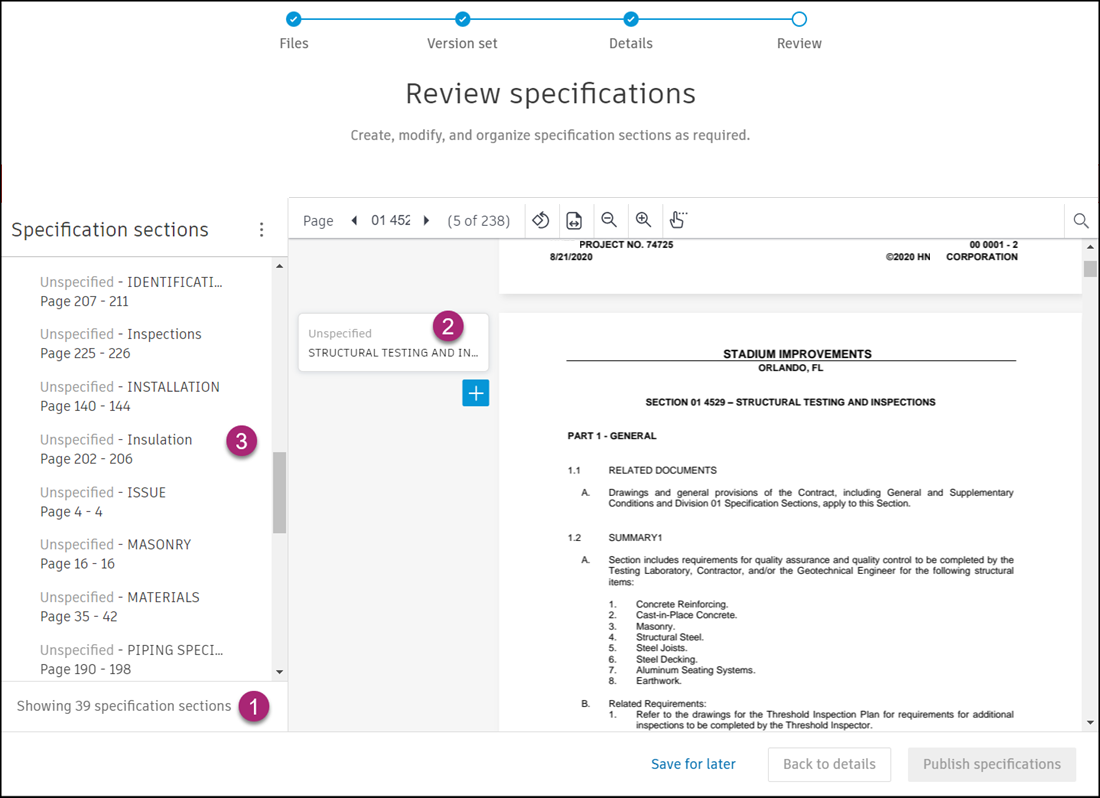
In addition, note the following:
1: The total identified sections are displayed at the bottom left.
2: Section markers indicate start pages of automatically generated sections, and deliver information about section codes and descriptions. See Edit Specification Sections for details.
3: When you select the Other/Unknown specification format type, sorting is initially alphanumeric. If no code is found or added, sections are sorted by page numbers.
Add Specification Sections
Learn how to handle unassigned specification pages and add specification sections.
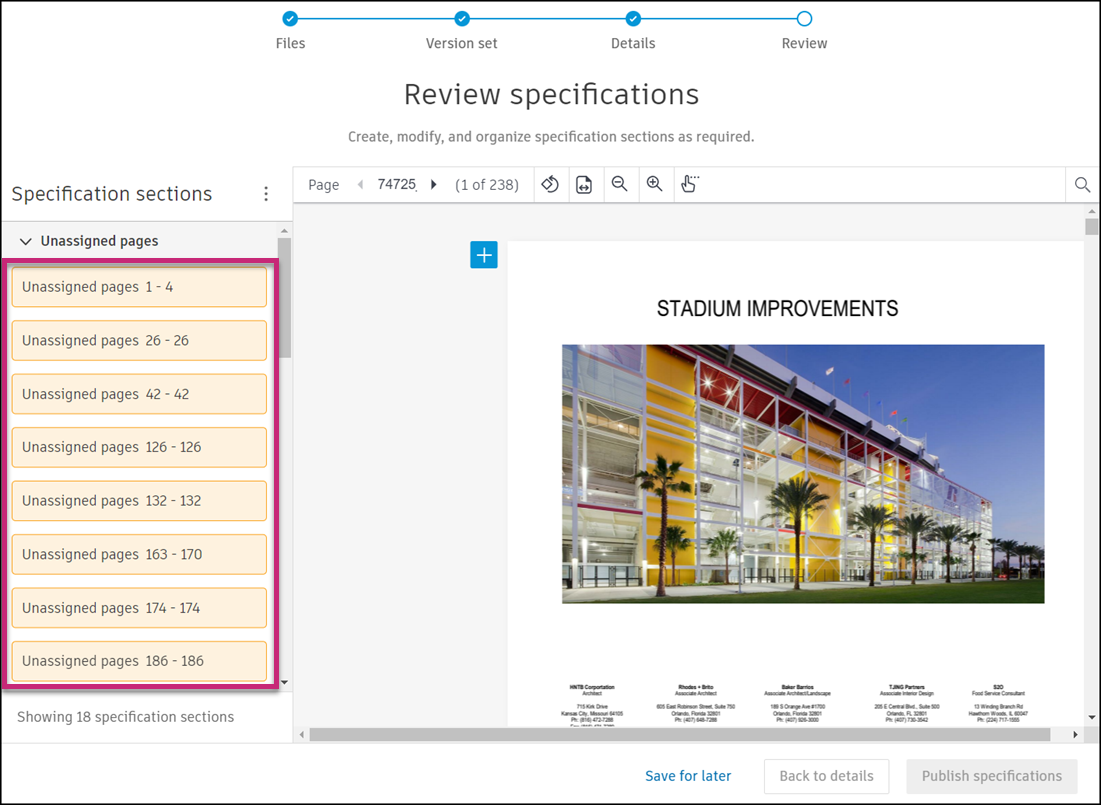
Unassigned Specification Pages
As you review your specification, you may notice that some pages are not assigned to any specification sections. If there are unassigned pages, the yellow markers show in a group titled "Unassigned pages".
You can handle unassigned pages using the following steps:
In the Specification sections panel on the left, click on each of the markers to jump to the first page in that range.
Evaluate if the unassigned page requires a new section to be created or the end page of the previous section needs to be updated to include the unassigned page. Learn more about adding sections or editing sections.
Adding Specification Sections
As you scroll through the specification, you can use the blue Plus button displayed at the beginning of each page to add sections.
Click
 .
.
In the Add section flyout panel that opens on the right:
a. Optionally, enter a code for the section you're adding.
Note: If you do not specify a section code, the code appears as Unspecified on the Specifications home page.b. Enter a description.
c. Optionally, select a parent specification group to assign the section to.
d. Enter a start page and end page for the section.
Click Add.
Tip: You can add a maximum of six sections on one page.
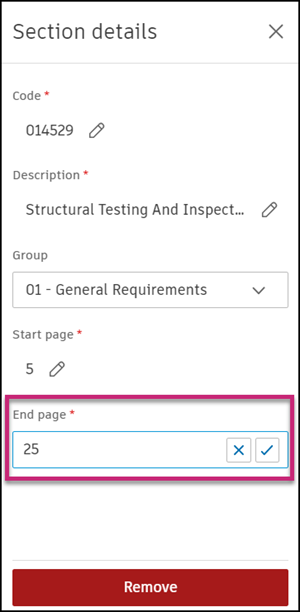
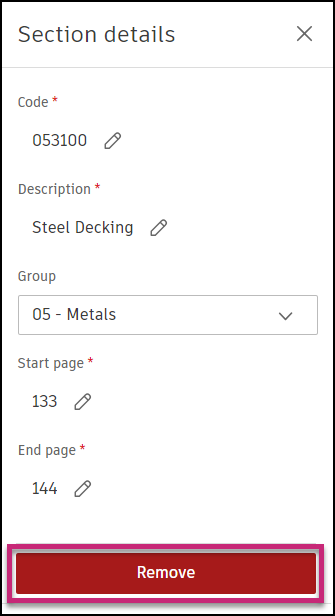
Edit Specification Sections
To edit a section, click a section marker, and make desired changes in the Section details flyout panel on the right.

Remove Specification Sections
Note the following considerations:
- When you remove specification sections, you do not remove actual pages from the PDF document, but only remove the section markers as a means of identifying a section.
- Removed sections are not deleted and can be added back in at any time.
There are two ways to remove specification sections.
- Removing sections using a section marker
- Removing sections from the More menu in the Specification sections panel
Remove Sections Using a Section Marker
Click the section marker for the section that you want to remove.
In the Section details flyout panel on the right, click Remove.
When prompted, confirm your choice by clicking Remove.
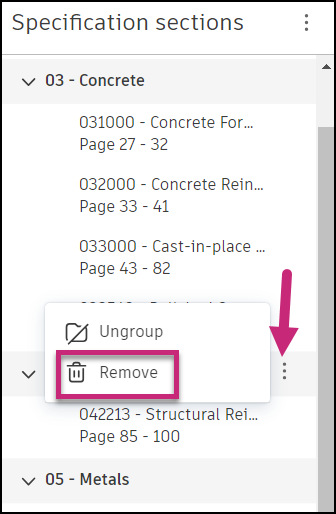
Remove Sections from the More Menu
In the Specification sections panel on the left, click the More menu
 next to the section that you want to remove.
When prompted, confirm your choice by clicking Remove.
.See Delete All Specification Sections to learn how to permanently delete all sections from an upload.
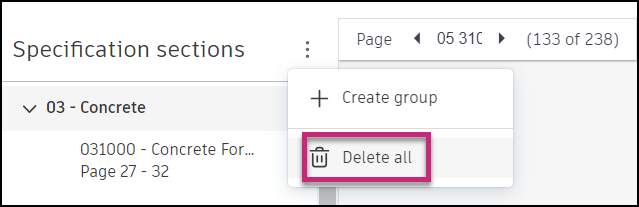
Delete All Specification Sections
To permanently delete all specification sections and groups from an upload:
Click the More menu
next to Specification sections in the panel on the left.Click Delete all.
Select the I understand this action is permanent checkbox at the bottom of the modal to confirm you want to delete all sections.
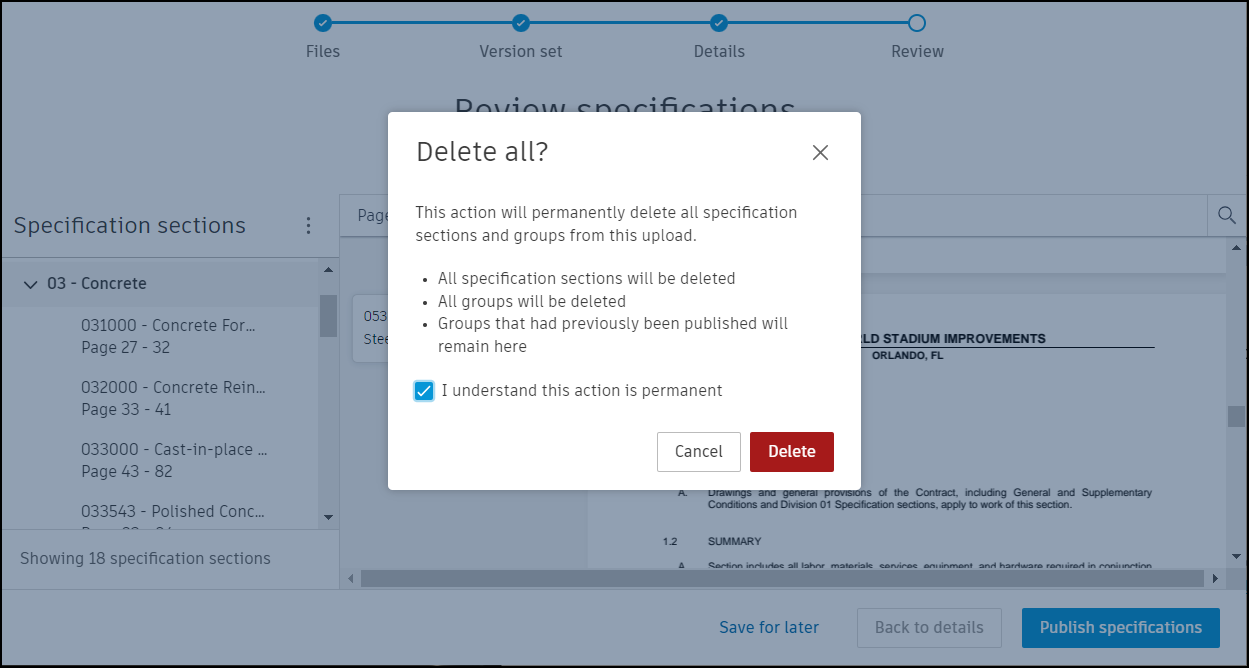
Click Delete.
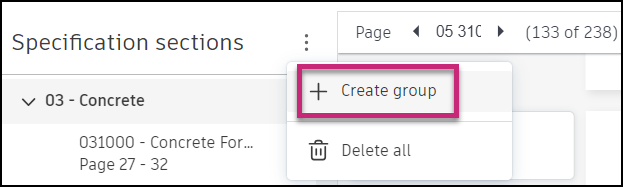
Create Specification Groups
To organize your specifications, you can create specification groups to make documents that are conceptually, topically, or otherwise similar, easier to find.
Click the More menu
next to Specification sections in the panel on the left.Click Create group.
In the Create group modal that opens:
a. Enter a code and description for your specification group.
b. Optionally, select specification sections to include from the drop-down menu.
Click Create.
 Tip: You can select the Create another checkbox at the bottom of the modal when you don't want the modal to disappear after creating a group. This feature is useful when you're creating multiple groups.
The newly-created section is displayed in the left panel.
When you have entered all section information correctly, click Publish specifications.

On success, you will see the following screen:
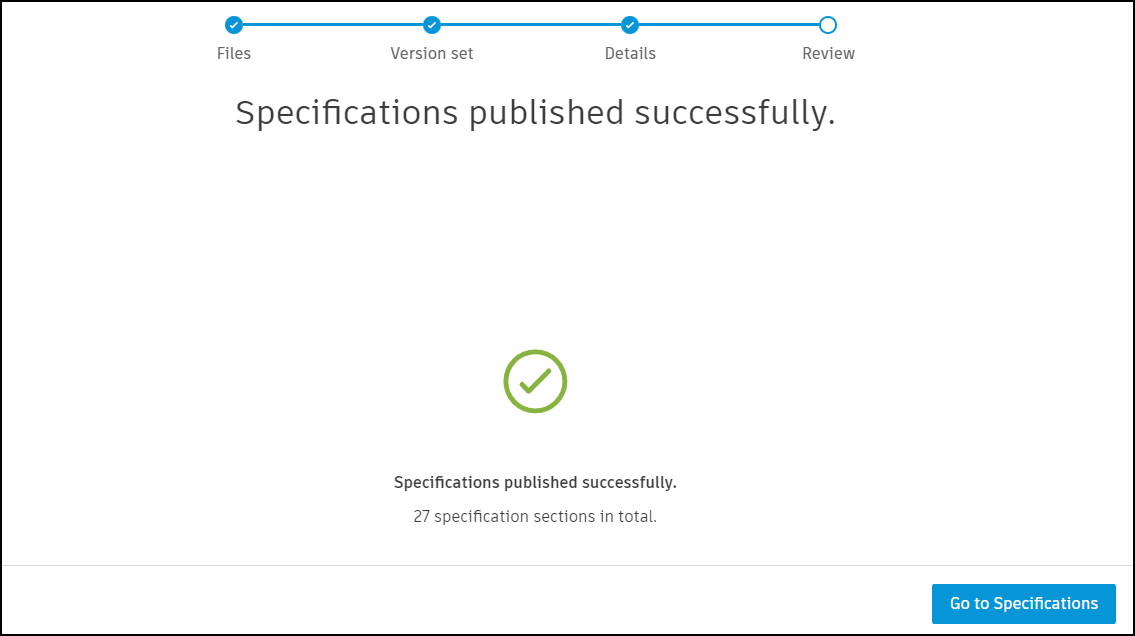
You can also save your progress and continue publishing later by clicking Save for later. Your specifications will be saved in the Publish Log, where you can continue the publishing process later.
Click Back to details to return to the step where you can choose a format and project location.
After Publishing Specifications
When your specifications are published, they’ll be visible to project members.
- There is no specification item available in the dropdown picker for selection
- You cannot delete or edit published specifications if there is improper stacking
- Name and descriptor changes will create new items rather than updating existing ones, and cannot be used to match previous versions
- The only current workaround for major corrections is to remove the specification and reupload/reprocess it entirely.
It's recommended that you plan your specification organization carefully during the review process to avoid these post-publishing limitations.