Packages
A package is a container that allows you to bundle your team’s models, views, sheet sets, and supporting documents to share with other teams. By controlling the sharing in this way, you can help ensure that your work is prepared and ready for other teams. Teams can preview the package and decide when to consume it into their design environment. This reduces the disruption of constant change and allows all teams to freeze their deliverables at a certain version.
Learn to use packages to share the work of your team and view the work from other teams.
Create a Package
Make sure that your Revit authors have published their latest models and sets to Design Collaboration from Revit.
Above the timeline, click Create package, or expand the timeline and click the plus node
 at the far right of your team's line.
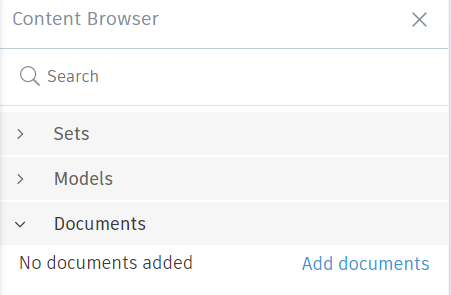
Use the drop-down lists in the Content Browser to select what to include in the package. You can include sets, models and supporting documents.
- Use the Sets drop-down list to browse the view or sheet sets created in Revit. You can select specific views and sheets, or select the sets themselves to include all the views and sheets they contain.
- Use the Models drop-down list to include RVT models in your package. If any models are contained in a set that has been selected from the Sets drop-down list, they are selected by default.
Note: You may want to check that your Revit authors have published their latest models and sets to Design Collaboration from Revit, or use the Publish latest option to make sure that the contents of your team space are up-to-date.Open the Documents drop-down list and then click Add documents to add supporting documents to the package.

Select all relevant supporting documents from your team's folder. Refer to the Supporting Documents help to learn more about the file types that can be included as supporting documents.
Click Add.
Click Save to save the package.
The package is created and is in a draft status (dotted line appearance), meaning it hasn't been shared and can only be seen by your team.
Share a Package
Click the draft package node on your own team line
 .
.Check that the correct contents are included.
Click Share.
Use the Share package dialog box to edit the package name and add a description as needed, then click Share.
In the package timeline, you’ll see that the package node is now filled out with your team’s color. This package node now appears to other teams on the Shared line so they can explore and consume it.
Consume a Package
Consuming a package means that you’ve brought another team’s package into your environment. The goal is not to own or take responsibility for this package, but rather to see it combined with your work and with all other teams’ work. You’ll see the latest model from that team in your Project Model. If you’ve linked into the other team’s model in the Consumed folder, the links are updated as well.
Packages are displayed on the package timeline according to their status and indicate how much of each package your team has consumed.
When you’re satisfied that you understand the other team’s package and feel that your team can absorb the new changes, you can consume a package.
Expand the timeline, and click the node that represents the relevant unconsumed package.
Packages that have not been consumed are displayed as empty circles next to other team's lines on the timeline. They may look like any of the following examples:
Node type Description 
An unconsumed package. 
A mixture of consumed and unconsumed packages. 
Multiple unconsumed packages. 
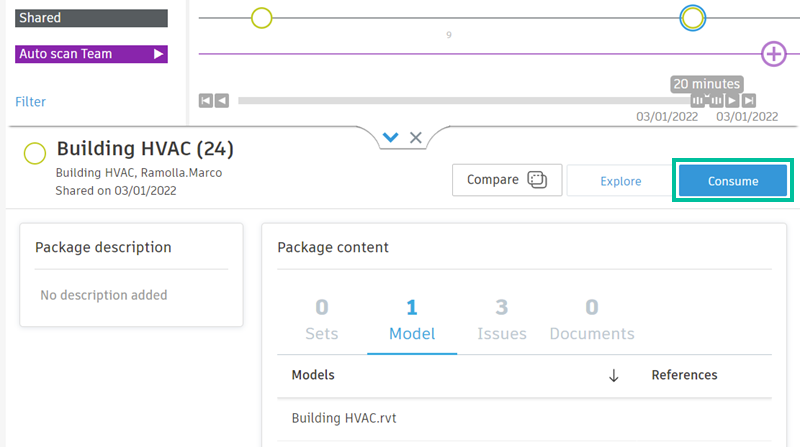
A mixture of consumed and unconsumed models and packages. Tip: You may need to click the nodes that represent multiple packages several times until you have a single node selected.Click Consume to bring the deliverables into your team space.

If your Revit authors have linked into other team’s consumed online models, those Revit links are automatically updated in your team’s authoring environment. On the timeline, you’ll see the package node on the Shared line is now filled to indicate you’ve consumed it.
Reuse an Existing Package
If you have an existing package, such as a weekly release that uses similar content each time, you can reuse it as a starter for a new package.
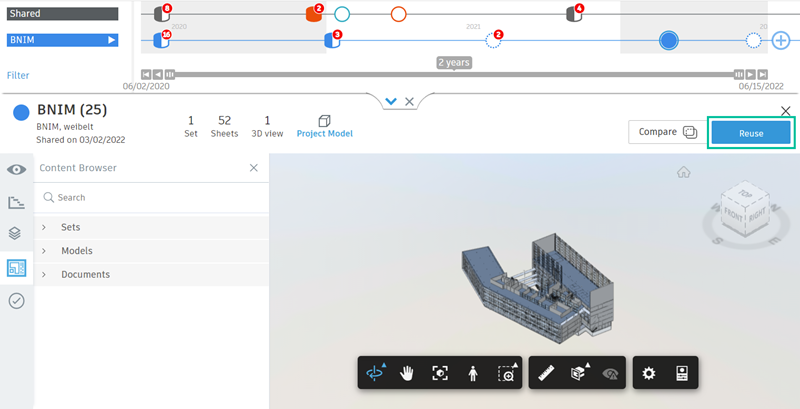
Click a previously shared node.
Click Reuse to start a new package based on the previous settings.

The new package automatically selects the latest versions of the models, sets, views, sheets, and supporting documents that were previously shared.
Adjust the selections for the new package as required, then click Share to share the package.
Edit a Draft Package
A package remains as a draft until you share it to a project. You’ll see an empty dotted-line node on your team line that indicates a package in progress. To edit the package contents and review the items you’ve previously selected:
- Click the draft package node
 .
. - Edit the name of the package and add a description as needed.
- Click Edit and use the Content Browser to select the sheet sets, models, and supporting documents you want to share.
- Click Save to save the package.
Publish the Latest Sets
Use the Publish latest option to update the content in your team space. This option publishes the latest sets directly inside Design Collaboration, and is useful for team members who don't have access to Revit.
You need Edit permission and access to Revit Cloud Worksharing to publish the latest content.
In your team space in the Home tool, click Publish latest.
Click Update to confirm.
Note: You don't have access to the sets or related items during the update.