Models in the Viewer
The viewer allows you to aggregate models, use viewing tools, and customize your view using filters, object table and object colors.
To open models in the viewer:
- Models tool: Use the Models tool to select the models you want to view, then click Open in viewer.
- Views tool: Click the title of a previously saved view.

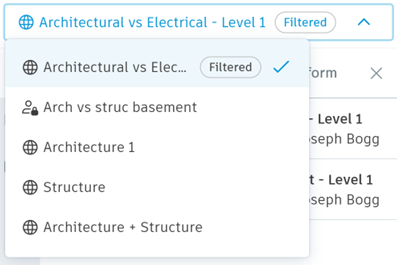
1. Select models
After you've opened models in the viewer, you can choose to change your selections by clicking Select models. Once you've updated your selections, your models will display in the viewer.
If you've opened a previously created view, you can also Update view to include the changes you've made.
2. Transform models
The Transform feature allows you to check the alignment of models within the project, and edit their position and rotation. When you have transformed your models, the new positions are used anytime those models are viewed in context of the project. See Transform Models help topic for more information.
3. Views drop-down list
Click to display a list of views created in Model Coordination. Click a view to display the models and configurations saved to that view.
4. Home and ViewCube
 : If you've changed the default model perspective, for example zooming and out or using the options on the viewing toolbar, you can restore to default perspective using the home icon.
 : You can switch between standard and isometric views using the ViewCube.
5. Viewer toolbar
Use the viewer toolbar to control the view, take measurements, inspect model properties, and turn on object colors. You can also click to select a model object and use the context menu for other options.
See Models Viewer Toolbar for full details.
6. Navigation tabs
The navigation toolbar contains the following tabs:
 - The Models tab: Lists all the models open in the viewer. You can also use the transform model feature from this tab to edit the position and rotation of these models.
 - The Model browser tab: Show or hide model objects using the model tree, or filter out objects using basic and advanced filters.
  - The Clashes tab: Switch between models, and view the clash groups for each of the models. See Filter and Investigate Clashes for full details.
  - The Issues tab: View any issues associated with the displayed models and create new issues.
  - The Object table tab: View, group, and export a table of your model objects and their properties.
7. Save view
You can use Save view to save the models open in the viewer and their customizations as a View. See Create and Use Views for more information and details on which customizations are saved to a view.