Roles
Roles streamline workflows, permissions, and access. For example, you can make a role Submittal Manager in the Submittals tool or assign a permission level to a file or folder in the Files tool. Roles can also define access levels; for example, all Architects could be project administrators. Roles are created by account administrators in Account Admin.
Roles control product access. Setting up roles before inviting members can ensure that all of your members have access to the products and tools they need when they access a new project. A person with multiple roles will get the access of the combined roles. For example, if a person has the role of Project Administrator and Submittal Manager, they will have the access of both roles.
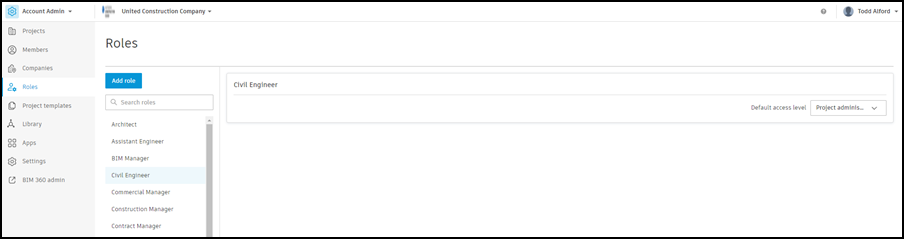
Roles are listed in alphabetical order on the left. Selecting them can allow you to change their settings.
- Enabling Member management for a role activates in real time. Members assigned that role will immediately have the ability to manage members in projects where they have been added.
- When roles are changed, members with that role are unaffected until they are added to a new project.
- To have the changes applied to a member in an existing project, you would need to remove the role and assign it again within that project.
- When a role is removed, none of the product accesses are removed with the role.
To learn more about managing members assigned a particular role, see Members of Roles. To learn more about Member management, see Member Management.
Create Roles
In the Roles tool within Account Admin:
- Click Add role.
- Provide the name of the role to add.
- Click Add role.
- Select the Default access level.
- Project member - Members are given the lower access levels and can't access things like settings.
- Project administrator - Administrators can change settings and permissions for the different tools in a project.
Delete Roles
- In the Roles tool, hover over the role you'd like to delete.
- Select the More menu that appears
 .
. - Click Delete.
Rename Roles
- In the Roles tool, hover over the role you'd like to rename.
- Select the More menu that appears .
- Click Rename role.