Line Items in Preconstruction Library
Account administrators can input line items into the account library.
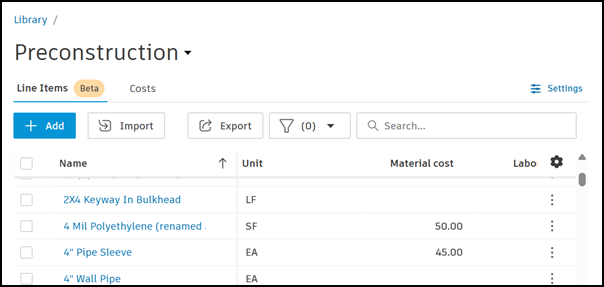
These library line items can be used as default line items and data in your Preconstruction project’s takeoff inventory and estimate. Learn more about line items in Estimate.
Import Line Items to Library
To add new line items or update data for existing line items in Preconstruction Library, you can import line items to the library.
To include classifications in the import, you must first add classifications into your account library. Classification data must be identical to your account and project library classification data. Learn about managing classifications in the Preconstruction Library.
To include costs from the account Library in the import, you must first add labor, equipment, and crew costs to your account library. If these costs are available, you can select them and their data will populate in the Line Item Import XLSX. Learn about adding costs to the Preconstruction Library.
To import line items to Preconstruction Library:
Select Account Admin from the product picker dropdown at the top left of the screen.
Click Library in the left navigation.
Click on the Preconstruction card to open the Preconstruction library page.
In the Line Items tab, click Import to import a spreadsheet of line items to the Preconstruction library. This will open the Fill out template file workflow.
Download and complete the template.
- Read and follow the instructions to correctly format the line items in the XLSX file before uploading.
Upload the completed XLSX file with your line items.
- If necessary, correct any errors that occur from your upload, then upload the corrected file.
Your imported line items will be added to the Preconstruction library page under the Line Items tab.
Add Individual Line Items
- Select Account Admin from the product picker dropdown at the top left of the screen.
- Click Library in the left navigation.
- Click on the Preconstruction card to open the Preconstruction library page.
- In the Line Items tab, click Add.
- In the new row that is added, enter the name and other data for the line item you want to add to the library.
Use Library Line Items in an Autodesk Estimate Project
Once you have set up line items in the Preconstruction Library, you can easily add these line items to an Estimate project.
When adding line items in Estimate, click the Name field in an estimate table row and start typing an item name to search for a library line item.
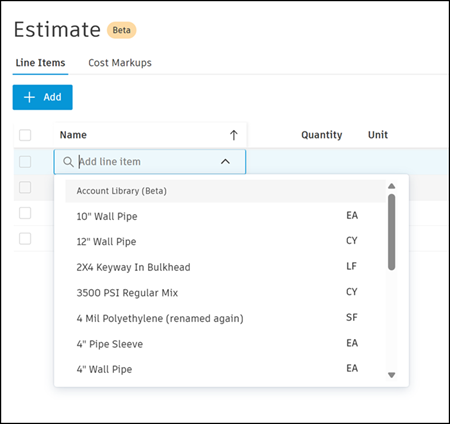
Selecting and adding a library line item will bring in that line item's data to the project estimate.
You can edit some of the line item details once the item is added to the estimate. Learn more about managing line items in Estimate.