Email Notification Settings
Project administrators can customize email notification settings for a project by controlling who receives which notifications.
Project administrators can use default notification settings, or create notification groups of individual members, roles, or companies. They can then manage the frequency of email notifications and control permission levels for selected tools and notification types in each such group.
For example, project administrators can set notification frequency for the Issues tool to Hourly for each status and due date change and to Instantly for each event of assigning an RFI to a member. Also, project administrators can turn off notifications for all or some tools and notification types.
Individual project members with Edit permission or above can configure their own notification frequencies for various tools and notification types. See Member Notification Settings for more information.
See Notifications in Autodesk Forma tools and products to access links to notification-specific Help topics.
This article includes:
- Notifications and Frequencies
- Daily Digest Structure
- Create Notification Groups
- Control Email Frequency and Permission Levels
- Edit and Delete Notification Groups
- Turn Off Notifications
- FAQs and Troubleshooting
- Modify Email Filters
Notifications and Frequencies
Notification frequencies for the following tools and notification types can be individually changed by project administrators:
- AutoSpecs
- Bridge
- Correspondence
- Cost Management
- Design Collaboration
- Files
- Forms
- Issues
- Meetings
- RFIs
- Reports
- Reviews
- Schedule
- Sheets
- Submittals
- Transmittals
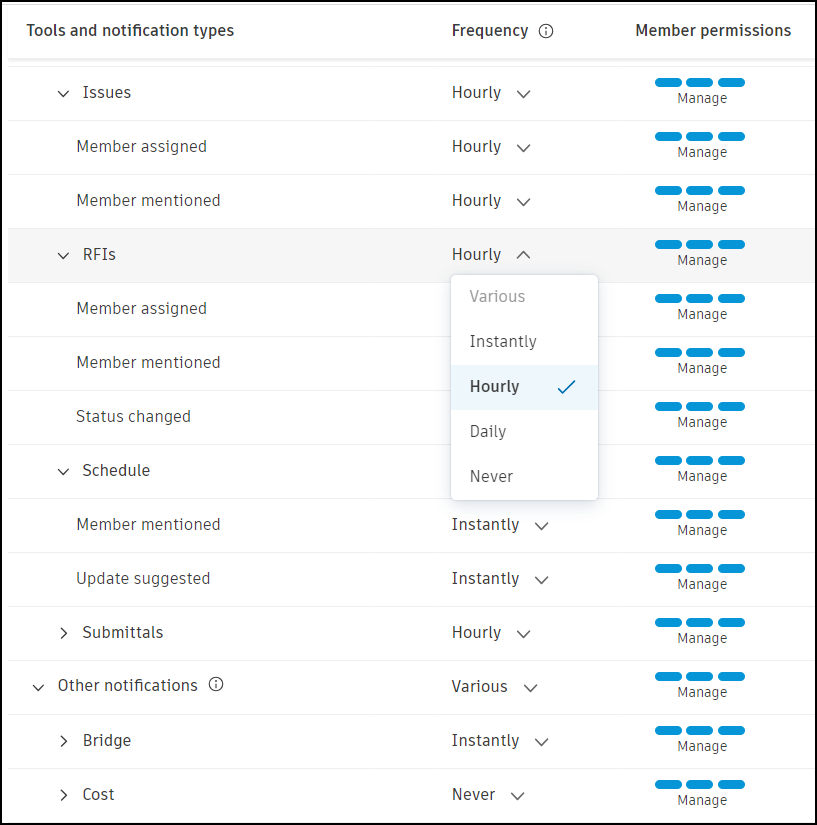
The following frequency settings can be selected:
- Various: Indicates that notification types for a given tool have various frequencies assigned to them. This option cannot be selected.
- Instantly: Sends the email notification as soon as possible.
- Hourly: Sends a digest email about once an hour.
- Daily: Sends a digest email at 4:00 AM in the time zone specified for the project on the project profile.
- Never: Turns off email notifications.
Note the following notification-specific considerations:
- Some notifications, such as system messages or invites, are always sent instantly irrespective of the frequency settings.
- The frequencies of some tool's notification types are by default set to Instantly and can't be changed. Therefore, the tool's frequency may appear as Various even though you attempt to change it to Daily or Hourly.
Daily Digest Structure
Daily digest emails are sent at 4:00 AM in the time zone specified for the project profile. When a daily digest is generated, it includes a personalized introduction with the member's name and a total count of all items included in the email (upcoming items, overdue items, action required items, and update items).
The daily digest is organized into the following sections:
Due Date Reminders
Note the following about due date reminders:
Due date reminders are sent daily when there are assigned upcoming items due within the next 7 days or assigned overdue items.
Items are included when they are assigned directly to the member or to the member's company.
When a daily digest is generated, due date reminders are sent as part of the digest and appear as summary tables at the top of the email.
If no daily digest is generated that day, due date reminders are sent in a separate email that follows the same daily digest look and feel. This separate reminder email includes only the due date reminder tables (upcoming and overdue) and does not include action required or update sections.
Separate due date reminder emails can be configured in notification settings by adjusting the Upcoming and overdue items reminders setting:
Daily: Sends due date reminders in the daily digest when one is generated, or sends a separate reminder email when no daily digest is generated.
Never: Does not send separate due date reminder emails. Due date summaries are still included in daily digest emails when a daily digest is generated.
Due date reminders include two summary tables:
Total Upcoming Items: Displays items due from the current date through the next 7 days. Clicking the link for a specific tool applies a filter showing items due within this timeframe.
Total Overdue Items: Displays all overdue items. Clicking the link for a specific tool applies a filter showing all overdue items.
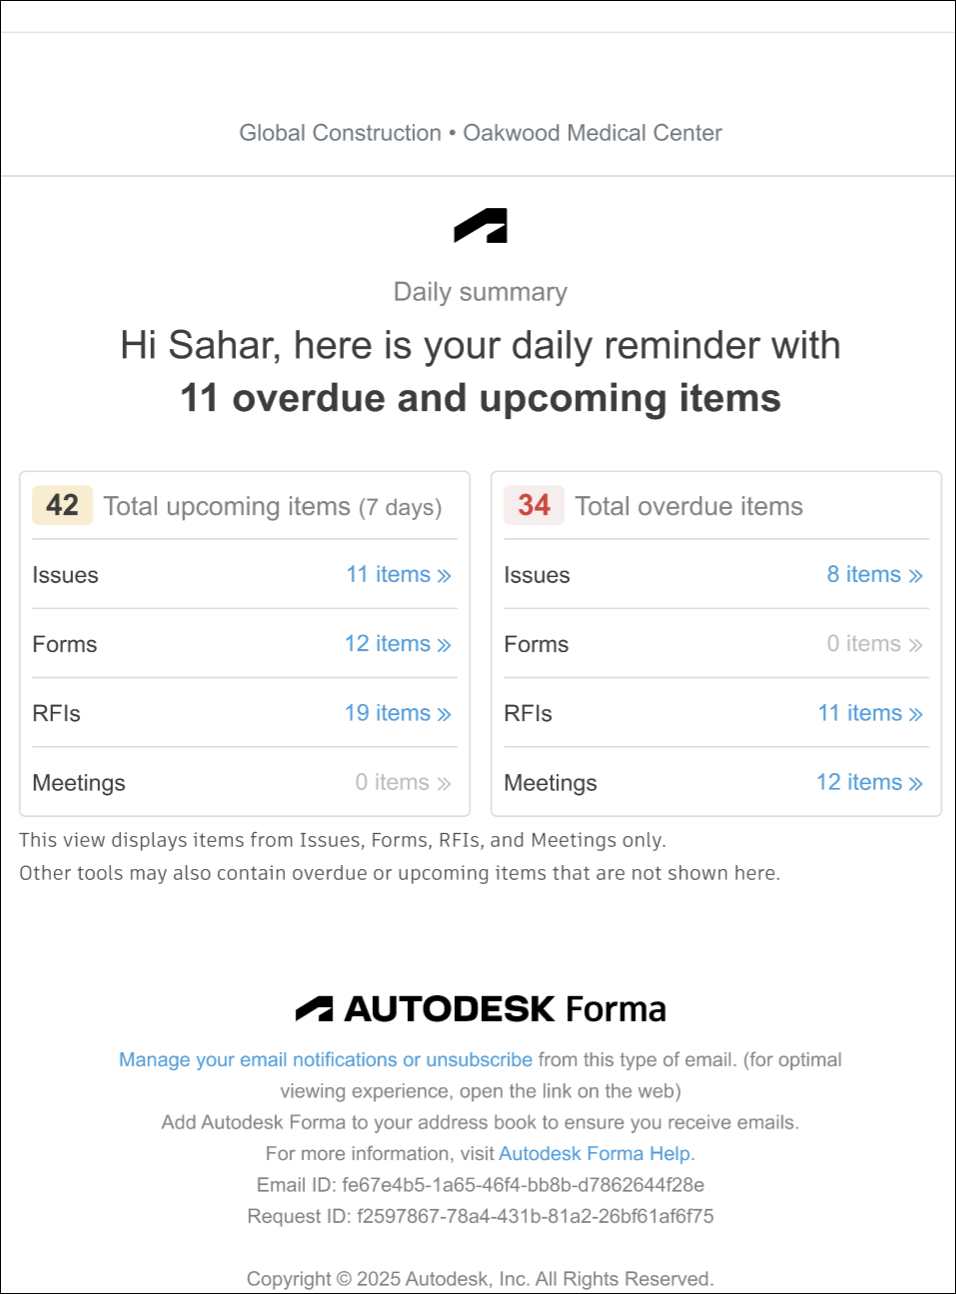
Due date reminders are shown for the following tools in this order:
- Issues
- Forms
- RFIs
- Submittals
- Meetings
Action Required and Update Items
In addition to due date reminders, the daily digest includes:
- Action required notifications for events that require member action
- Other update notifications for informational events
The total count displayed in the digest introduction sums all items across these categories.
Create Notification Groups
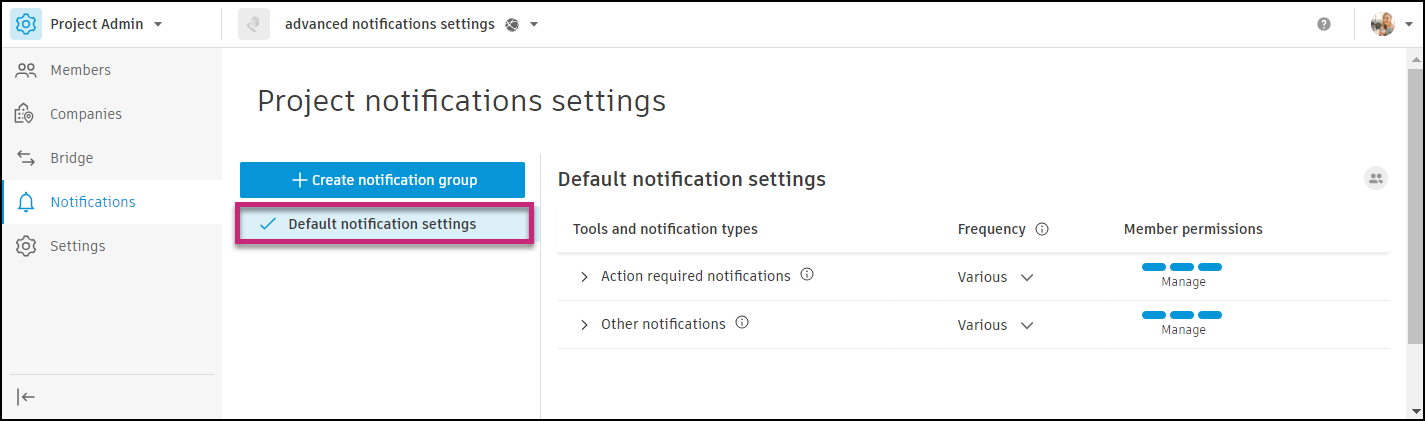
The Default notification settings notification group is available in each project by default. Project administrators can use this group as a template to quickly apply default notification frequency settings to selected members, roles, or companies, as explained below.
A project administrator can create notification groups of individual members, companies, or roles, and control notification settings and permission levels for each notification group.
To create a notification group:
Select Project Admin from the product picker.
Select the Notifications tool from the left navigation.
Click Create notification group
 .
.Enter your desired name for the notification group.
From the drop-down menu, select a member, role, or company, or enter in a name to filter the list of options.
Note: Inactive users can be added to a notification group but will not appear in the project or receive notifications until they are active.Click Create.
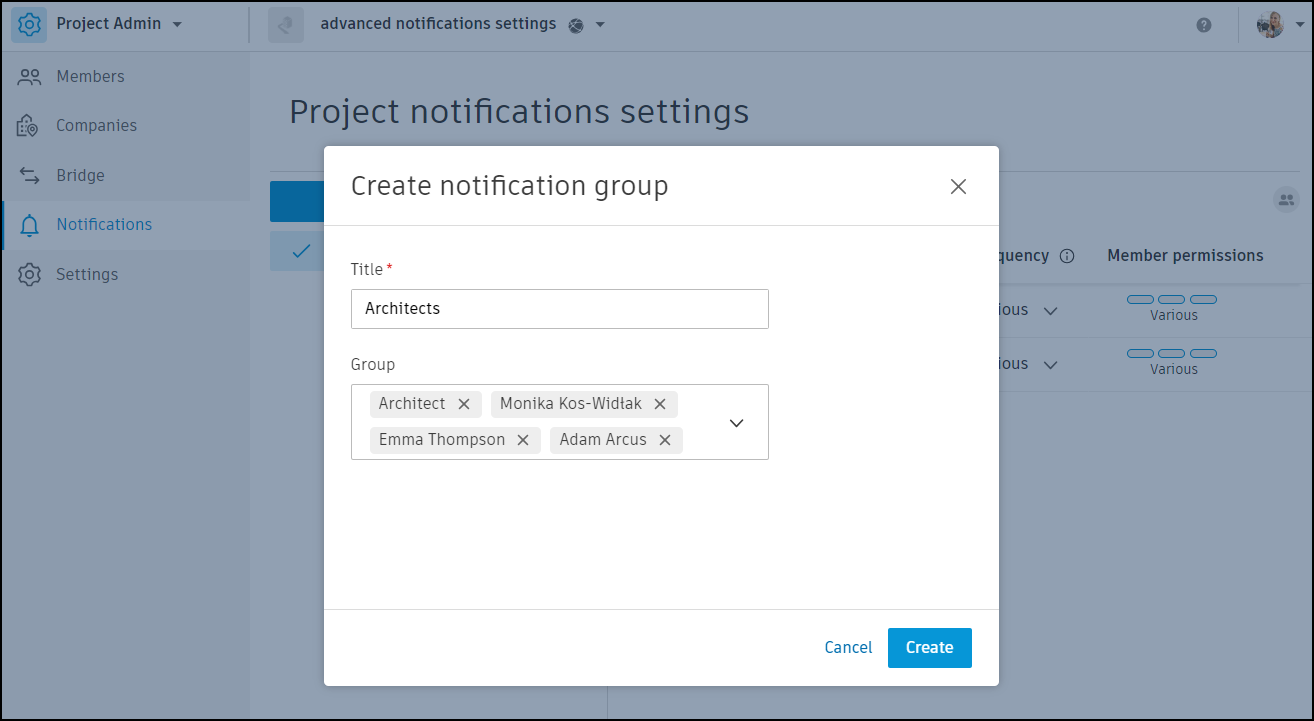
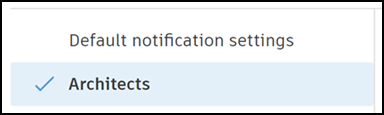
The newly-created group is highlighted.

Now you can manage email frequency settings and permissions for desired tools and notification types, as explained below.
Control Email Frequency and Permission Levels
Once you've created a notification group, you can control email frequency settings and permission levels.
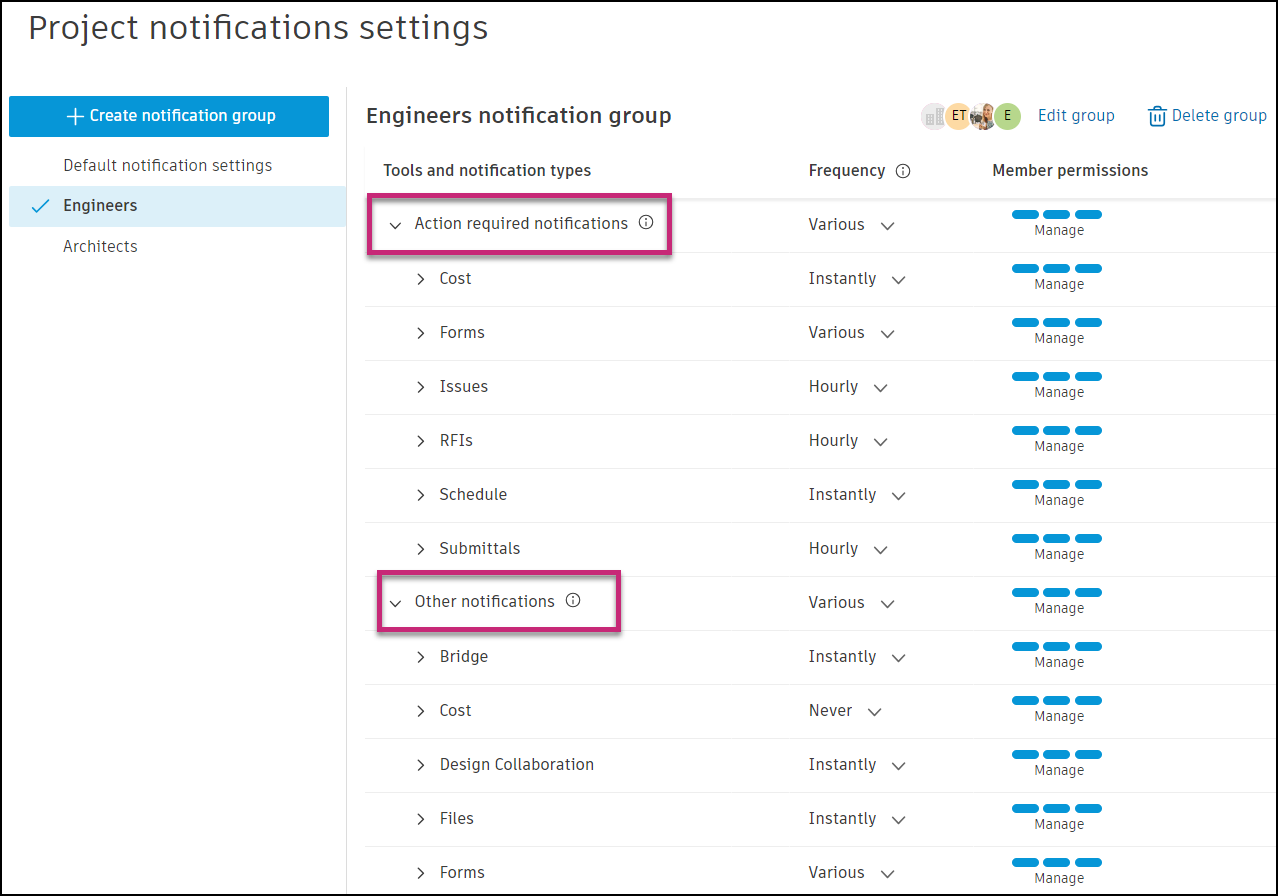
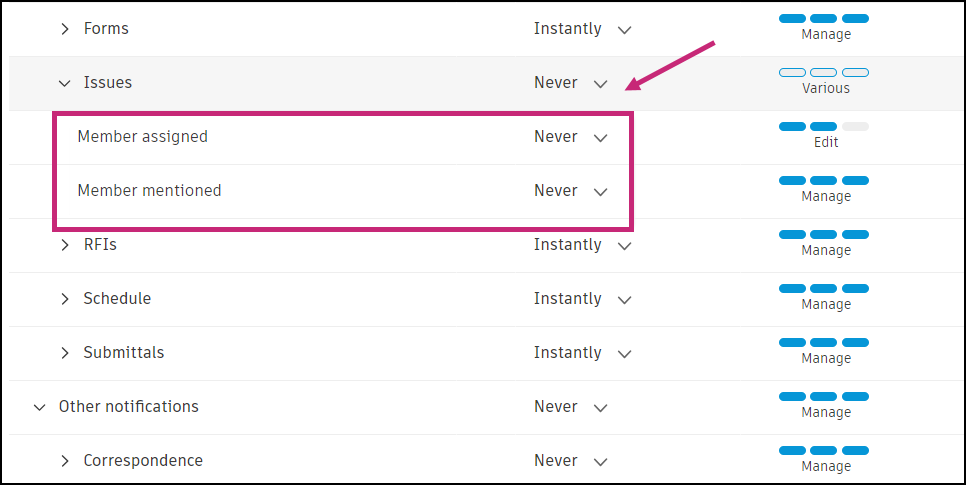
By default, tools and notification types are divided into two categories: Action required notifications and Other notifications. This indicates whether any member action is required when a given event takes place. For example, no member action is required when a report has been published or updated, but action is needed when an issue has been assigned to a member.
Each notification type is identified by a unique, descriptive title and includes a brief description that explains the specific event that triggers it.
To control email frequency settings and permission levels:
Use the expand icons next to Action required notifications and Other notifications to select the tools and notification types for which you want to set notification frequency.
Specify desired notification frequency settings using the frequency drop-down menus. See Notifications and Frequencies for more information.
Turn off notifications for desired tools and notification types by setting their frequency to Never. See Turn Off Notifications for more information.
Use the permission selection drop-down menu to assign a permission level to a tool or notification type as needed.
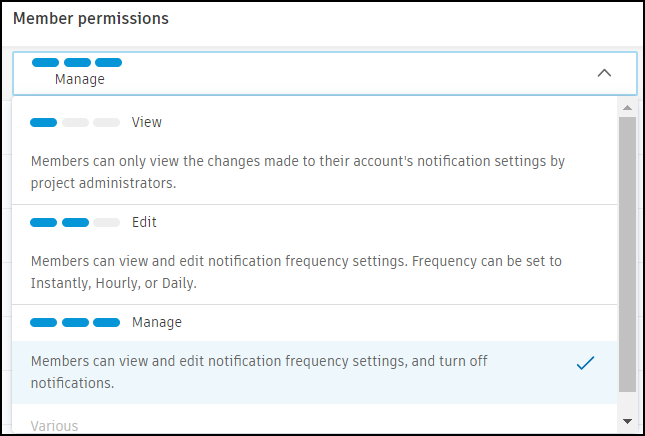
The Notifications tool has four permission tiers that apply to members in each project:
| Permission level | Capability |
| View | Members can only view frequency notification settings set by project administrators. The Frequency drop-down is disabled (grayed out). |
| Edit | Members can view and edit frequency notification settings. Members can't turn off notifications. The Never option is disabled (grayed out). |
| Manage | Members can view and edit frequency settings. In addition, members can turn off notifications for tools and notification types. |
| Various | Members have various permission levels assigned to them. |
Edit and Delete Notification Groups
You can edit a group's name, and add or remove members, roles, or companies.
Edit a Notification Group
Select the group that you want to edit.
Click Edit group at the top right of the Notifications page.
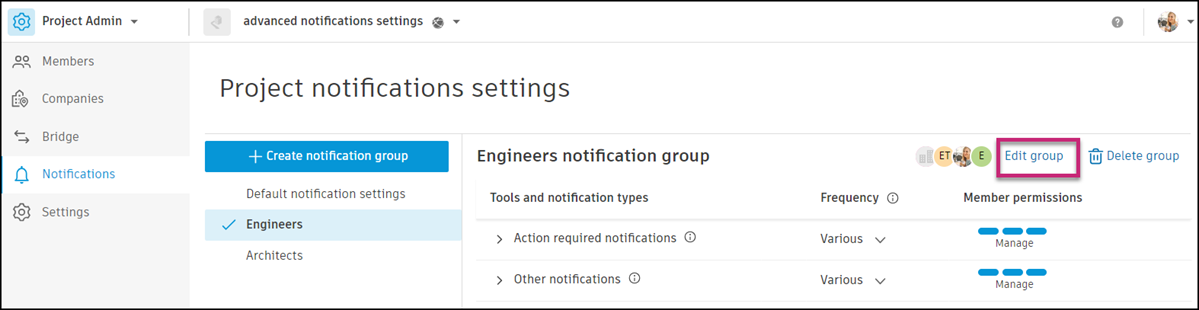
Make your changes as needed.
Click Apply.
Delete a Notification Group
Select the notification group you want to delete.
Click Delete group at the top right of the Notifications page.
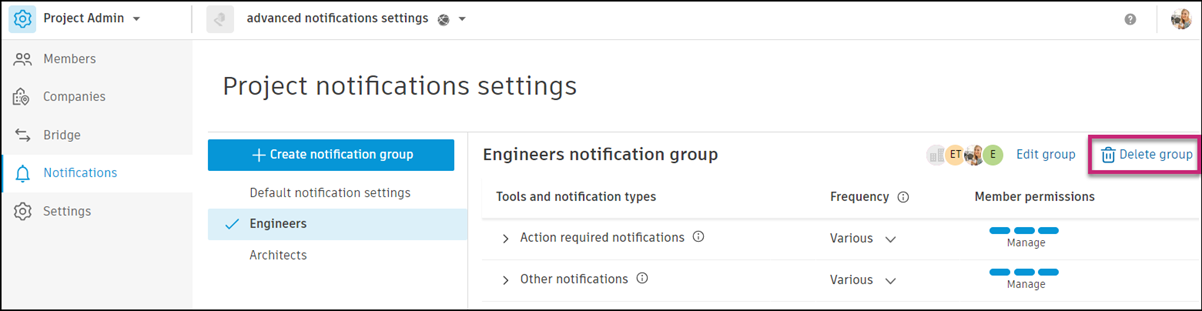
When prompted to confirm your choice, click Delete.
Note: Deleting a group cannot be undone.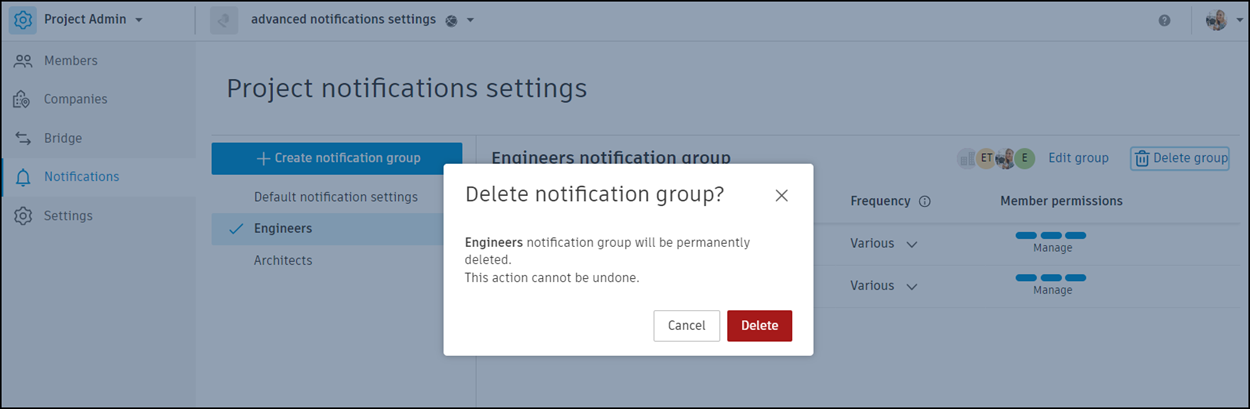
Turn Off Notifications
Project administrators can turn off all notifications, or notifications for selected tools and notification types for specific members, roles, or companies.
Turn Off All Notifications
You can turn off all notifications by:
- Creating a dedicated opt-out notification group and setting the frequency for all tools to Never
- Using a default opt out group
Turn off all notifications by creating an opt-out group
Select Project Admin from the product picker.
Select the Notifications tool from the left panel.
Create a notification group by following steps 1-6 in Create Notification Groups, above.
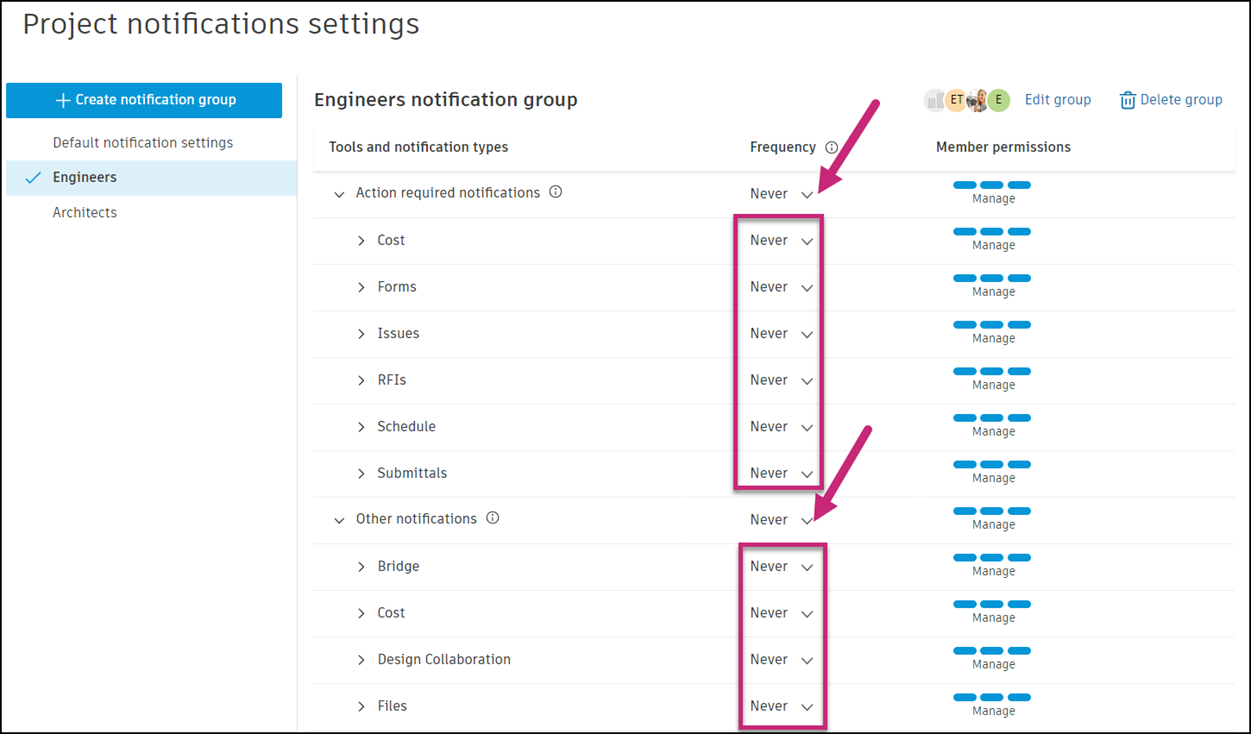
Set the frequency next to Action required notifications and Other notifications to Never.
This action turns off email notifications for all tools and notification types associated with these tools.
Turn off all notifications using a default opt out group
- Select the default Opt out notification group.
- Click Edit group at the top right of the Notifications page.
- Add or remove members as needed.
- Click Apply.
Turn Off Some Notifications
To turn off specific notifications for tools and notification types, set the frequency for those tools and notification types to Never. See Control Email Frequency and Permission Levels for more information.
FAQs and Troubleshooting
Couldn't set frequency for all notification types
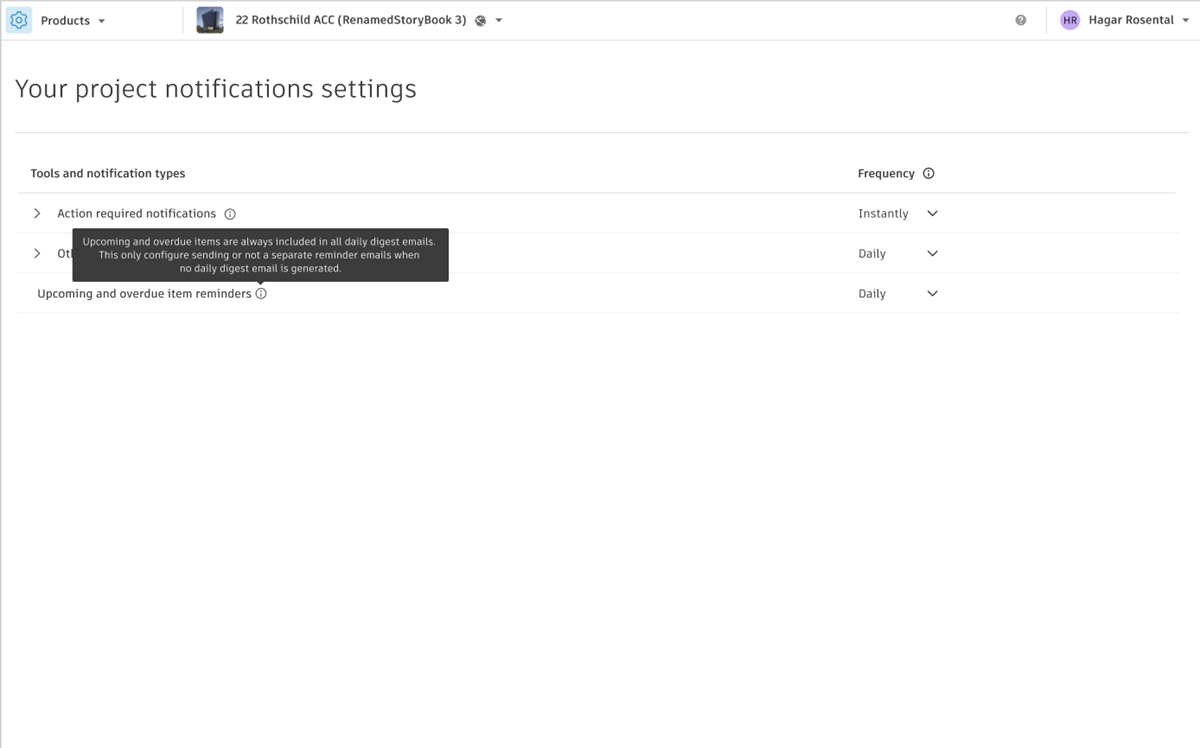
When setting the email notification frequency for a tool to Daily or Hourly, a tooltip like the one below may be displayed next to some tools or notification types:
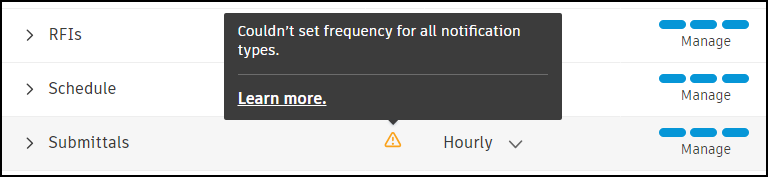
This error indicates that at least one notification type for a given tool is not included in the digest, and therefore, the desired frequency cannot be specified.
Overlap between notification settings
An overlap occurs when the same member, role, or company, is part of more than one notification group.
Members with Edit permission or above can override notification settings specified for a group by setting their own notification frequency. If a member hasn't changed the default settings, the notification settings specified for a group are applied in the following order:
- Member assigned by name; for example, John Smith.
- User assigned by role; for example, all users with the Consultant role assigned to them.
- User assigned by company; for example, all users with Autodesk company assigned to them.
If there are ambiguities, such as two groups containing the role of a "Consultant", the one created as the last one will prevail.
Modify Email Filters
As of April 1, 2023, the "Autodesk Forma" sender for Autodesk Forma notifications changes to include the first name and family name of the person who performed a given action in a project. As a result, the sender name is now as follows:
{First name}{Family name}(Autodesk Forma)
This change may affect your existing email filters, so be sure to modify your filter rules.
Outlook
Follow these steps to edit your Outlook rule:
Open Outlook.
Click File > Manage Rules and Alerts.
Click Change Rule > Edit Rule Settings.
Uncheck the from people or public group box.
Check the with specific words in the recipient's address box, and then in the rule description dialog, click the specific words link.
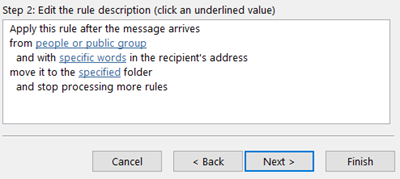
Type in "@Autodesk Forma.autodesk", click Add, and then click OK.
Select a box next to an action you want to perform with the message, and then click Next.
If needed, select exceptions, and then click Next.
Click Finish.
See this Microsoft support article for more information about editing Outlook rules.
Gmail
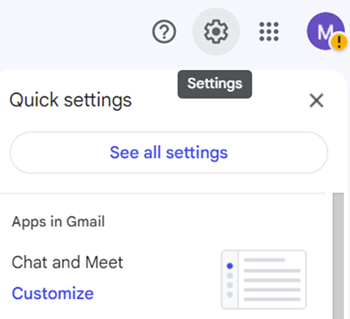
Open Gmail.
At the top right, click Settings > See all settings.
Click Filters and Blocked Addresses, and then click edit next to the filter you want to modify.
Move your filtering criteria from the From field to the Has the words field, as shown below.
Click Continue.
Select a box next to an action you want to perform for the message that matches your criteria.
Click Update filter.
See this Gmail Help article for more information about creating rules to filter your emails.