Project Settings
The project settings include the project name, type, address, the start and end dates for the project, and project locations. These dates don't impact subscription access to the product. Project administrators can edit these settings in the Project Admin service.
Edit Project Settings
Click Settings from the left navigation to open the Settings tool.
Click Edit.
Enter updated settings for the project including:
- Project name
- Project number
- Project type
- Project address
- Time zone - used for reporting and histories of certain tools. Some tools use a browser-based time zone.
- Start and end dates
- Project value
- Project templates: If the project was created from a template, the name of the project template will show up as a link. It will show as archived if it is no longer active.
Click Save.
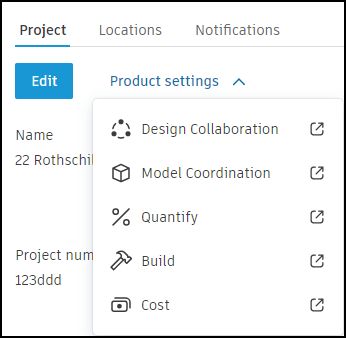
From the Settings tool, you can link to specific settings for products used on your project.
From the Project tab, click the Product settings drop-down list.
Select the product you want to navigate to in order to update those specific product-level settings.
See the Locations section of the help to learn more about how project administrators can manage project locations. See the Email Notifications section of the help to learn more about how project administrators can manage email notifications.