Shared Dashboards
Project administrators can create, customize, and share project-level dashboards in Insight to collaborate with other project members in real time, onboard and orient new members, or even for key project metrics and meetings. When a project-level dashboard is created, it is automatically shared with all project members.
Project members with executive access can create, customize, and share hub-level dashboards with all members with executive access. When a hub-level dashboard is created by an executive, it is automatically shared with all members with executive access.
In this topic, you can learn how to:
- Create a Project-Level Shared Dashboard
- Create a Hub-Level Shared Dashboard
- Change Dashboard Share Settings During Creation
- Share Access to Existing Dashboards
Create a Project-Level Shared Dashboard
You must be a project administrator to create and share a project-level dashboard.
Click Insight from the product picker.
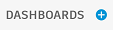
Click the plus icon next to Dashboards.
Click Add cards or Card Library. Refer to the Customize Dashboards and Cards topic to learn more about using the card library.
After your cards are selected, click Add Card.
Click into the New Dashboard field to edit the dashboard name.
 Note: Emojis are supported in the dashboard name.
Press the Enter key or click the check mark to save the dashboard name.
Drag the individual cards to organize them in the dashboard.
Click Save.
Your dashboard is now visible to all project members.
Create a Hub-Level Shared Dashboard
You must be a project member with executive access to create and share a hub-level dashboard.
Click Insight from the product picker.
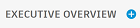
Click Executive Overview on the bottom left of the screen.

Click the + on
 at the top left of the screen.
Click Add cards or Card Library. Refer to the Customize Dashboards and Cards topic to learn more about using the card library.
After your cards are selected, click Add Card.
Click into the New Dashboard field to edit the dashboard name.
Note: Emojis are supported in the dashboard name.Press the Enter key or click the check mark to save the dashboard name.
Drag the individual cards to organize them in the dashboard.
Click Save.
Your dashboard is now visible to all project members with executive access.
Change Dashboard Share Settings During Creation
Project administrators can restrict visibility of a dashboard they've created to themselves only, or to select members based on their name, role, or company. Project members with executive access can make a dashboard they've created private and restrict visibility to themselves only.
Project-level
Click the
 icon in
Project administrators can select from these share settings:
- All project members: All members can view the dashboard. This is the default view.
- Selected project members: Members you select based on name, role, or company can view the dashboard.
- Only me: Only you can view the dashboard
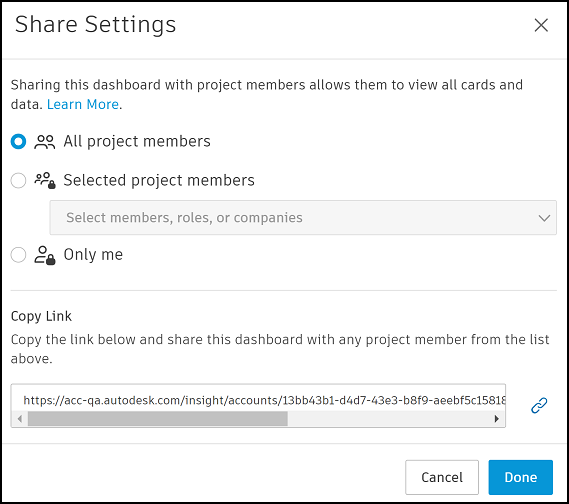
There is also the option to copy the link and share with any project member.
Hub-level
Click the
icon in 
Project members with executive access can select from these share settings:
- All members with executive access: All members with executive access can view the dashboard. This is the default view.
- Only me: Only you can view the dashboard
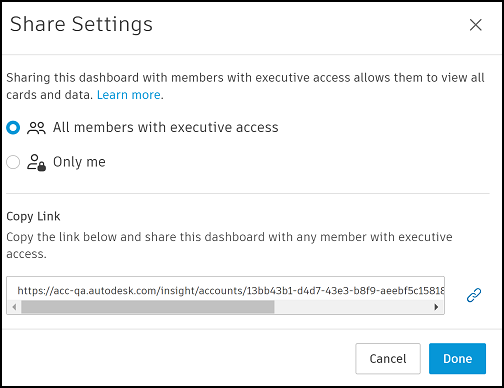
There is also the option to copy the link and share with any member with executive access.
Select the relevant share setting.
Click Done.
Share Access to Existing Dashboards
To restrict the visibility to the dashboard after it is created:
- Select the relevant dashboard from the left.
- Click
 .
. - Select the relevant share settings.
- Click Done.
Delete Dashboards
- Select the relevant dashboard from the left.
- Click Customize.
- Click Delete.
- Click Delete in the dialog box.