Schedule Dashboards in Insight Builder
You can schedule dashboards to be sent automatically at a regular cadence. Learn how to configure settings specific to content, date, and email.
Access Schedule Settings
To access schedule settings:
In Insight Builder, click Dashboards from the left navigation.
Click the desired dashboard.
Click the Scheduling icon
 in the upper right corner of the page.
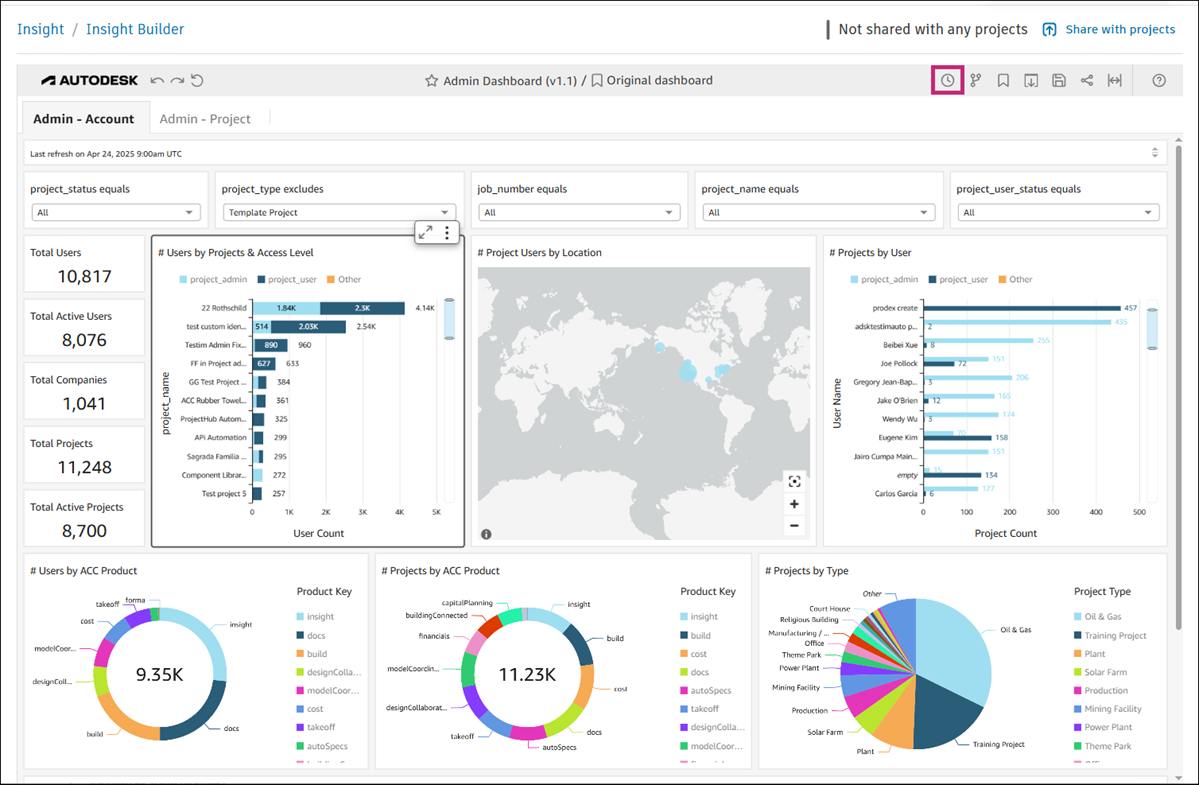
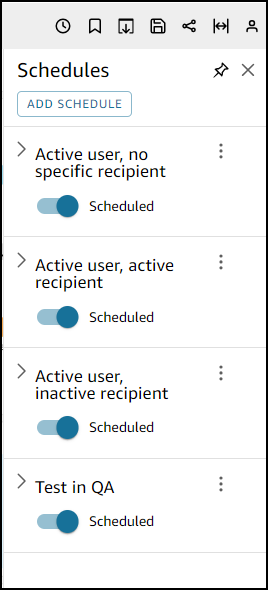
Click Schedules.
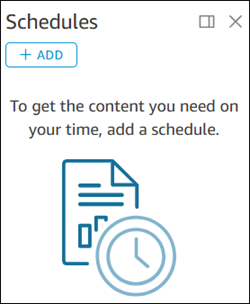
In the Schedules panel that opens on the right, click

Enter the of your schedule and, optionally, a description.
Click the Dashboard view drop-down list and choose between the custom view and original dashboard.
Configure content, date, and email settings. See Configure Schedule for details about available configuration options.
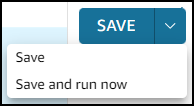
Click Save or click Save and run now.
 Tip: You can click Send test to verify whether you've configured your settings as desired.
Configure Schedule
Configure Content Settings
Follow steps 1-3 in Access Schedule Settings.
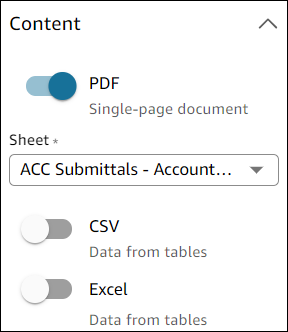
Click the Content drop-down to access content settings:
PDF: Toggle on to create a single-page PDF document.
Sheet: Click the drop-down list and choose the desired sheet.
CSV: Toggle to include data from tables in the CSV format. When you enable this option, you can select the visuals that you want to include.
Excel: Toggle to include data from tables in the spreadsheet format. When you enable this option, click Select visuals to choose which data to include.
Click Save to complete your configuration.
Configure Date Settings
Follow steps 1-3 in Access Schedule Settings.
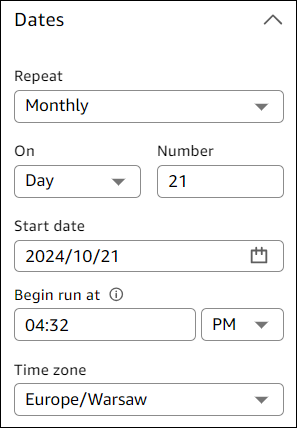
Click the Dates drop-down list to access date settings:
Repeat: Click to select the desired frequency: daily, weekly, monthly, yearly, custom, once.
On: Choose how often you want the schedule to run.
Day(s): Select days that you want the schedule to run on.
Start date: Select the start date.
Begin run at: Select the time at which the schedule should run.
Time zone: Select the preferred time zone.
Click Save to complete your configuration.
Configure Email Settings
Follow steps 1-3 in Access Schedule Settings.
Click the Email drop-down to access email settings.
Optionally, enter the email subject line.
Click the Email recipients drop-down list and choose authors or readers.
Tip: You can also select or unselect the Send to all users with access option.Enter text for email header and body.
Tip: You can also select or unselect the Include sheet in email body option.Decide whether you want to send your dashboard as a download link or as a file attachment.
Note: Only dashboards up to 10 MB can be sent as an attachment.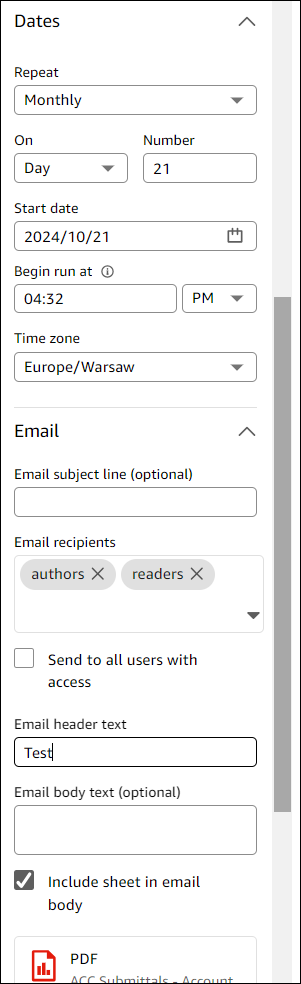
Click Save to complete your configuration.
Edit Schedule Settings
To edit schedule settings:
Click the Scheduling icon
in the upper right corner of the page.Click Schedules.
Click My schedules or Shared with me.
Click the More menu icon
 next to the schedule that you want to edit, and then click Edit.
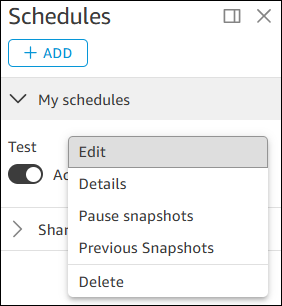
Make your changes and then click Save or click Save and run now.
Tip: Click Send test to send a test to the specified email address.