Once bar code or QR code options have been configured in the database, and in Tracker, it is then possible to attach them to labels and reports.
The following example demonstrates how to attach a bar code to a Part Label. The process is similar for QR codes and for reports.
- Click File
 Print Layouts
Labels.
Print Layouts
Labels.
- In the Label Type drop-down list, select Part Labels, as shown below.

- In the label layout on the left, right click the Item Number field, and click Properties to display the Object Properties dialog, as shown below.
- Click the Font tab.
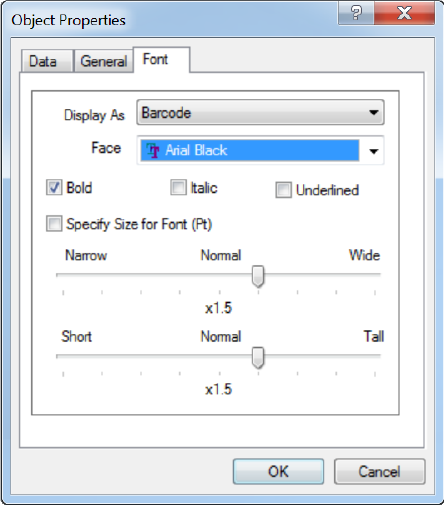
- On the Font tab, set the Display As drop-down list to Bar Code (or to QR Code, depending on the type of code you want to print), and then click OK.
- For the Face drop-down list, if the Display Human Readable Text option is enabled, the font selected in the Face drop-down list is used.
- The selected font may also be underlined, italicized and bolded by clicking the relevant check box.
- The Narrow - Normal - Wide and Short - Normal - Tall settings will affect both the human readable and the bar code (or QR code) display properties
- Click OK when finished configuring the Object Properties dialog.
- Click OK.