To select an ancillary and assign it to a kit:
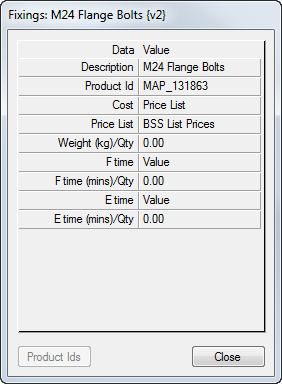
- Create each ancillary required for inclusion into the kit under the relevant Ancillary Type heading. For example: Fixings, Clips or Ancillary Materials, if length based. These are accessed from the database Fittings
 Ancillaries
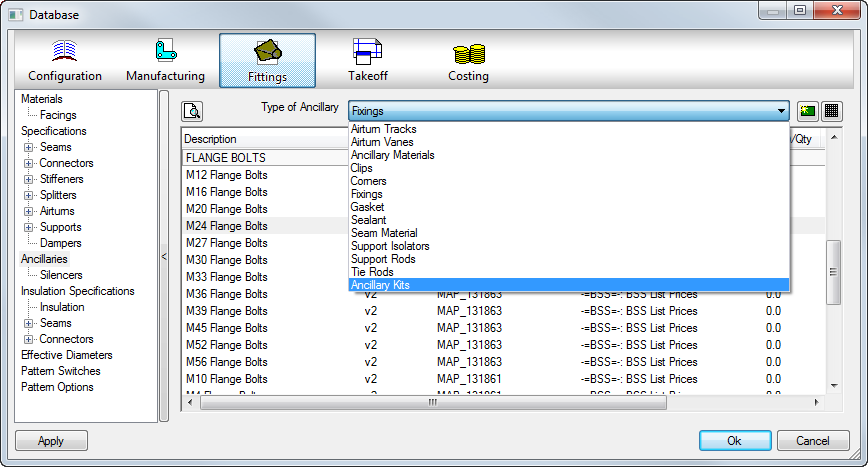
 Type of Ancillary drop-down menu for each type. Apply and OK once all created.
- Assign costs, times and weights to the ancillary if required. Product codes can be used, and links to the price list containing the code can also be set here.

- Select Ancillary Kits from the Type of Ancillary drop-down. This is located at the bottom of the list menu.

- Click New Ancillary
 to create a new ancillary kit. (Selecting an existing kit and then clicking New Ancillary prompts to create a copy of the selected ancillary kit.)
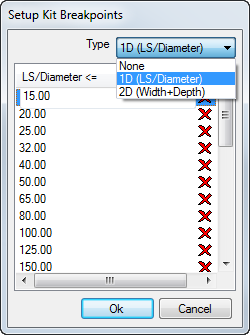
- Specify a name, and if using breakpoints, enter each breakpoint by specifying whether it is width+depth or diameter based.

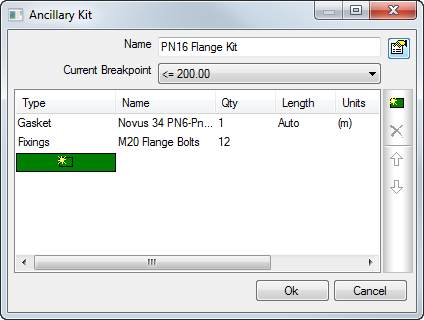
- Assign the ancillaries to the kit, or, if using breakpoints, assign various to each breakpoint size.

- Once completed, the ancillary kit is ready for assigning to the component. For example, Connector Material assignment if wanting to read the breakpoint table of sizes.