To create a customized Job Information dialog:
- Click Database
 Configuration
User Interface.
Configuration
User Interface.
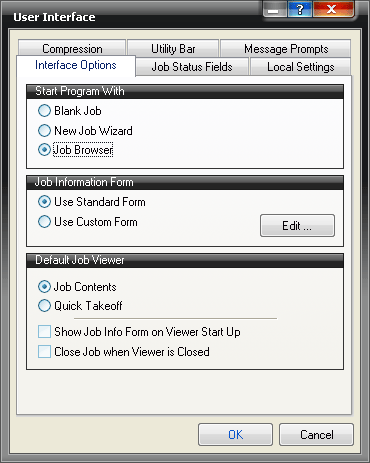
The User Interface dialog is displayed. In the three sections of this dialog, ensure that the options Job Browser (in Start Programs With), Use Custom Form (in the section Job Information Form), and Show Job Info Form on Viewer Start Up (in the section Default Job Viewer) are selected as shown below.
- In the Job Information Form section, click Edit and the Define Custom Job Form Layout dialog displays.
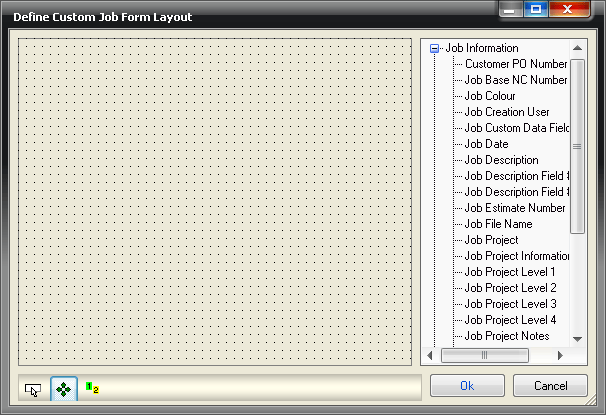
- Locate the required fields in the right hand pane, then, using the left mouse button drag them into the required position on the left hand side.
- Repeat this procedure until all of the required fields are in place, similar to the image below.

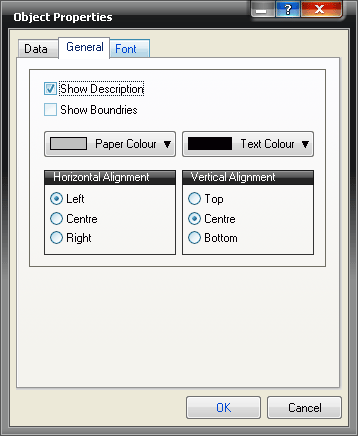
Each of the added fields can then be edited.
- Right-click on a field and select Properties. Change the various settings for the selected field as appropriate.
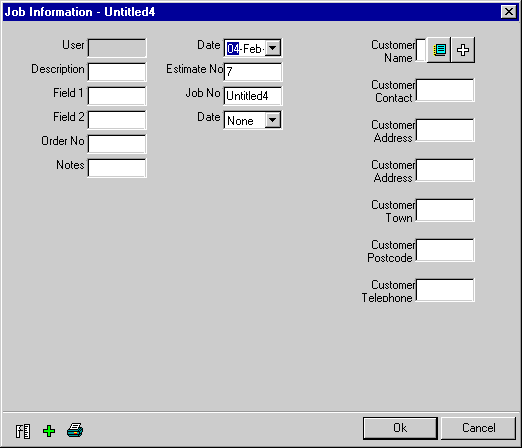
- Click Test Form
 to see how the form displays. The example above will look like the image below.

- Click Edit Layout
 to return to the editor and make any changes.
- Click Define Tab Order to rearrange the tab order.
- Once the form is complete, click OK.
Now that a custom form has been set up, the only way this can now be used is if the Job Browser is used.
- Click File
Browse For Jobs.
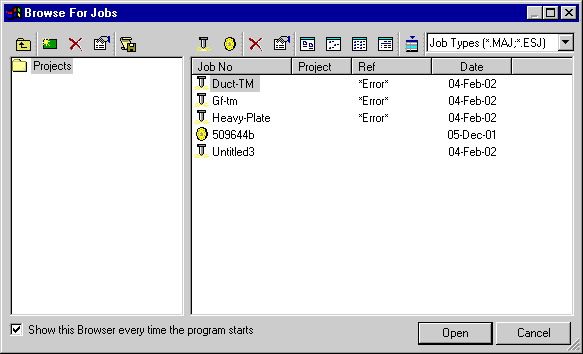
- Click on the New Job icon
 and the new, customized job information is displayed.