In Sheet Management, once a remnant is created and saved, you can edit it.
To edit a remnant:
- In Sheet Management, right-click on the remnant to be edited and select Edit.
The following dialog displays.
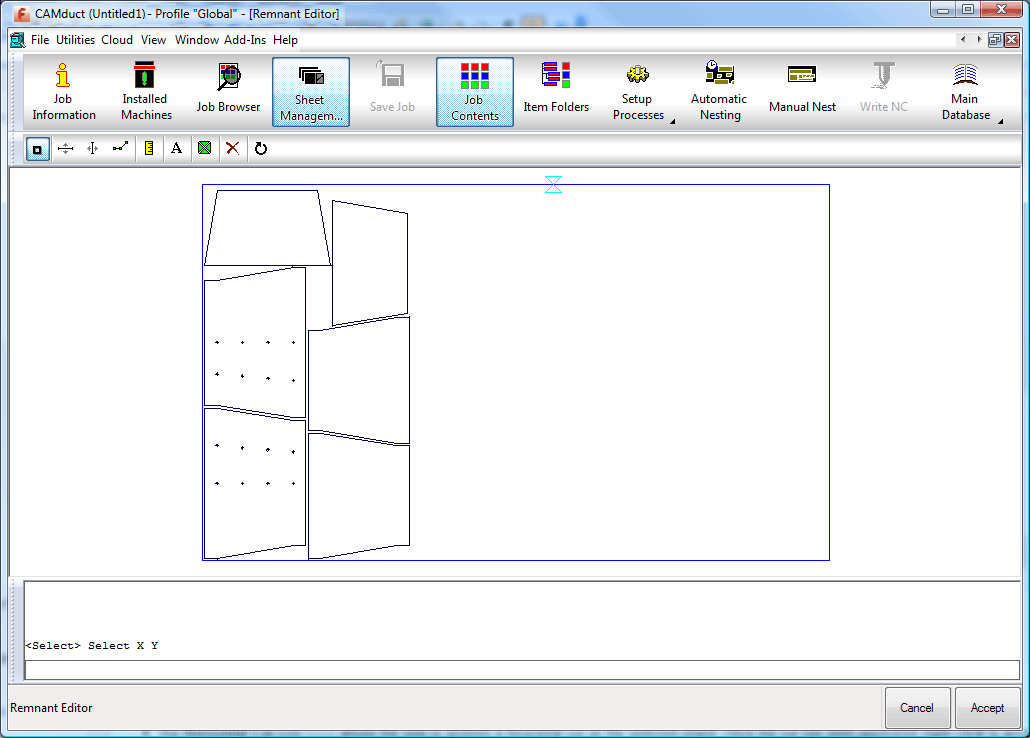
The remnant can now be manipulated using the toolbar located along the top.
 The following options are available from the toolbar:
-
Select
 : Lets you select the island to be edited.
-
Horizontal Cut
 : Lets you position a horizontal cut on the selected island. Once the cut has been positioned, right-click to accept the position. The command line prompts to select the island or section of the part to be discarded, as in the image below. Left-click in the relevant areas to specify which areas will be discarded, then right-click to accept the selection. The discarded section is removed, the part has been edited, and the dialog updates to reflect the changes.

-
Vertical Cut
 : This option functions similar to the Horizontal option, but makes a vertical cut instead.
-
Edit Sheet
 : Lets you manually draw lines on a remnant at a desired location. This can be done using the mouse or by entering coordinates in the command line. When the relevant lines have been drawn, right-click and follow the same procedure used with the other 'line' options.
Note: The coordinates entered in the command line should be in Absolute mode and should therefore be specific values from the origin point.
: Lets you manually draw lines on a remnant at a desired location. This can be done using the mouse or by entering coordinates in the command line. When the relevant lines have been drawn, right-click and follow the same procedure used with the other 'line' options.
Note: The coordinates entered in the command line should be in Absolute mode and should therefore be specific values from the origin point. -
Ruler
 : Lets you measure distances on the sheet. You can do this by holding down the left-click mouse button and dragging between the two points to be measured.
-
Add Text
 : Lets you place text on the remnant. When you click on this button, the command line prompts
 . Right-click anywhere on the remnant and select New. The following dialog displays.
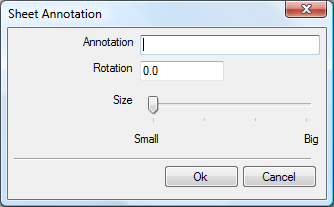
- In the Annotation field, type in the text required.
- The Rotation field allows the user to select the angular rotation of the text. Enter a value as required.
- The Size slide-bar allows the user to adjust the size of the text. Position as required.
- Click Ok when all of the options are set and the new text is positioned on the remnant, as shown below.
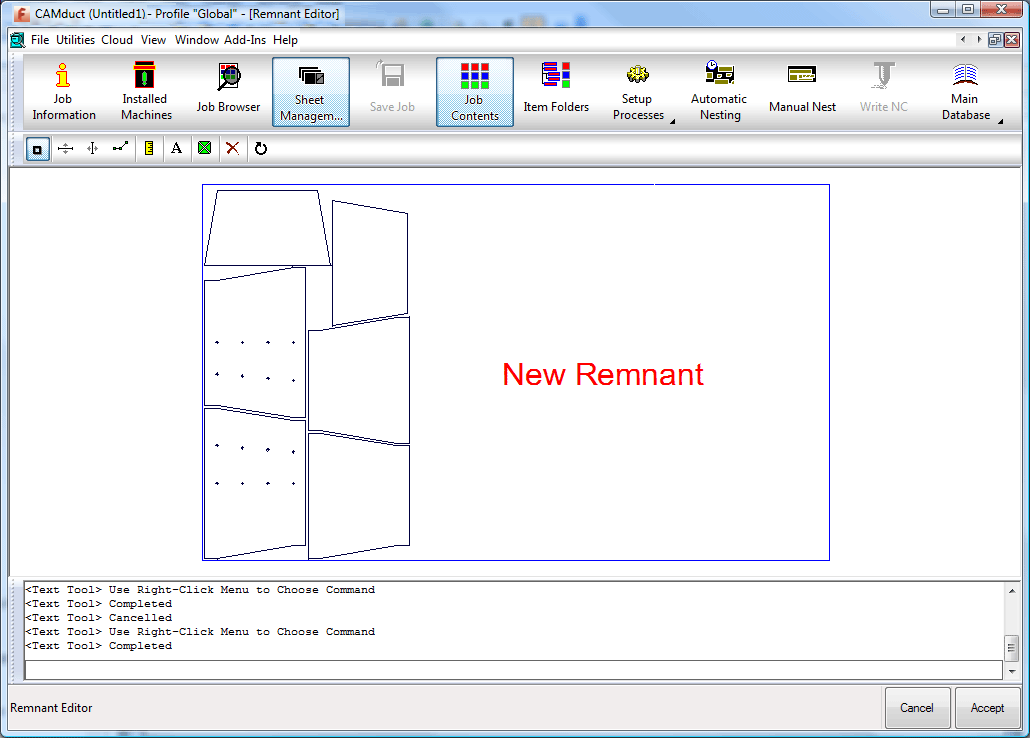
Once the text has been placed on the remnant, it is the possible to Move, Edit, Rotate and Delete the text.
-
Select
- Right-click on the text and choose the relevant command from the menu that displays.
- Click the Set Origin icon
 to change the position of the origin on the remnant.
This defines the origin point and therefore determine the position of the nest within the remnant. When you click this icon, the current origin point will be displayed on the remnant, as shown below. In this example, the red cross is defined as the origin.
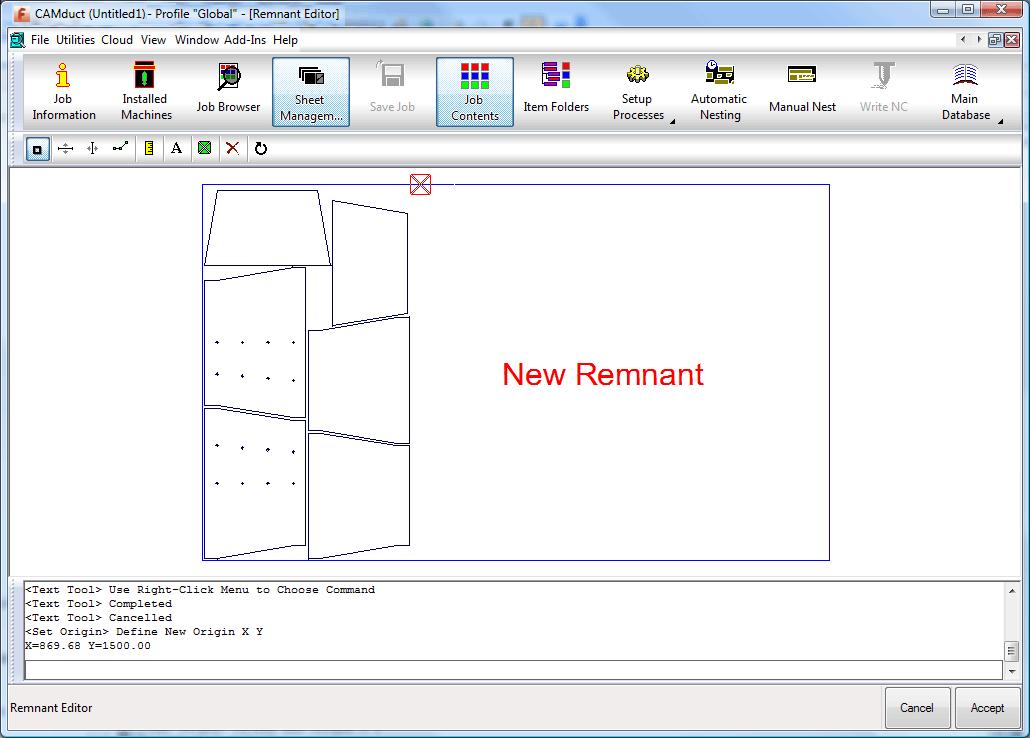
Also note that the command line at the bottom is asking the user to Define New Origin.
- Click on the new origin point, then right-click to accept the new position.
The Define Remnant Home Point dialog displays.
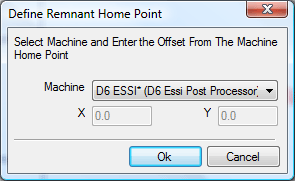
- From the drop-down menu on this dialog, select the relevant machine and click OK.
The new origin is defined and used when the remnant is nested on.
The Delete icon
 deletes active slice lines that have been placed on the remnant, but not yet acted upon.
The Rotate icon
 allows the user to rotate the remnant in increments of 90 degrees.
- Click on the rotate icon to rotate the remnant.
Note: All of the icon commands are also available via the Operation menu along the top of the dialog.