Some users may have a selection of catalog parts, such as Segment Bend fittings, that would require having to create a separate catalog item file for each size of that item produced. Product Lists provide a way of eliminating this by using one item file with a matrix that determines the different dimensions and options that are available for a specific item.
The steps below describe how to create a product list for a Segment Bend to demonstrate how this works.
- In Item Folders, navigate to the Segment Bend pattern (CID 61).
- Right-click on it and select Create Product List.
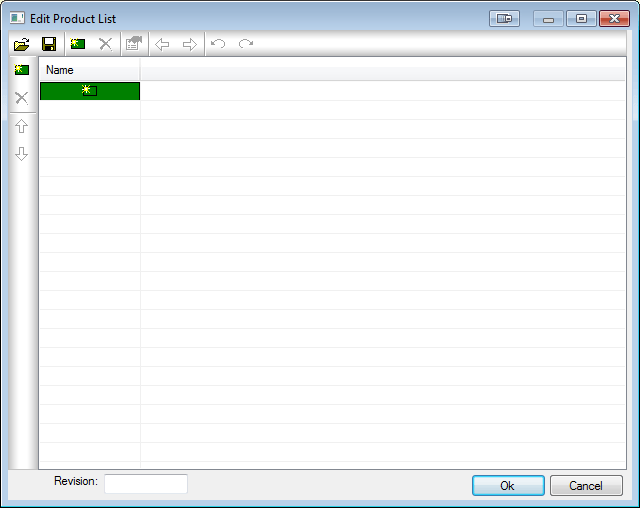
The pattern open in the normal Takeoff dialog, and displays the Edit Product List dialog as shown below.
This example describes how to create a product list containing 5 different size Square to Round patterns, the basic dimensions of which are:
- 250 x 150 x 300 Dia
- 350 x 150 x 450 Dia
- 400 x 150 x 475 Dia
- 400 x 150 x 500 Dia
- 450 x 200 x 550 Dia
All patterns have the length, locked at 300mm and the extensions locked to 50mm. It is possible to change every dimension and option in a Product List, if required.
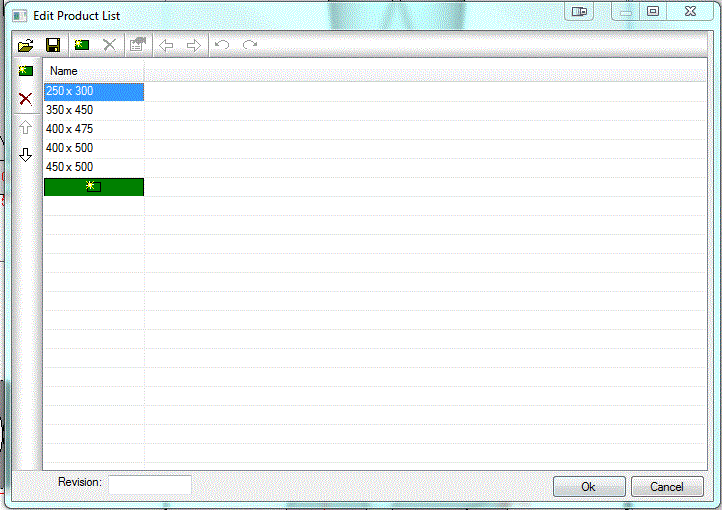
The first column of the Product List table is where you specify a descriptive name for the part being creating.
- For this example, type in the following descriptions in the Name column, as shown below.
- 250 x 300
- 350 x 450
- 400 x 475
- 400 x 500
- 450 x 500
- Click New
 at the top of the Edit Product List dialog to create a new Column and select Dimension as the Column Type.
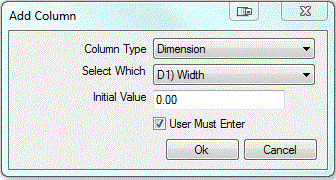
- Select D1) Width in the Select Which pull-down menu to associate this column with the specific Width of the fitting.
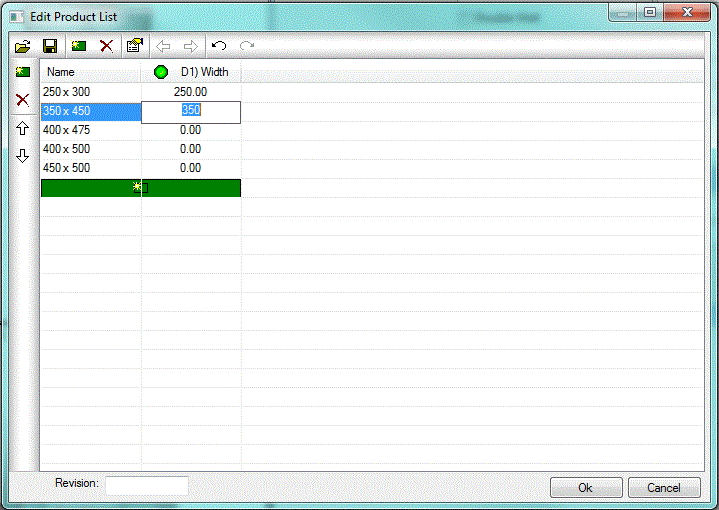
- Populate this column with the rest of the desired Dimensions.
- Click New
again to create the next Dimension.

- Finally, click New
again for Dimension C.

- Click OK to close the Product List Edit dialog and click Accept to apply the changes.
- At the prompt to save the new Item File, select a folder in which you wish to save it.
- When the new Item File is selected for inclusion in a job, it will display as shown below, with the specified dimension choices available in the drop-down list:
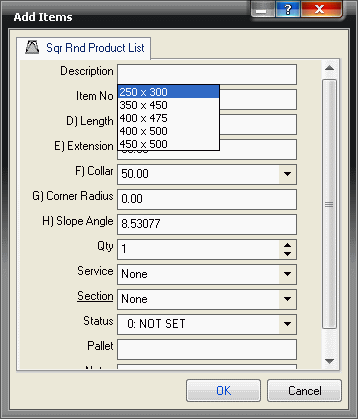
It is now possible to select the correct size of the item that correlates to the dimension you need, and add it to the job.