When a job has been created in CAMduct, it then has to be nested, NC has to written has to be written, and reports printed. While it is possible to do all of these tasks individually, by setting up a process, it is possible to perform all of these actions, or a combination of these, at once. This topic describes how to set up processes, and how to use (run) processes that have already been set up.
Setting up a Process
To set up a process:
- Click Utilities
 Process Setup, or click Setup Processes from the Utility Bar. The Processes dialog displays.
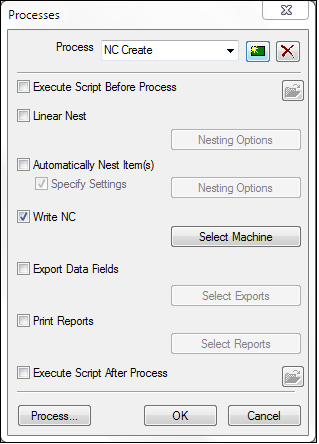
- Click New
 . When you do this, a new untitled process is created.
 - Rename the process from "Untitled" to something relevant for your process.
- Select and specify the desired options on the Processes dialog. The following options are available:
- Execute Script Before Process: Clicking this option enables the Browse button which lets you select a script file. The script file specified here will be run before the rest of the process executes.
- Linear Nest: Click this button to enable the Nesting Options button.
- Nesting Options: Clicking this button when Linear Nest is selected displays the Linear Nesting Options dialog which lets you specify a Session ID.
- Automatically Nest Item(s): Clicking this button enables the Specify Settings option.
- Specify Settings: When this option is selected, you can configure a variety of automatic nesting options. When this option is not enabled, the default automatic nesting options are used.
- Nesting Options: Clicking this button when Automatically Nest Item(s) is selected displays the Automatic Nesting Options dialog which lets you specify a variety of options for configuring automatic nesting behaviors.
- Write NC: Click to enable the Select Machine button for configuring NC output for a specific machine.
-
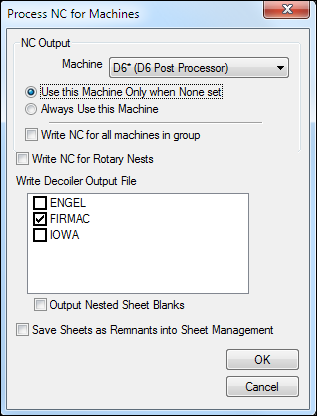
Select Machine: Clicking this button displays the Process NC for Machines dialog which lets you specify a machine for NC output, as well as a variety of options for the NC output. On this dialog, you can select multiple machines from the list of installed machines available in the Machine drop-down list, and configure appropriate NC output options for each machine. This information can be stored in the same database.
- Export Data Fields: Click this button to enable the Select Export button.
- Select Exports: Clicking this button lets you specify the type of data to export for this process.
- Print Reports: Clicking this button enables the Select Reports button.
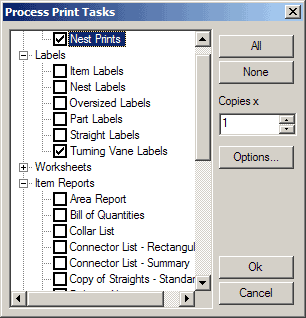
- Select Reports: Click this button to select the reports that will always be printed, and the number of copies that are required when using this process. Note that each report can have a different numbers of copies. Click OK when all report options have been specified.
- Execute Script After Process: Clicking this option enables the Browse button which lets you select a script file. The script file specified here will be run after the process specified above executes.
- Process: Clicking this button initiates or runs (launches) the process that is currently selected on this dialog.
- When you have finished specifying the options on the Processes dialog, click OK. The next step is to use (run) the process.
Using the Process
When the process has been set up by following the steps above, and all of the items have been added to a job, it is possible to use (run) the process.
To use a process, you can click the Process button at the bottom of the Processes dialog, or you can follow the steps below:
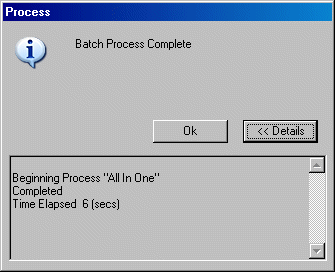
- Click File Process <Name of process>. In this example, the process is named "All In One".
The actions set up within the process will now be performed, and a corresponded status dialog displays indicating that the process has completed.