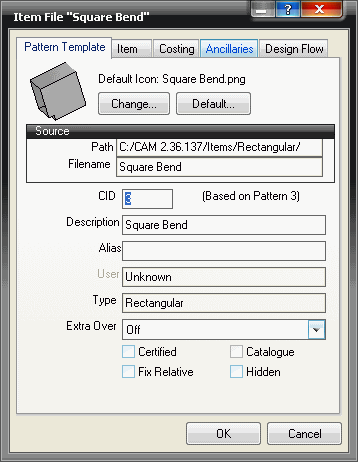
In the Item Folders view, you can add individual ancillaries and ancillary kits to single items.
To add ancillaries to an individual item:
- In the Item Folders view, right-click on an item
 Properties.
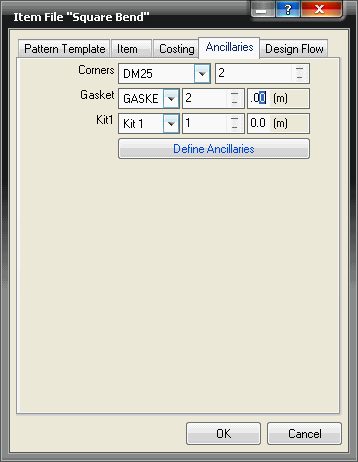
- On the Item File dialog, click the Ancillaries tab.

- On the Ancillaries tab, click the Define Ancillaries button.
- On the Free Entry Ancillaries dialog, click the New button
 and type a name for the ancillary you wish to attach to this item.
- Choose a type of ancillary (pre configured in the ancillary database) to assign to the item.
- Optionally, you can then specify the F-Rate (Fabrication Cost) and then E-Rate ([Erection] Installation Cost).

- Once you are satisfied with the values in this table, click OK.
- The ancillary required can then be selected by clicking the drop-down menu and selected the appropriate group and ancillary component.

- The quantity and lengths required can also then be set by filling in the appropriate boxes.
Note: To apply an ancillary kit, the same method detailed above can be used. However, they can be applied in two different ways. If, for example ancillaries are already assigned to an item, for example, the corners for the connectors, but you wish to turn this single item into an ancillary kit (with multiple items), you can simply change the selected ancillary from the "corner group" to the kit that has been added to the ancillary database, without adding gaskets and bolts, etc.
Alternatively, a kit can be added from scratch using the Define Ancillaries button. This only allows an ancillary kit to be selected, instead of a single ancillary item as well as a kit, as explained above.