Sheet Management features allow for efficient tracking of stock sheets and storing of remnants saved from previous nests. Typically, new sheets are created, any remnants are saved, and then remnants are loaded.
Note: Before Sheet Management features can be used, it is necessary to create all of the relevant material and sheet sizes that will be used. All associated materials should be set up in the Main Database. To do this, click File
 Setup
Main Database
Materials.
Setup
Main Database
Materials.
Setup
Main Database
Materials.
To create a new sheet:
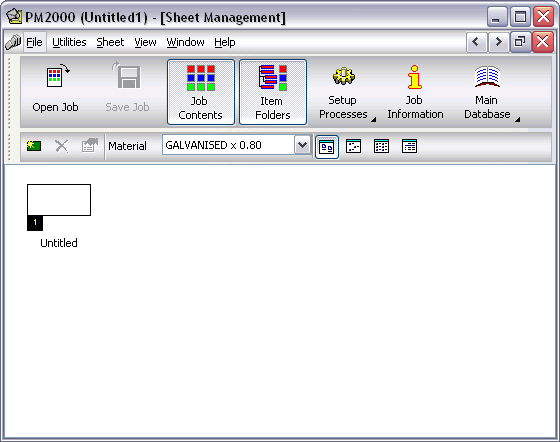
- Click Utilities Sheet Management.
The Sheet Management dialog displays.
- Click Sheet
New Sheet or click on the New icon
 .
.
The New Stock Sheet dialog displays.
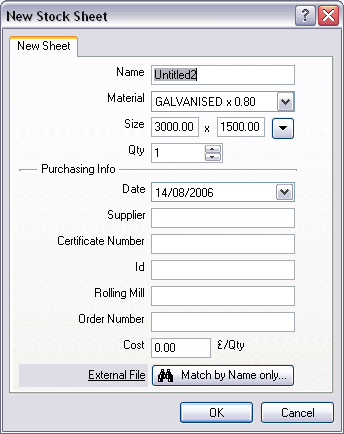
- Specify a name for the selected sheets.
- In the Material and Gauge fields, specify a relevant material and gauge.
- In the Size field, specify a relevant sheet size from the drop-down menu, or type in a specific sheet size.
- In the Qty field, specify the amount of sheets in stock.
- In the Purchasing Info section, you can assign the following details to the sheet:
- Date
- Supplier
- Certificate Number
- Id
- Rolling Mill
- Order Number
- Cost
- The External File field allows you to attach a document which is associated to the sheet. This can be Word document of PDF. Click the Match by Name only button to search for the desired file, or the click the External File text link to view the file in a new window.
- Click OK and the new sheet displays in the main window.
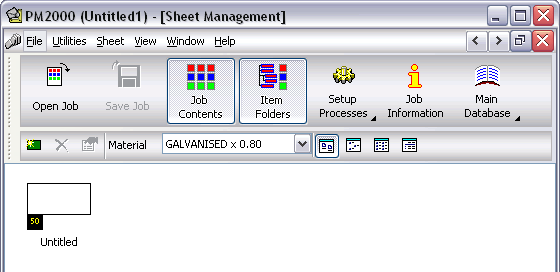
- Repeat this procedure as required.