The steps below describe how to create (add) a new gauge for a material. It uses a pipework item as an example. The options configured when creating a new gauge for a material are different depending on the type of item or system you are using.
To create (add) a new gauge for a material:
- Click Database
 Fittings
 Materials.
- In the Material drop-down list, select the material to which the new gauge is being added.
- Click the
 New Gauge button to display the Edit Gauge dialog.
- On the Edit Gauge dialog, specify the following:
- Index: Specify a unique number for this gauge; for example, 0.7.
- Specification: Specify the name of the specification associated with this gauge; for example, ASTM B88.
- Cost: Specify the cost of this gauge per pound or per kilogram/sq m.
- Weight: Optionally, you may specify the weight per pound or kilogram/sq m of this new gauge.
- In the Pipework list at the bottom of this dialog, specify the Nominal Diameter and Outside Diameter information from the specification.
Note: When you have pipe and pipe fittings that use the same material, it is recommended that you create two separate gauges: one gauge for the 10-foot length of pipe (for example, ASTM B88 (10’)), and another gauge for the pipe fittings (for example, ASTM B88). In the Pipework list, the pipe gauge will include a specified (set) Length value, but pipe fitting will have a Length value of zero (not set).
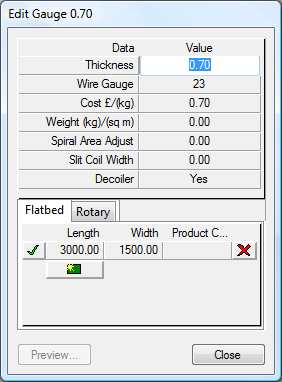
All of the gauges (sheet thickness) currently assigned to the active material are displayed here. Gauges are sorted into thickness order. Use the scroll bar if necessary to display all of the values. Right-click on the gauge line and select Delete to delete a gauge from the material.
- Click on the
 New Gauge button at the top of the gauge column to add a new Gauge or double-click on an existing line to edit the data.

Each gauge can have one or several sheet sizes (Length, Width, and Product Code) assigned. Sheet sizes determine at which point the oversize check is applied. Clicking the
 will delete that sheet size. For multiple sheet sizes at the same gauge, the sheet size to be used as the default by automatic nesting should be assigned the
 . Product Codes can be applied to the materials for use in reporting and costing. Sheet sizes are also split into Flatbed sheets and Rotary which was introduced for Rotary Nesting.
- The
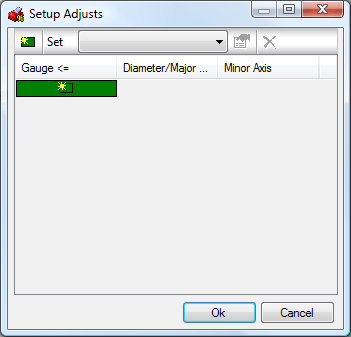
 button is used to create Material Specific diameter adjustment sets.

These are then applied to the Connector when Material Specific is selected in the Round Connector Database. For more details, see the Connectors section of this Help topic.
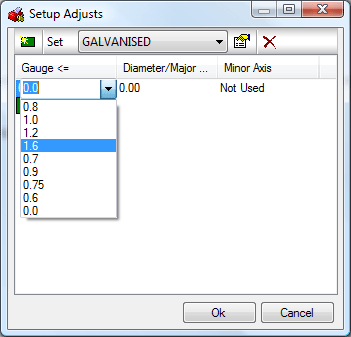
- Clicking the New button prompts you to give the new set a name. You can then specify a gauge that the adjustments will apply to.

An adjustment can then be made to the Diameter/Major Axis and the Minor Axis when this Set and Gauge are applied to the connector in the Round Connector Database.
Multiple sets can be created to allow different adjustments to be applied.