Unless NC files are transported to the machine controller on physical media, a communications link must be established between the office computer, where Autodesk Fabrication CAMduct is installed, and the machine controller. The communications link could be either fibre optics or conventional cable.
The following diagram illustrates a typical configuration for a cable link.
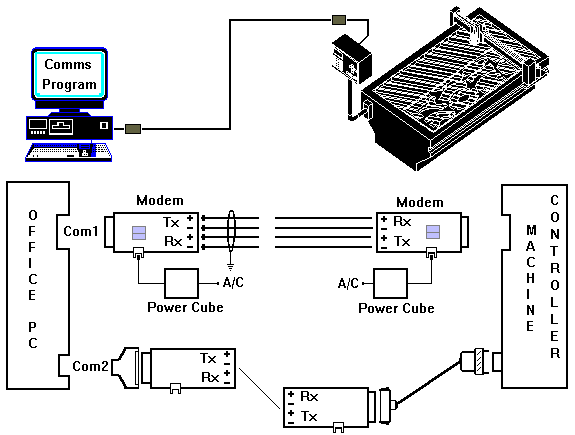
In this example shown above, the office computer that has Autodesk Fabrication CAMduct installed is linked to the machine controller over a cable link. The cable/modem and the communications software together are often referred to as the DNC link. Your operating system start up folder contains the communications program which will monitor and process download requests from the machine controller operator.
Additionally, make sure you read and understand the information in Before Installing a Machine.
Running the Download Executable
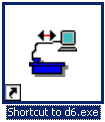
Normally, the download executable (D6.exe, Burny.exe etc) can only be run once, as the configuration settings will inform you that the comm port is in use. The configuration settings or INI file is created by the software, and amended whenever the download settings are changed. This means that if you have 2 of the same machine in the workshop, you may need to have 2 separate INI files. The easiest way to achieve this is to create 2 shortcuts to the executable and place them on the desktop.
The example below uses the d6.exe, but the principle is the same for all Autodesk Fabrication download programs.
- Right click
 Properties on the first shortcut icon, and type in a name to distinguish this download from the other.
The example shown below uses the name DOWNLOAD1.
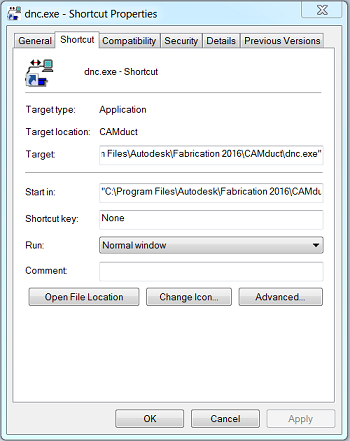
- Click OK to apply the changes.
- Double click on the first shortcut, and change the settings for the first download.

- Click OK to apply the changes.
- Right click
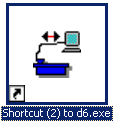
Properties on the second download shortcut, and rename the program to something else. This example uses DOWNLOAD2 as the second name.
- Click OK to apply the changes, and double click on the shortcut to open it.
- Double click on the second shortcut to open it, and change the settings to reflect the settings on your second comm port.

-
Click OK to apply the changes, and double click on the shortcut to open it.
There will now be the following 2 INI files in the CAM folder: one called DOWNLOAD1.INI, containing the setup information for the first download, and the other called DOWNLOAD2.INI for the second.
So you now have 2 downloads from the one d6.exe file.