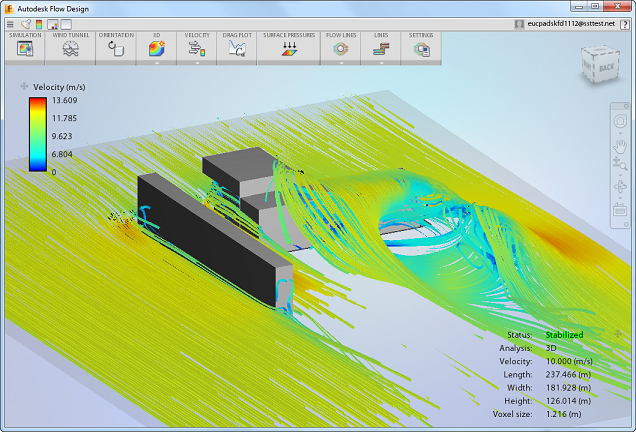
- Start Flow Design from the Start menu or Desktop.
- Select a model that you've previously run or import a model.
- The wind tunnel flow starts as soon as the model is loaded.
- Modify the setup with these commands:
- Simulation: Adjust the simulation resolution and units.
- Wind Tunnel: Adjust the wind tunnel size and wind speed.
- Orientation: Adjust the orientation of the model.
- 2D / 3D: Choose 2D to model a two-dimensional flow. This is useful for quick, "what if" models. Choose 3D to model the flow in three dimensions; this is useful for more physically realistic results.
- Customize the view and extract results with these commands:
- Velocity / Pressure: Select the results quantity to display.
- Drag Plot: View how the Drag result changes throughout the wind tunnel flow.
- Surface Pressures: Plot pressure on the surfaces of 3D flows. This is useful for understanding wind loading.
- Plane: Display results on a 2D slice through the model.
- Flow Lines: Display results with traces that show flow direction and speed.
- Isosurface: Display every location in a 3D flow that has the same value. These are useful for understanding flow shape and locations of maximum and minimum flow values.
- Share your results and save your simulation model with the commands in the File tool of the toolbar.

Note: Your Autodesk 360 account must be authorized to run Flow Design. If you are not signed in, Flow Design prompts you for to sign in to verify your account privileges.